Cómo instalar y configurar IIS en Windows Server 2012 R2

Ya hemos visto cómo instalar IIS (Internet Information Services) en Windows 8.1 con fines de prueba. Ahora vamos a ver cómo instalar IIS en un servidor para alojar vuestro sitio web con fines de producción.
No hay mucha diferencia entre los dos procedimientos. La instalación es rápida y sencilla.
Primer paso: Instalar el rol del servidor web (IIS)
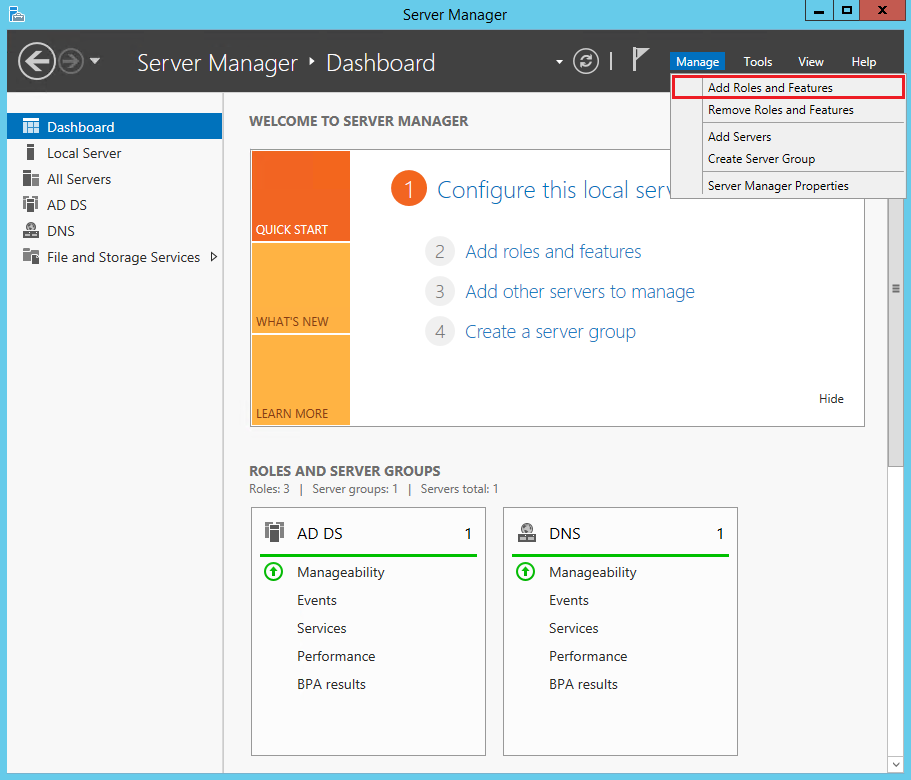
Abrid el Administrador del servidor y haced clic en Agregar roles y caracteràsticas:
Dirigàos a la pestaña Roles del servidor:
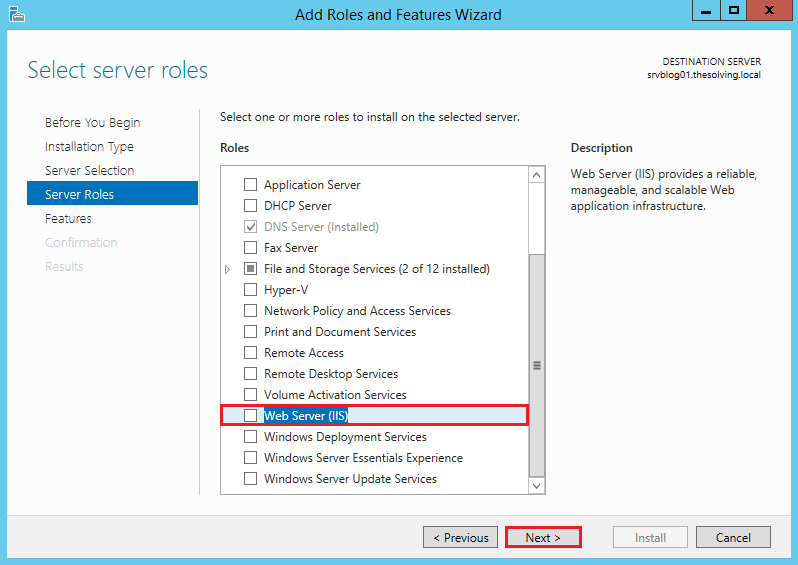
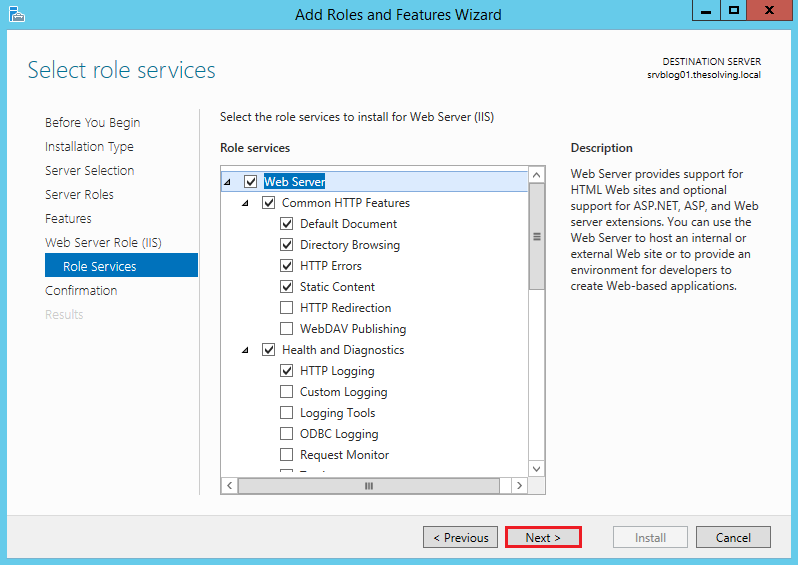
Seleccionad Servidor Web (IIS):
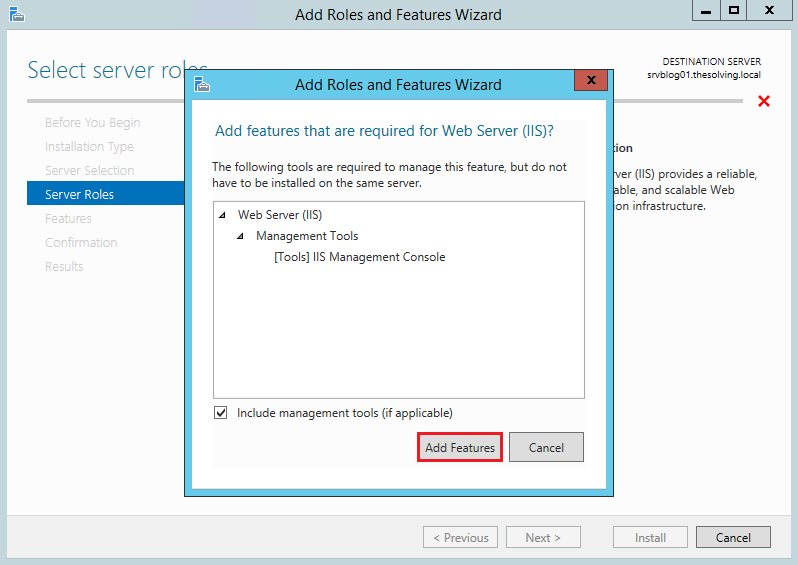
Haced clic en Agregar caracteràsticas:
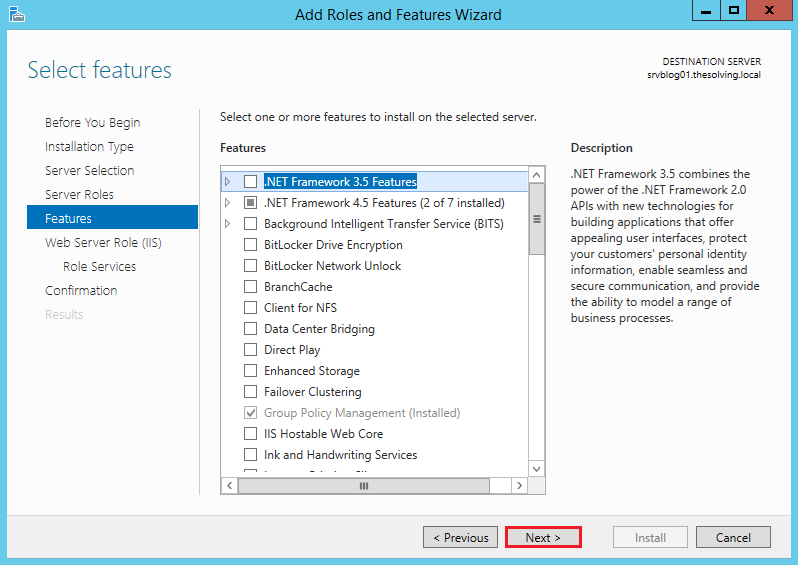
Ignorad la pestaña Caracteràsticas y seguid adelante:
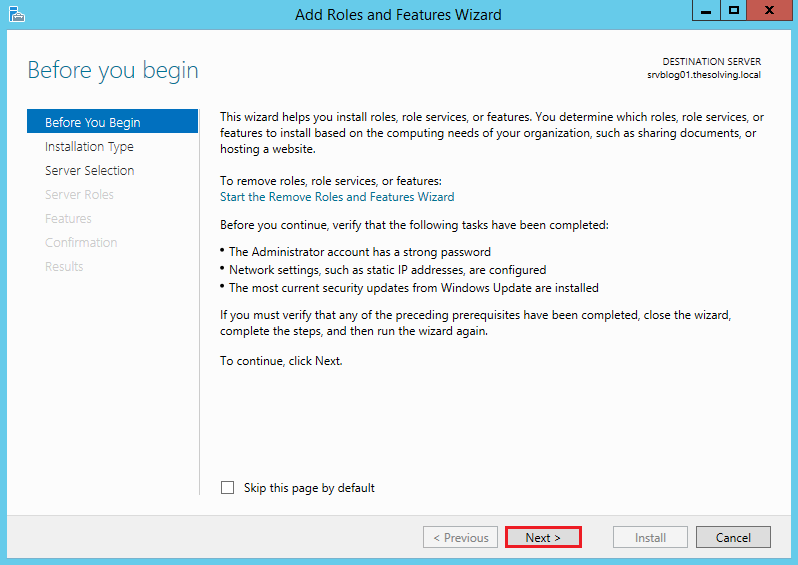
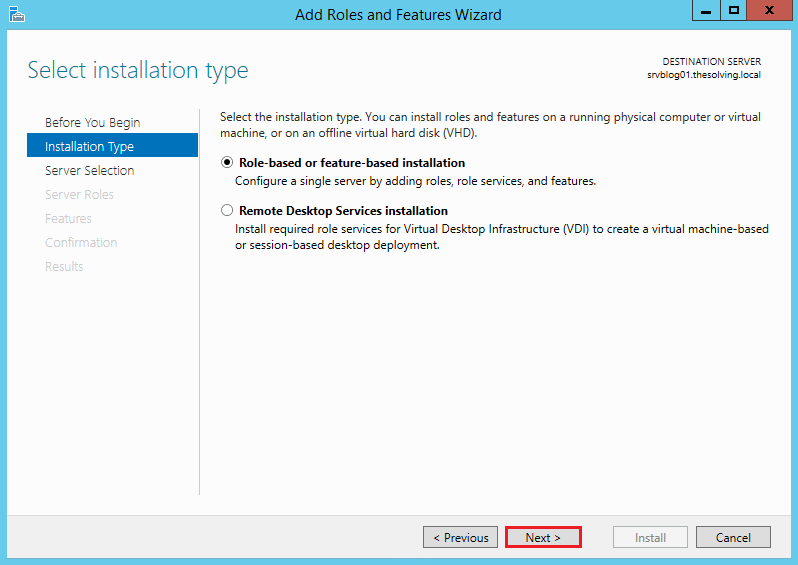
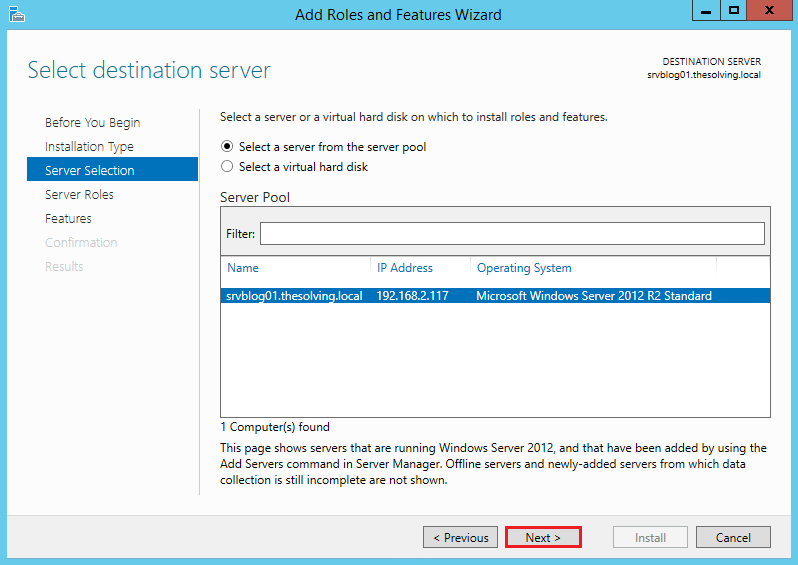
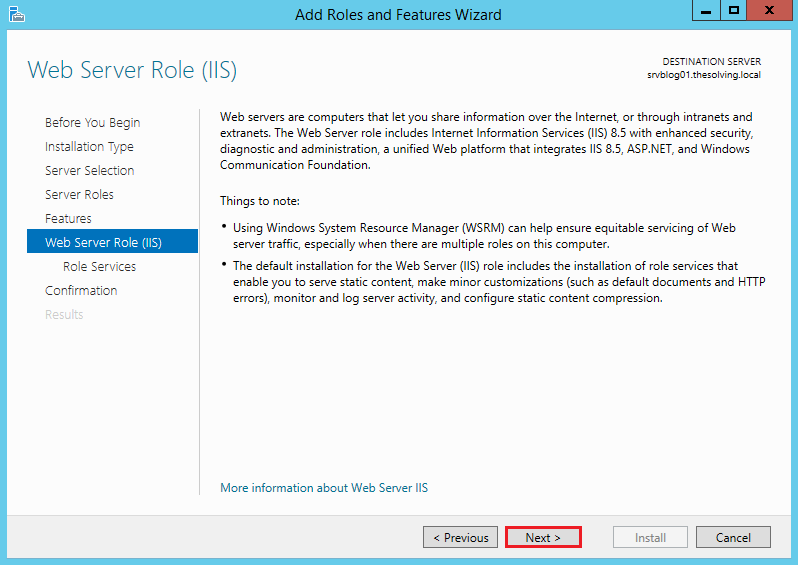
Haced clic en Siguiente:
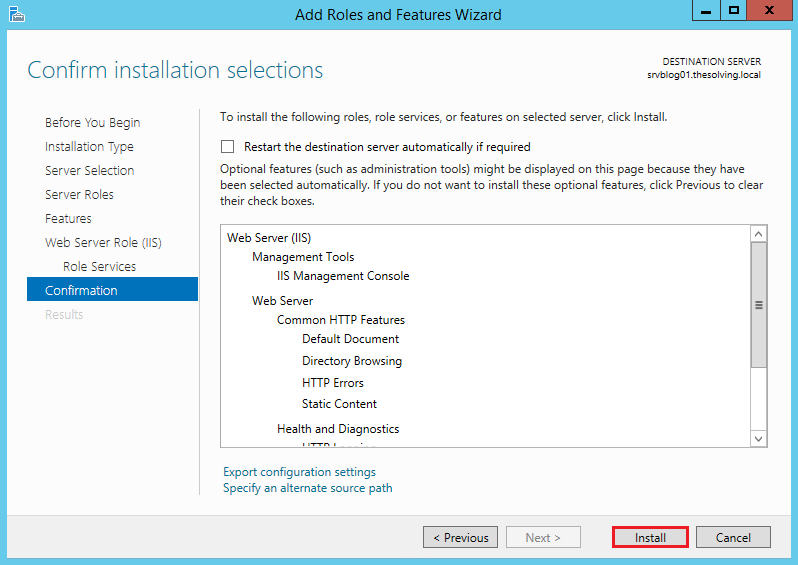
La configuración por defecto es correcta. Haced clic en Siguiente:
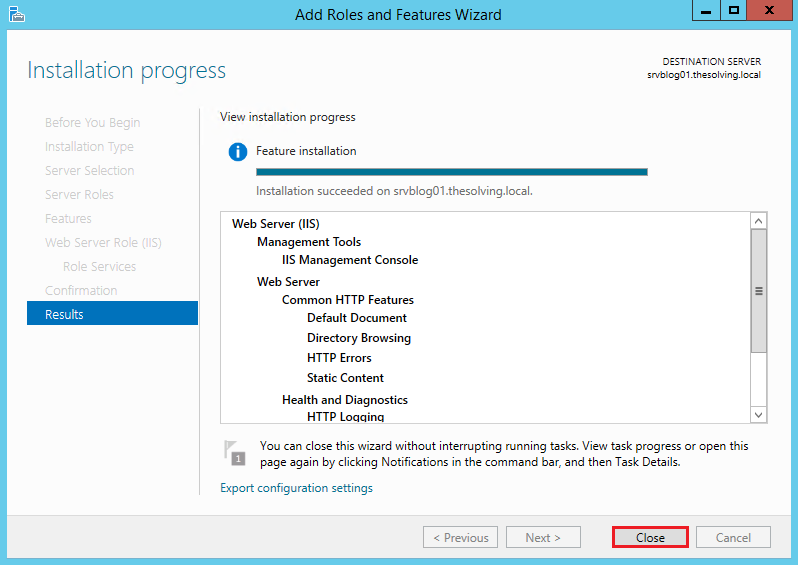
Haced clic en Instalar:
¡Instalación completada!
Segundo paso: Configurar IIS
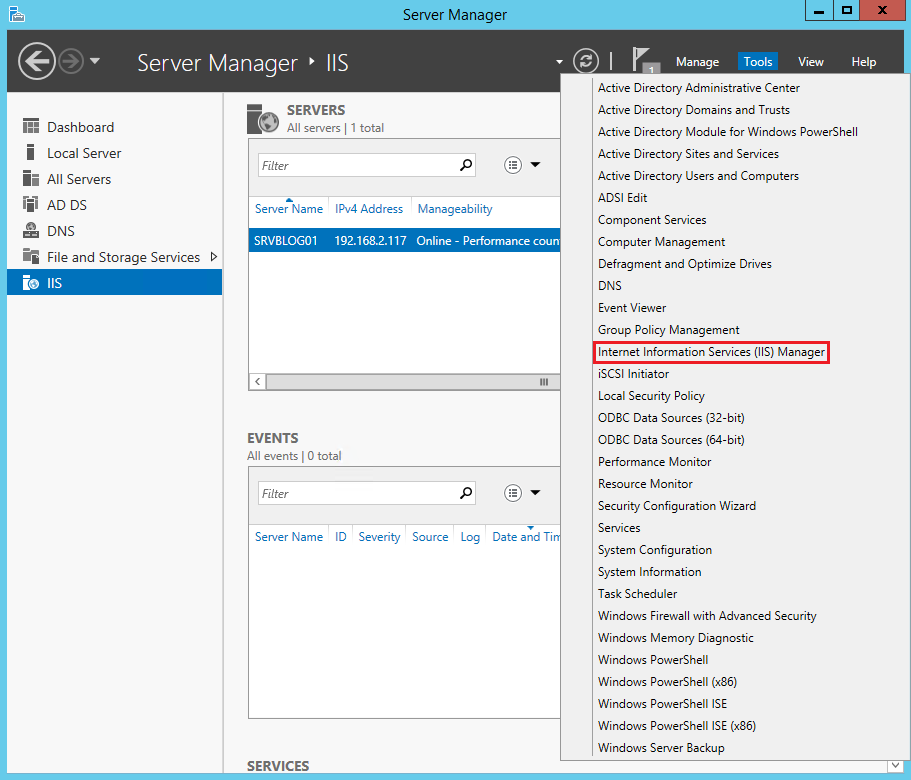
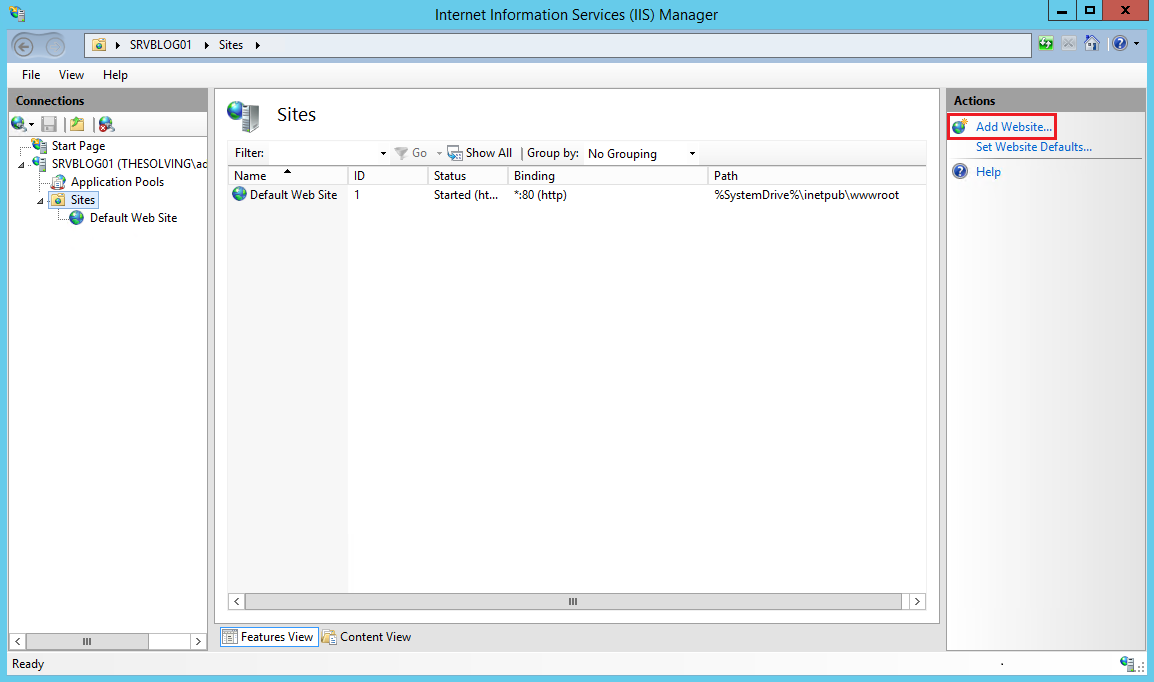
Volved al Administrador del servidor. Seleccionad Administrador de Internet Information Services (IIS) en el menú Administrar:
Haced clic en Agregar sitio web:
Especificad al menos el nombre del sitio y la ruta. Haced clic en Aceptar:
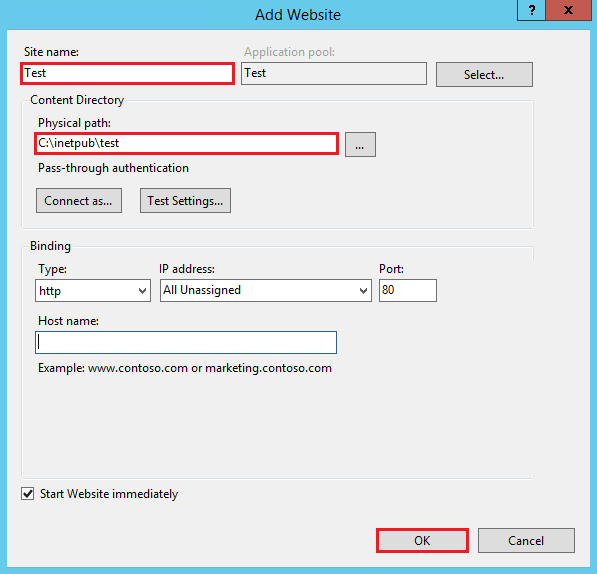
Vuestro primer sitio web ya está listo para el acceso.


Comments