
 Italiano
 Español
iSCSI is a powerful technology that may come in handy even for sharing a network volume to a bunch of users. While iSCSI was developed for much more complex operations, being able to connect a network volume to a client PC has its advantages over a network share.
Windows Server 2012 and 2012 R2 can “natively” manage iSCSI targets while older versions needed the installation a Microsoft package.
In this tutorial we’ll see how to create an iSCSI target and how to connect a client PC to it.
Open the Server Manager:

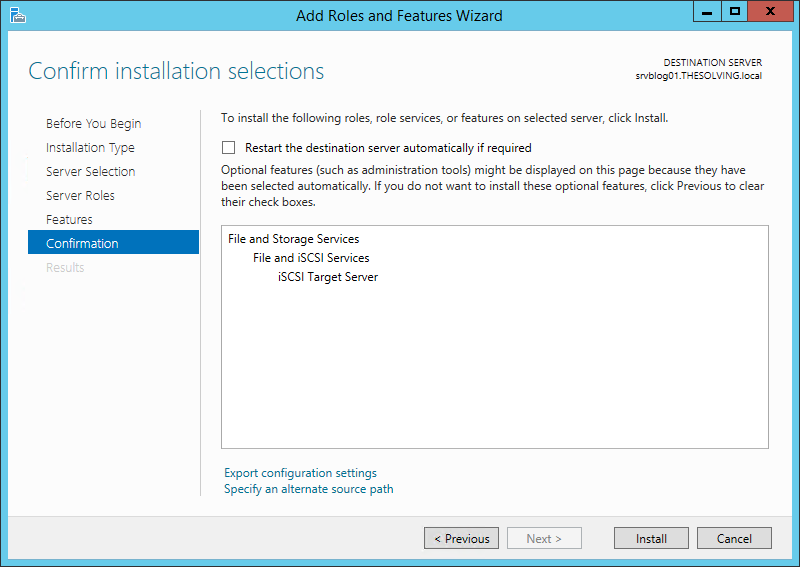
Click To install iSCSI Target Server, start the Add Roles and Features Wizard:

The Wizard will appear pre-configured with the Roles you need to install. Just click Next until the end:
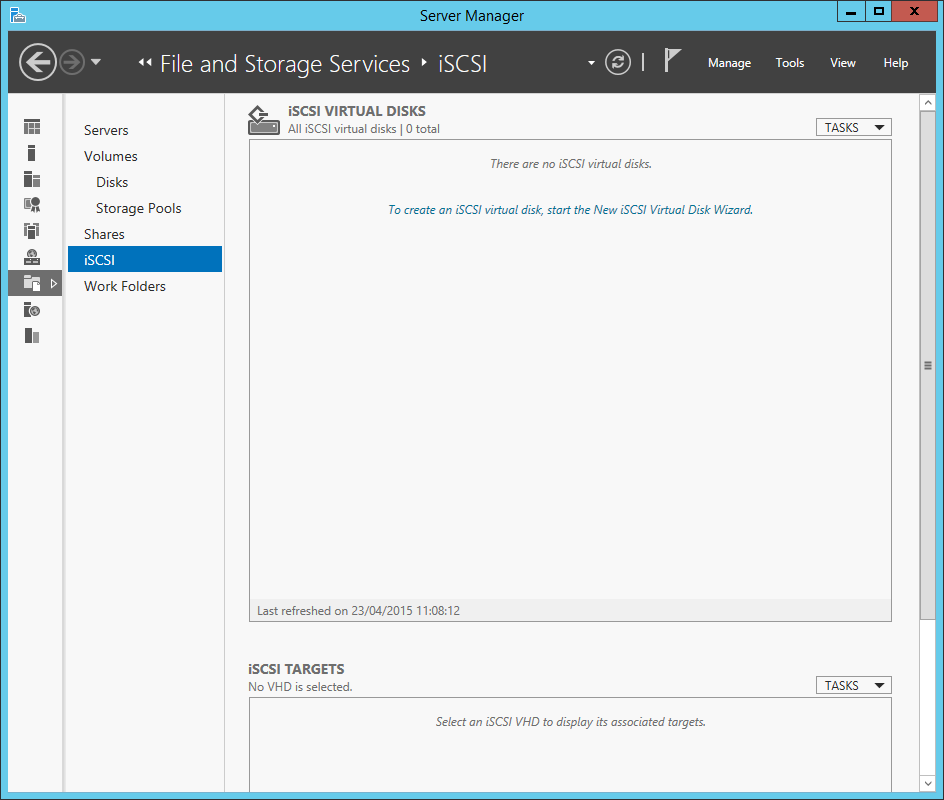
Now that the iSCSI Target Server has been installed you can configure a new target. Click To create an iSCSI virtual disk, start the New iSCSI Virtual Disk Wizard:
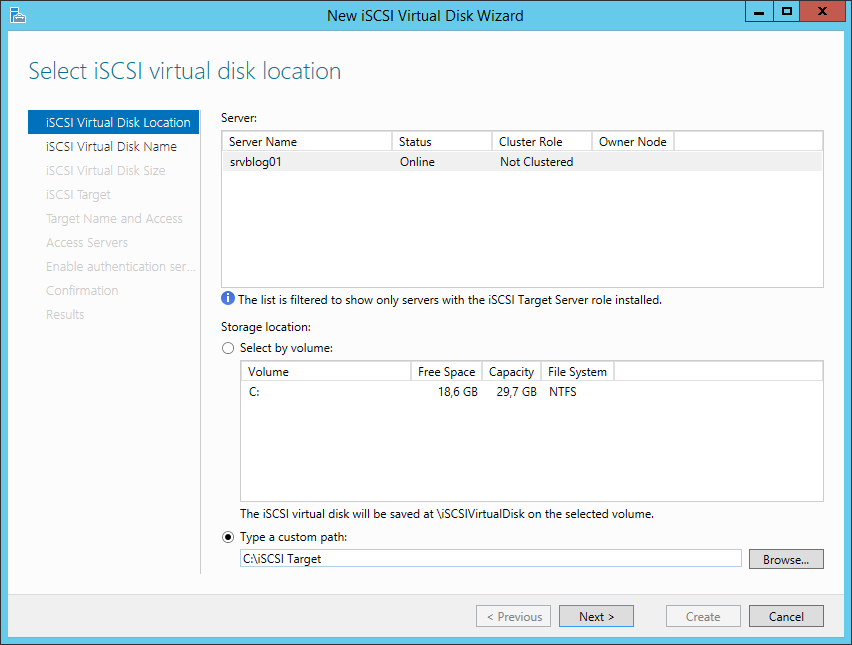
Select a volume or choose a path where the virtual disk will be saved:
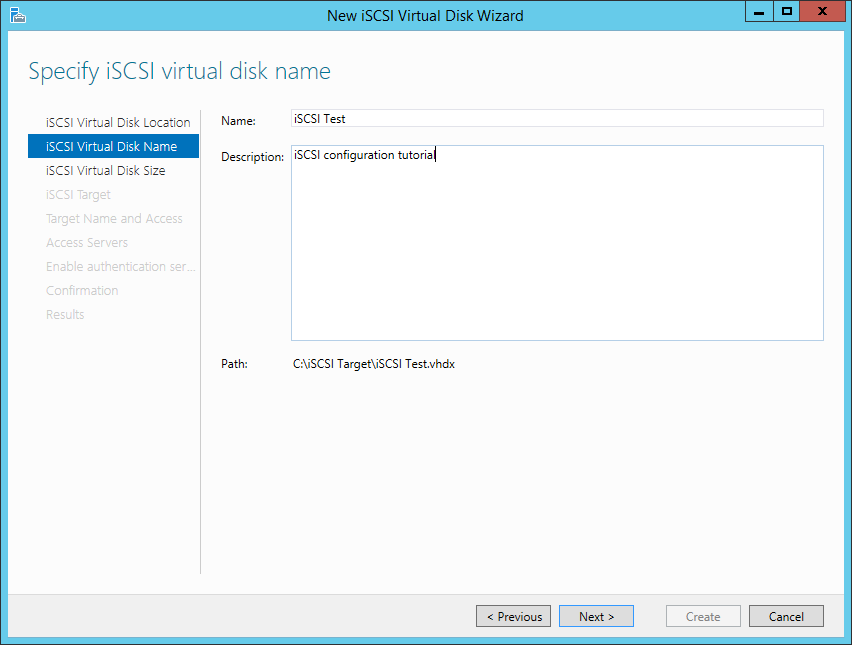
Give a name to the iSCSI virtual disk:
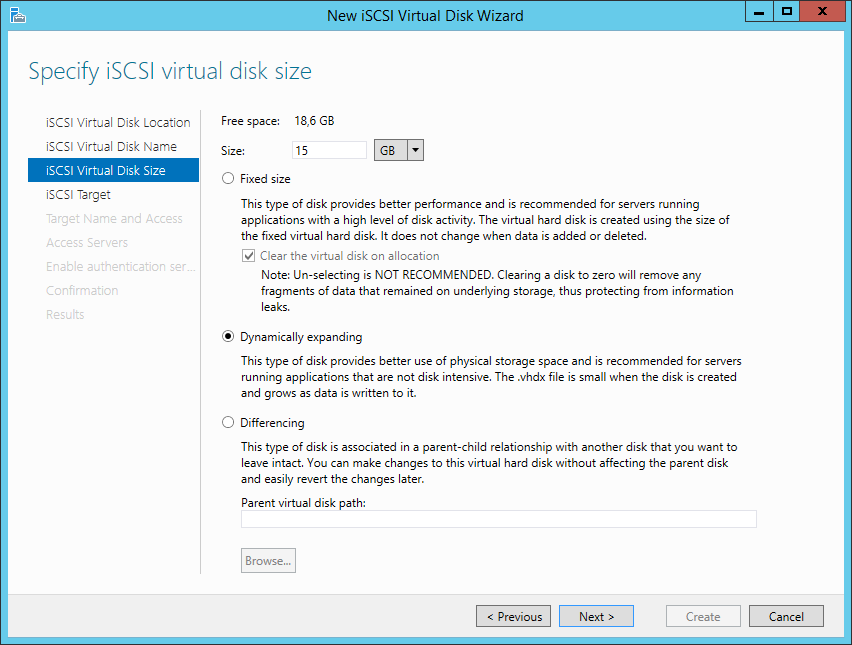
Choose the size and select Dynamically expanding:
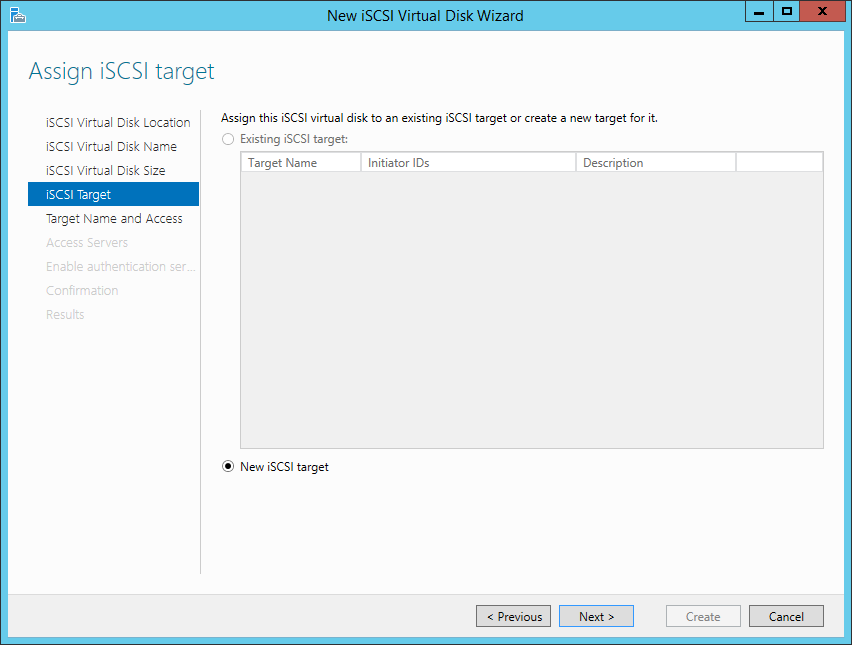
Select New iSCSI target:
Give a name to the iSCSI target:

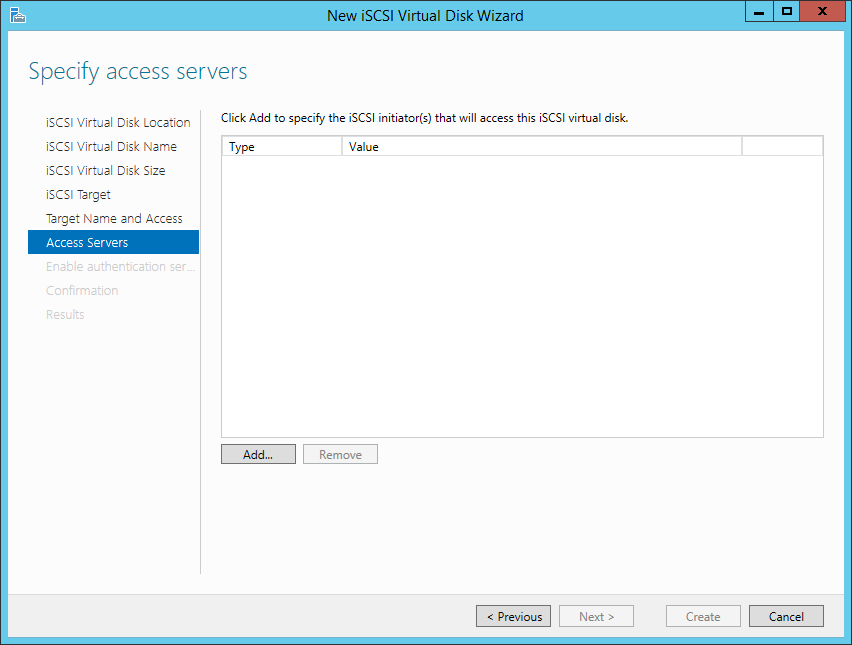
Clicking Add you will be able to specify (and restrict) the access to an Initiator:
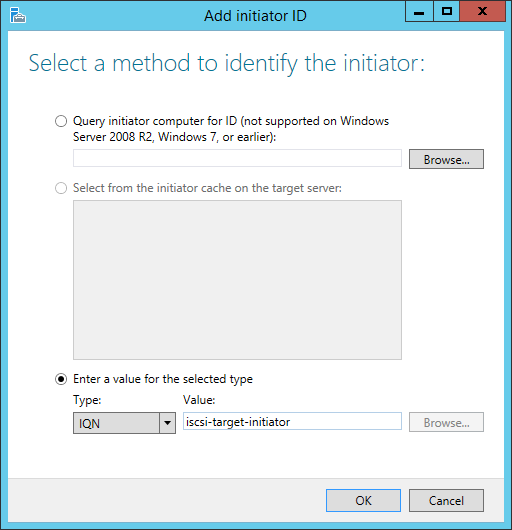
Choose IQN and give a name to the Initiator:
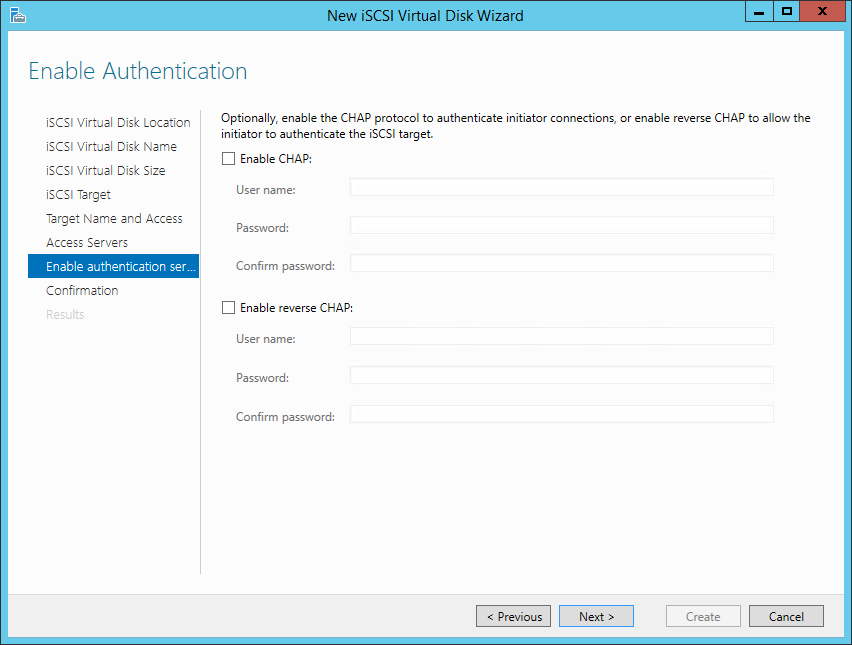
You can add further security with the CHAP authentication. We choose to skip this step:
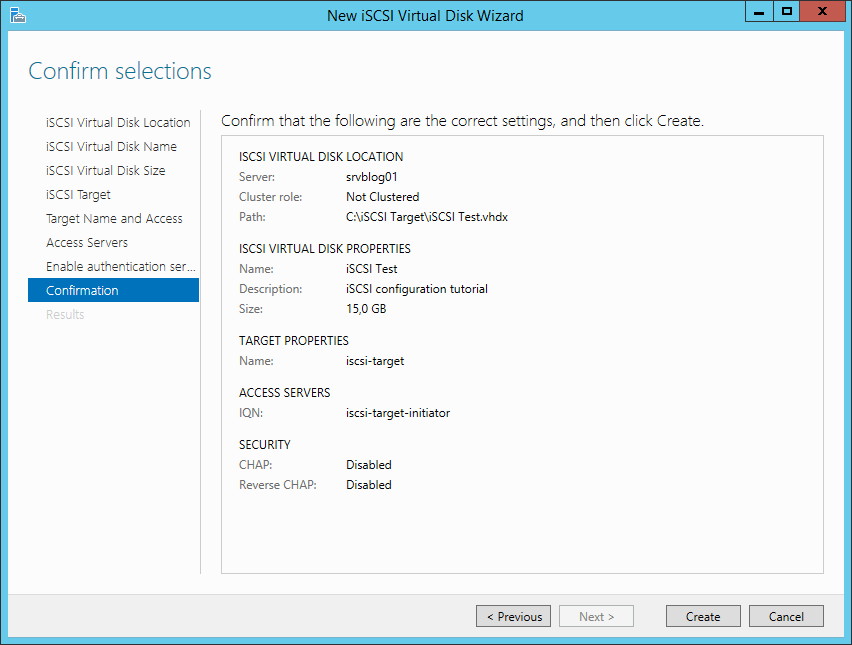
Click Create:
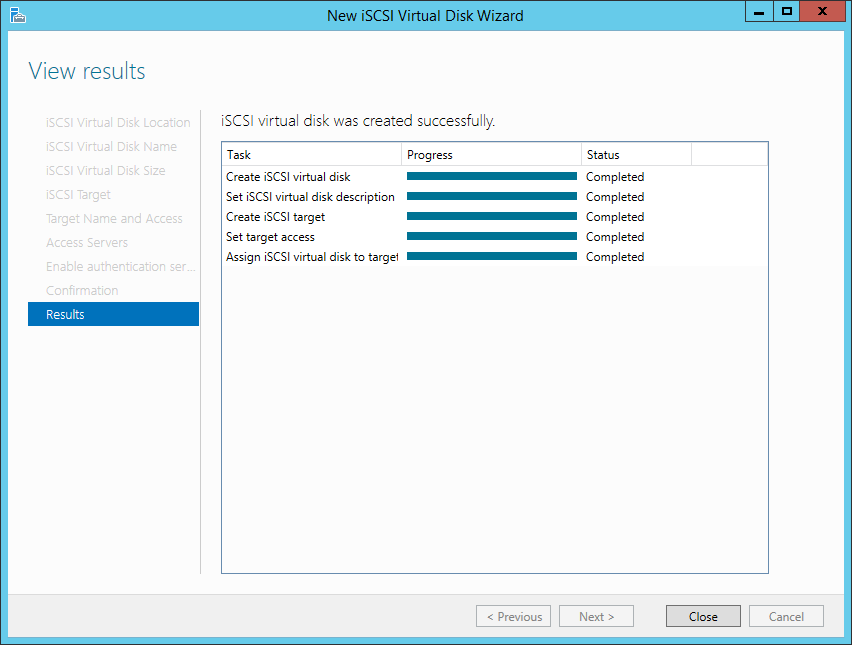
Target created!
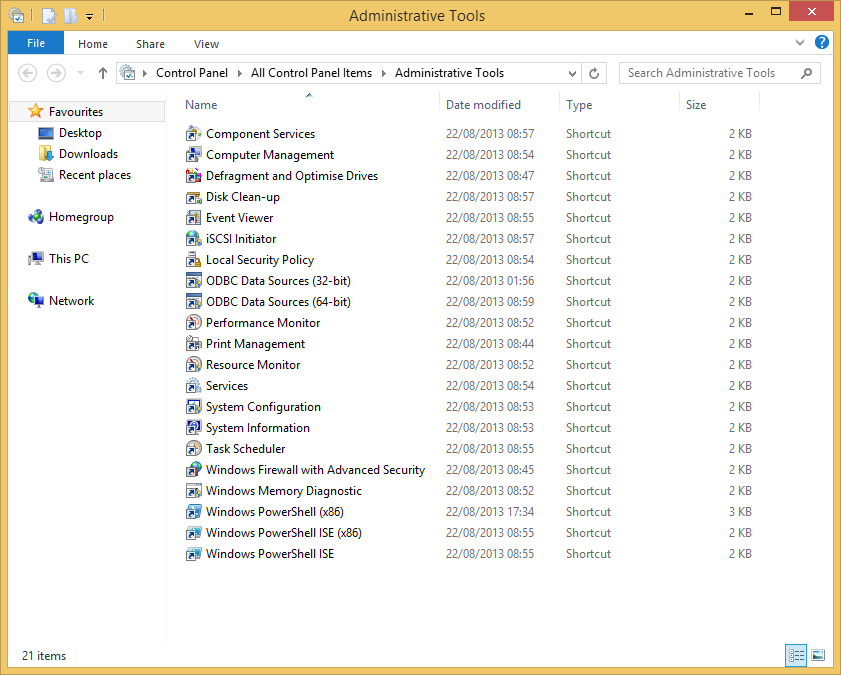
Now it’s time to connect a client PC to the iSCSI target. Open the control panel of the client machine and select Administrative Tools. Launch the iSCSI Initiator:
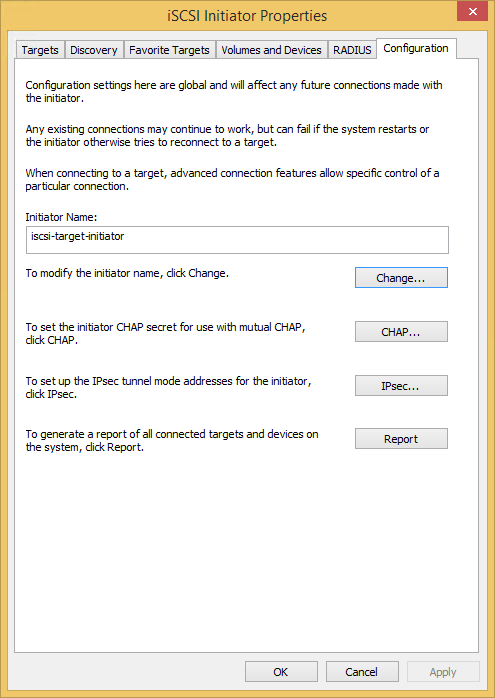
Go to the Configuration tab and specify the initiator name (use the same you configured for the target):
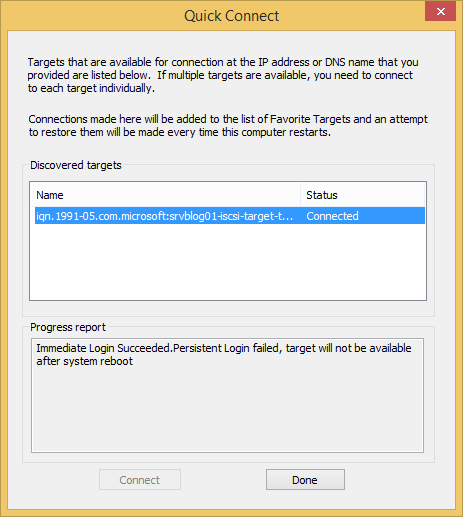
Go to the Targets tab and specify the IP of the Target Server, then click Quick Connect:

Connection completed:
You’ll find a new volume in the Disk Management panel of the client PC. You can format it and manage like you desire.
Read related articles
Configuring and using Windows Deployment Services (WDS)
Windows Deployment Services (WDS) is the Microsoft server role that enables administrators to deploy Windows operating systems over the network
Sysprep in 2026: practical guide for sysadmins and MSPs
Sysprep (System Preparation Tool) is the Microsoft tool used to prepare a Windows installation for cloning. During installation, Windows generates
A Guide to PowerShell – part 3
Welcome to part 3 of 3 of The Solving A guide to PowerShell. Check also Part 1 and Part 2.