How to connect a Windows 8.1 client to a Work Folders Sync Share
SOLVE IT PROBLEMS REMOTELY
with Supremo Remote Desktop
EASY, POWERFUL, REASONABLY PRICED

Recently, we explained how you can set up a Work Folders Sync Share on a Windows Server 2012 R2. It’s time to discover how you can connect a Windows 8.1 client to a Work Folders Sync Share.
The process is quick and simple, but you need to know two important things:
- By default, you need a SSL certificate installed and configured on the server in order to connect the client. You can configure the client to use http – instead of https – by running the following command on the client:
Reg add HKLM\SOFTWARE\Microsoft\Windows\CurrentVersion\WorkFolders /v AllowUnsecureConnection /t REG_DWORD /d 1 - As Microsoft explains here, when a user enters the email address, such as Jane@contoso.com, the client will construct the Url as https://WorkFolders.contoso.com, and use that Url to communicate with the server. In production environment, you will need to publish the Url for the client to communicate to the server through reverse proxy. You can bypass the Url publication configuring the following regkey:
Reg add HKCU\Software\Microsoft\Windows\CurrentVersion\WorkFolders /v ServerUrl /t REG_SZ /d http://syncServer.contoso.com
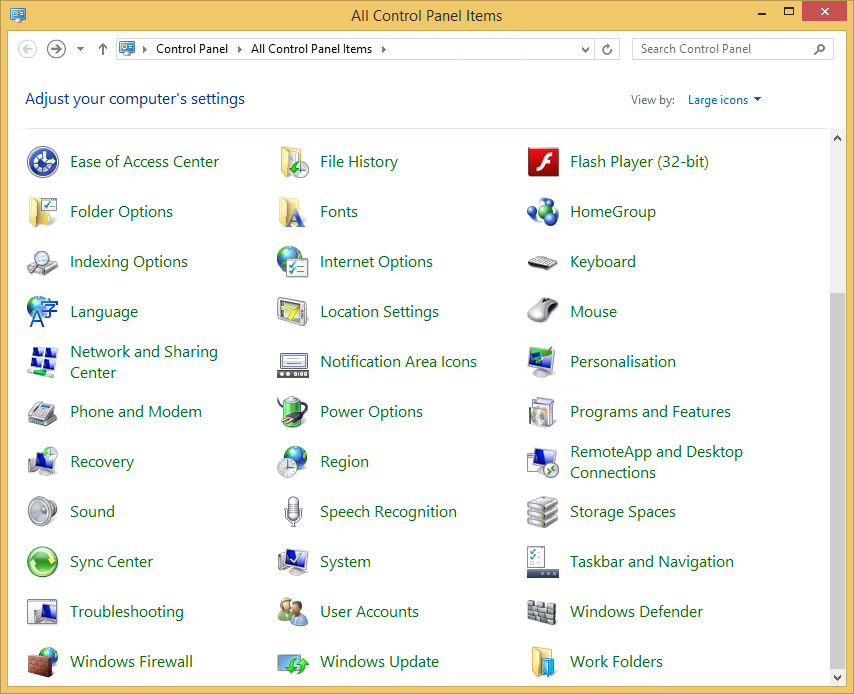
Let’s start with this tutorial. Open your Control Panel and click on Work Folders:
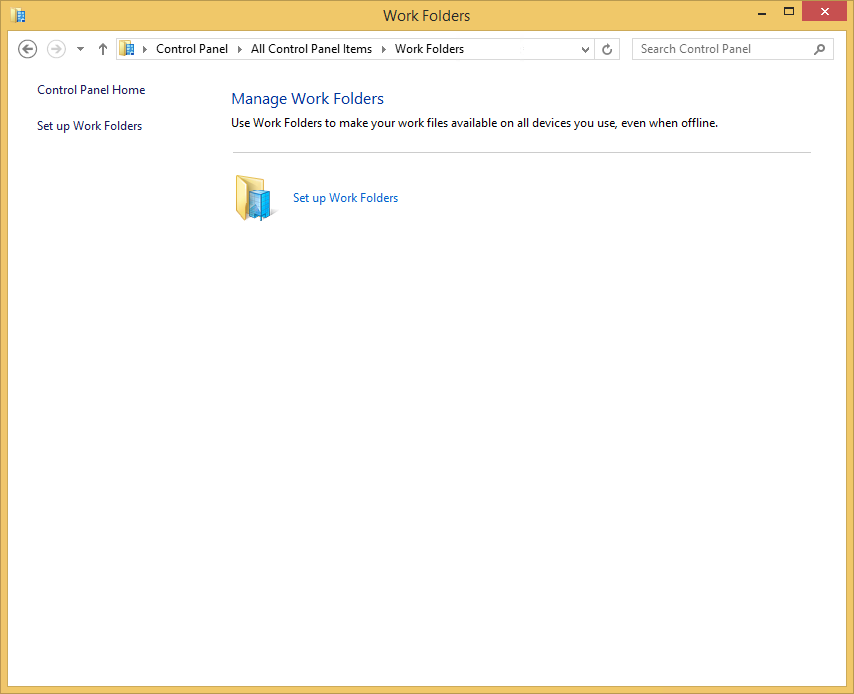
Click Set up Work Folders:
Specify the account email:
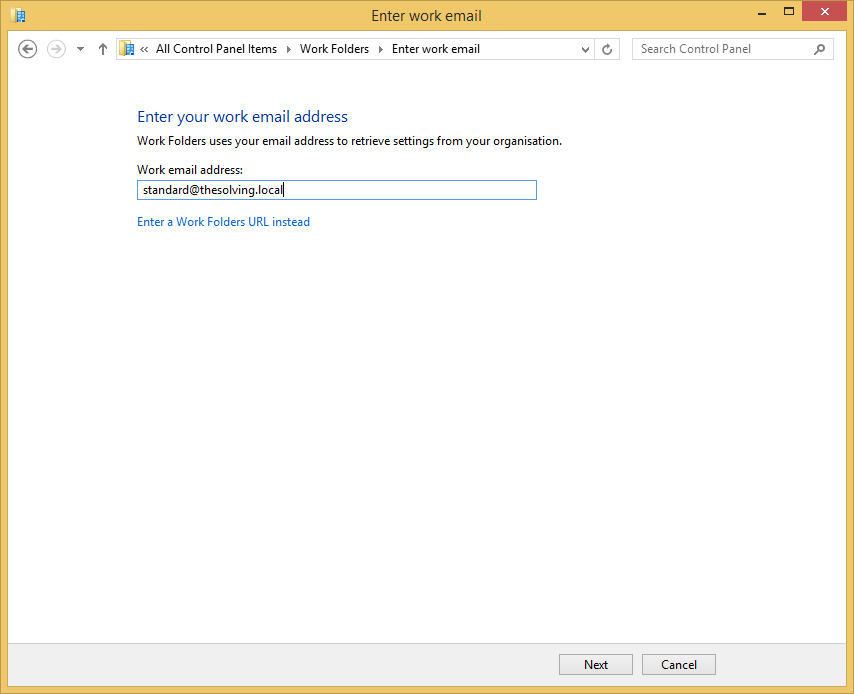
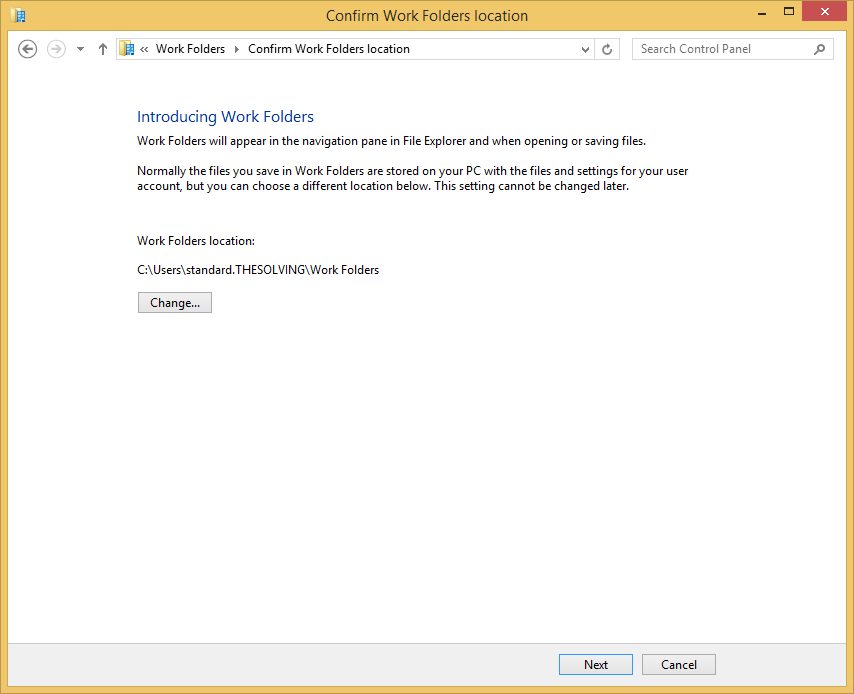
Click Next:
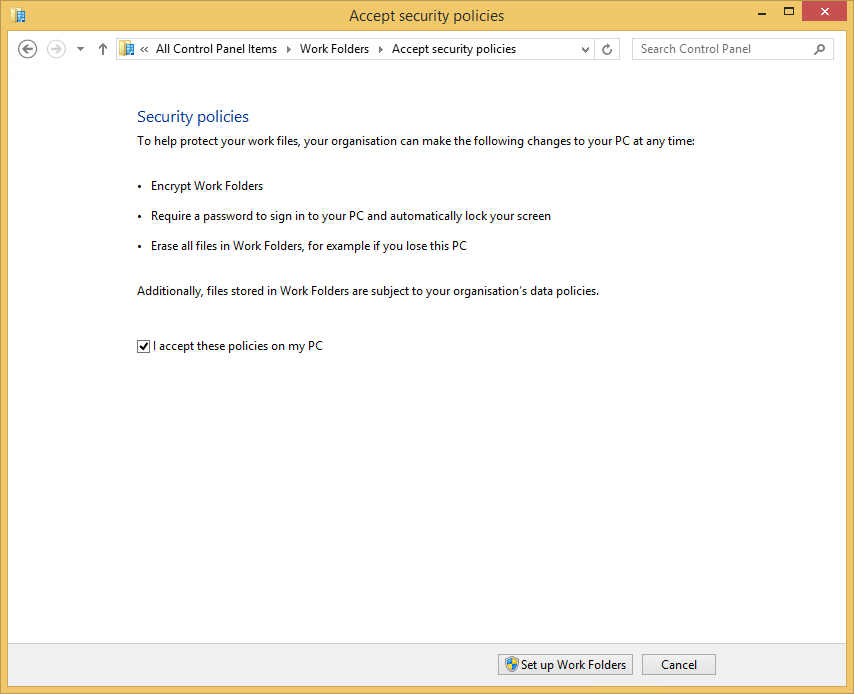
Accept the policies:
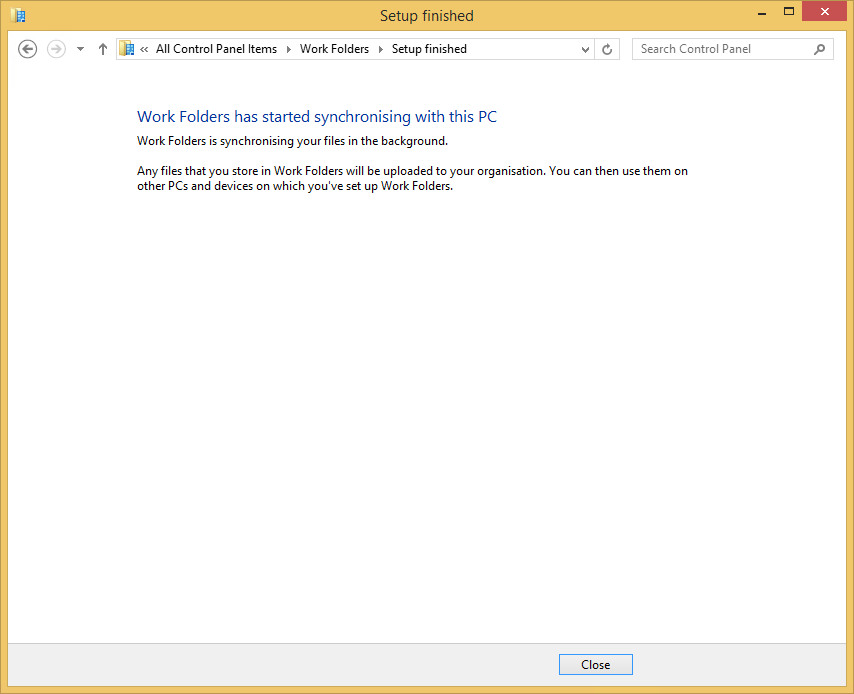
Procedure completed:
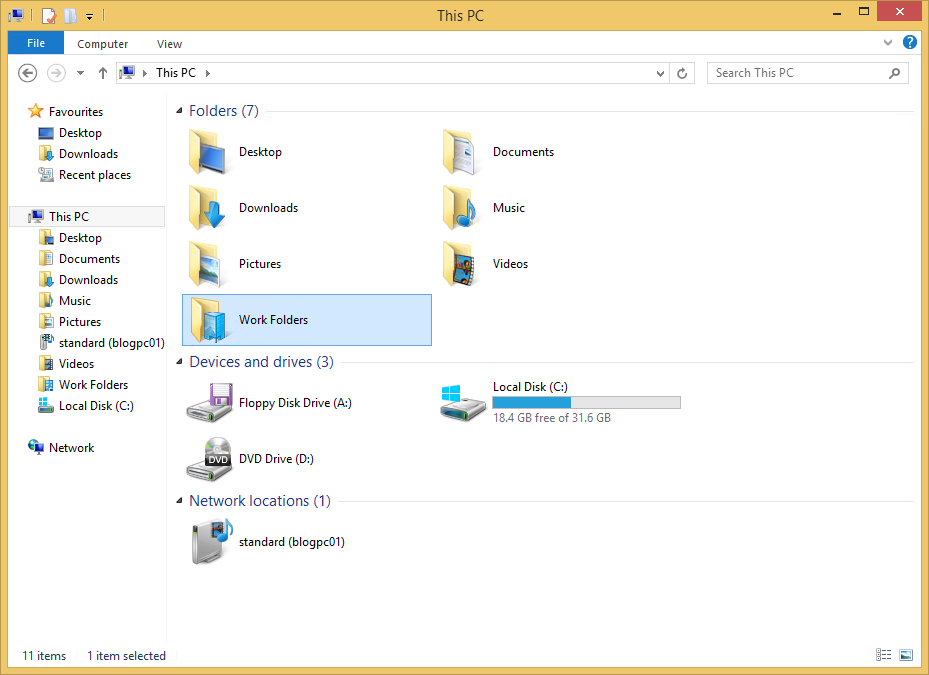
A Work Folders link will magically appear in your PC:
Related article:
Set up a Work Folders Sync Share on Windows Server 2012 R2
Share:


Comments