How to set up a Hyper-V failover cluster

Hyper-V can enable high-availability using Windows Server Failover Cluster Manager. This allows you to create a virtual infrastructure which is resilient to server failures.
A typical Hyper-V failover cluster setup consists of 2 or more servers, which share clustered network and clustered storage resources. In the event of a server failure, the clustered resources are seemlessly failed over to the next available server. To the end user, there is generally no impact on services running on the server.
Failover is an automated process which is managed by the Operating System. Hyper-V enables you to create clustered storage and clustered networking which are an infrastructure requirement for cluster failover manager.
Prerequisites
To enable Hyper-V Failover clustering we have used the following setup. You can find instructions how to configure iSCSI on Windows Server on this previous The-Solving post:
- 1x Windows Server 2012 R2 with 20GB iSCSI shared storage. This will be used to create the Clustered Disk;
- 2x Windows Server 2012 R2 Nodes with the Failover Cluster manager role installed.
Configure the Cluster Hard Disk in Hyper-V
- This can be done using Windows Server 2012 R2 as an iSCSI target server
- Details of how to do this can be found here
- If you require more than one clustered disk you can add disks from the Hyper-V manager > New Hard Disk > New Virtual Hard Disk Wizard
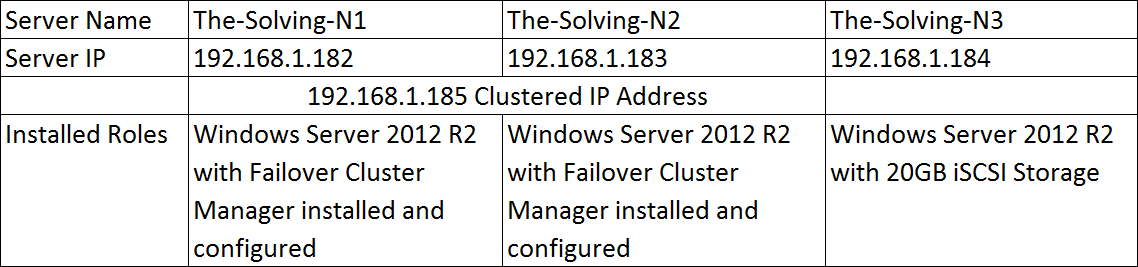
Setup Failover Cluster Manager
Windows Server 2012 R2 Failover cluster manager is required on both Node servers. In this example this will be done on The-Solving-N1 and The-Solving-N2.
- Ensure you have the Failover Cluster Manager role installed on your Windows Server 2012 R2 servers. This is a server role which can be added from Server Manager.
- Open Failover Cluster Manager and select Validate Configuration. This action can be used to complete the entire setup process:
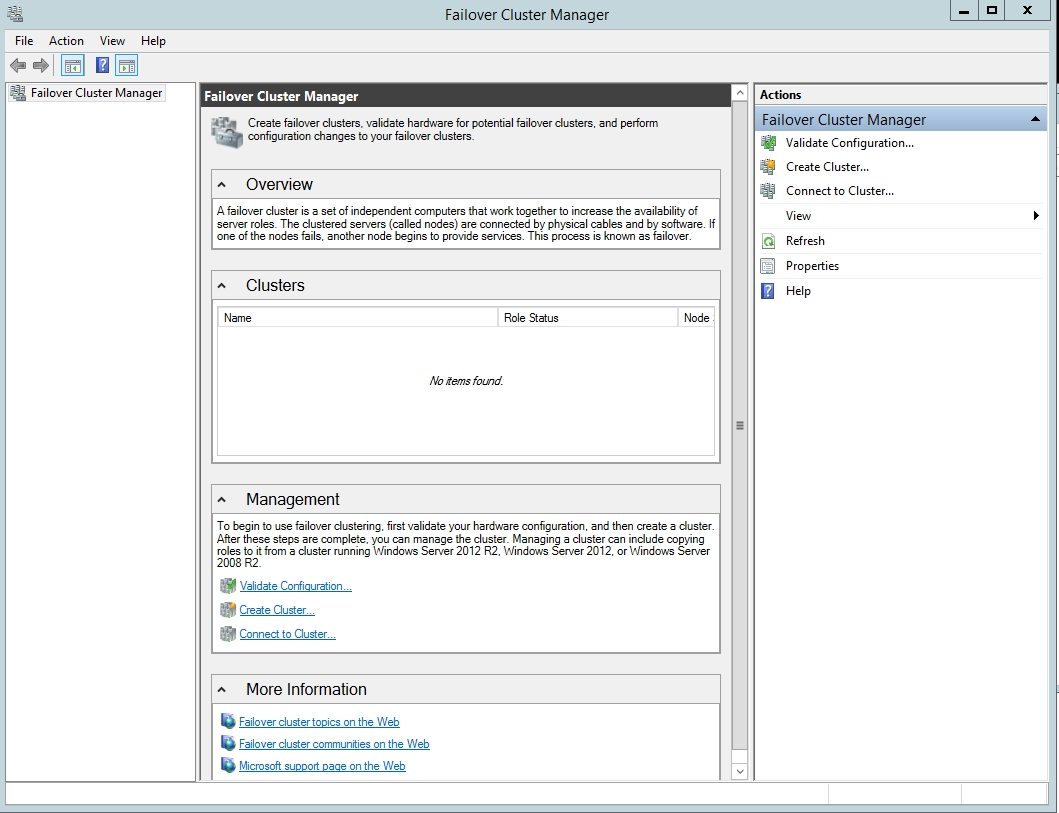
- Enter your server names from the active directory Select computers window:
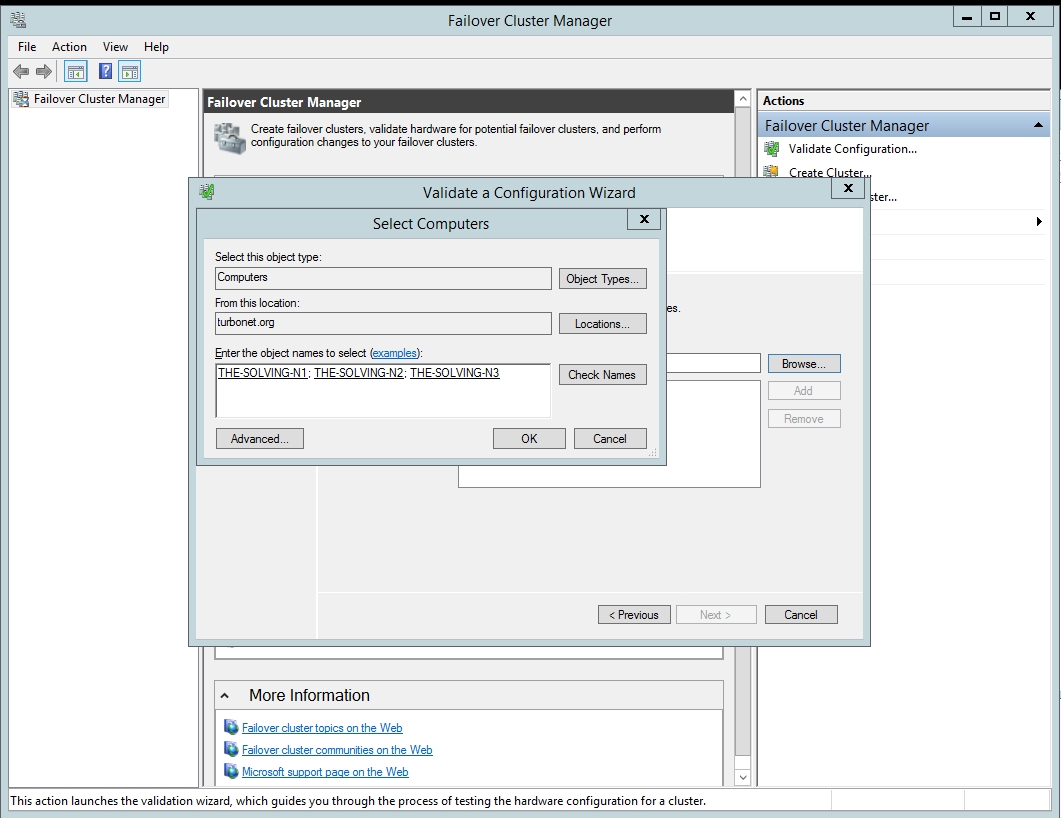
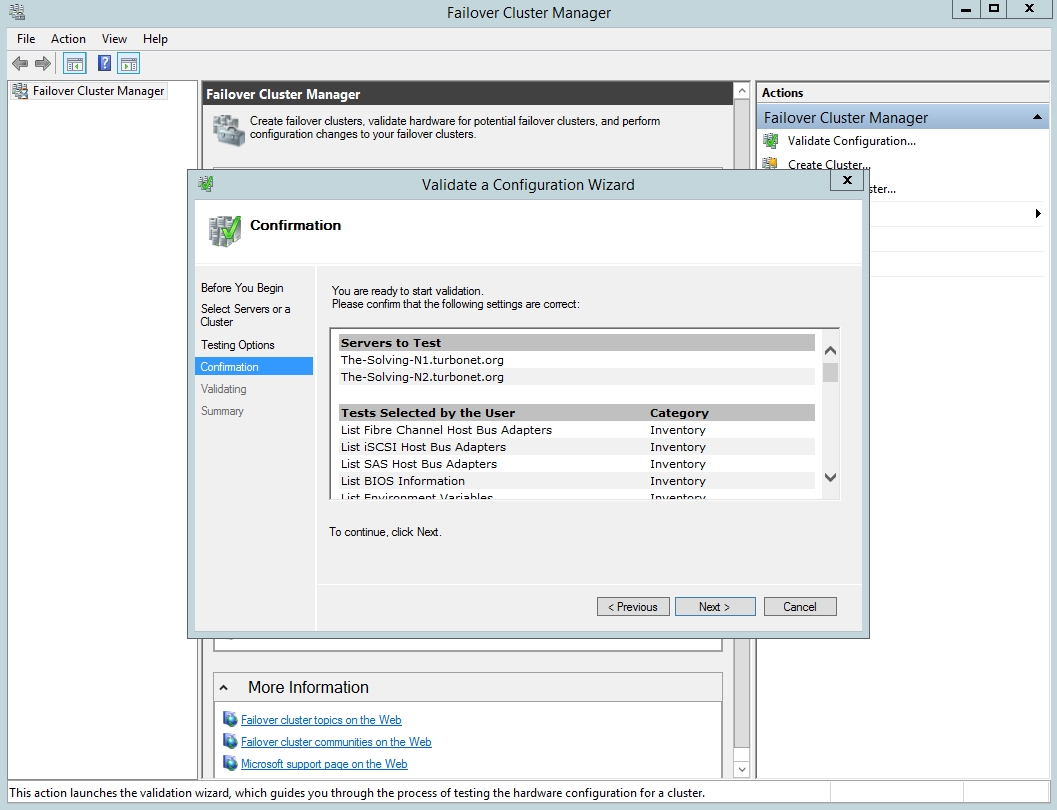
- Select Run All Tests – This will check your environment servers, network and storage is capable of HA:
- On the confirmation page select next – the test will now run. This can take some time:
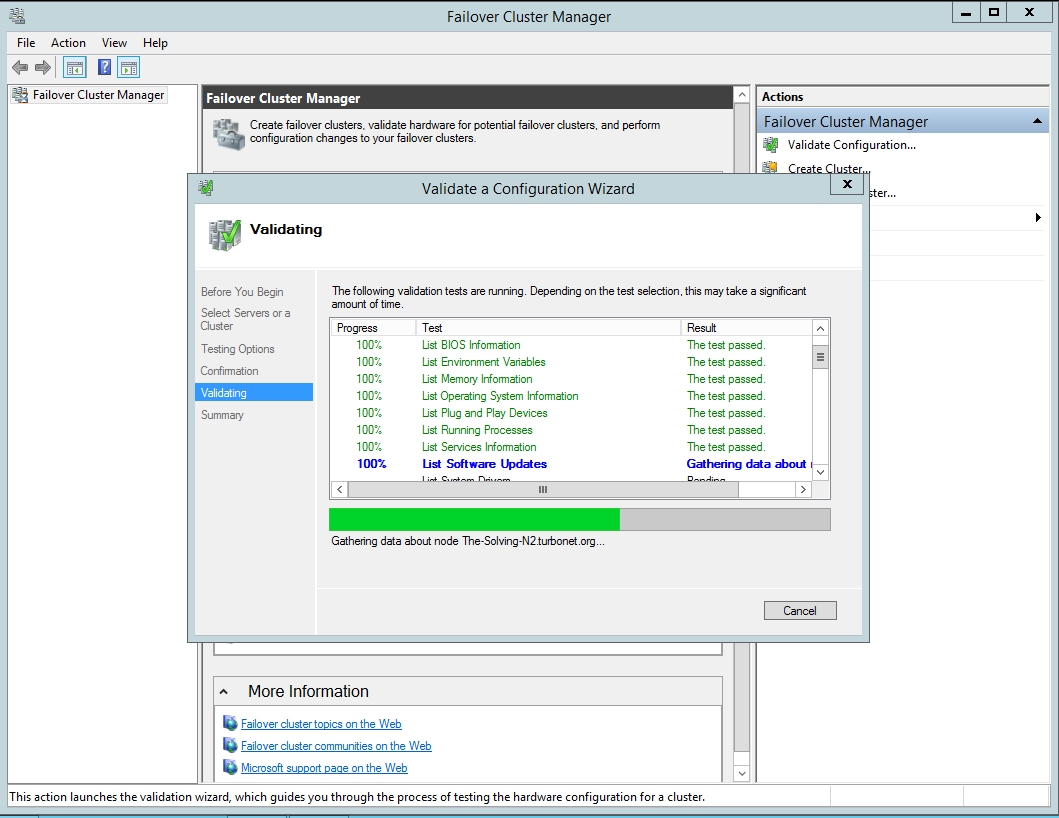
- The validation checks will now run against the cluster nodes. This will take serveral minutes to complete:
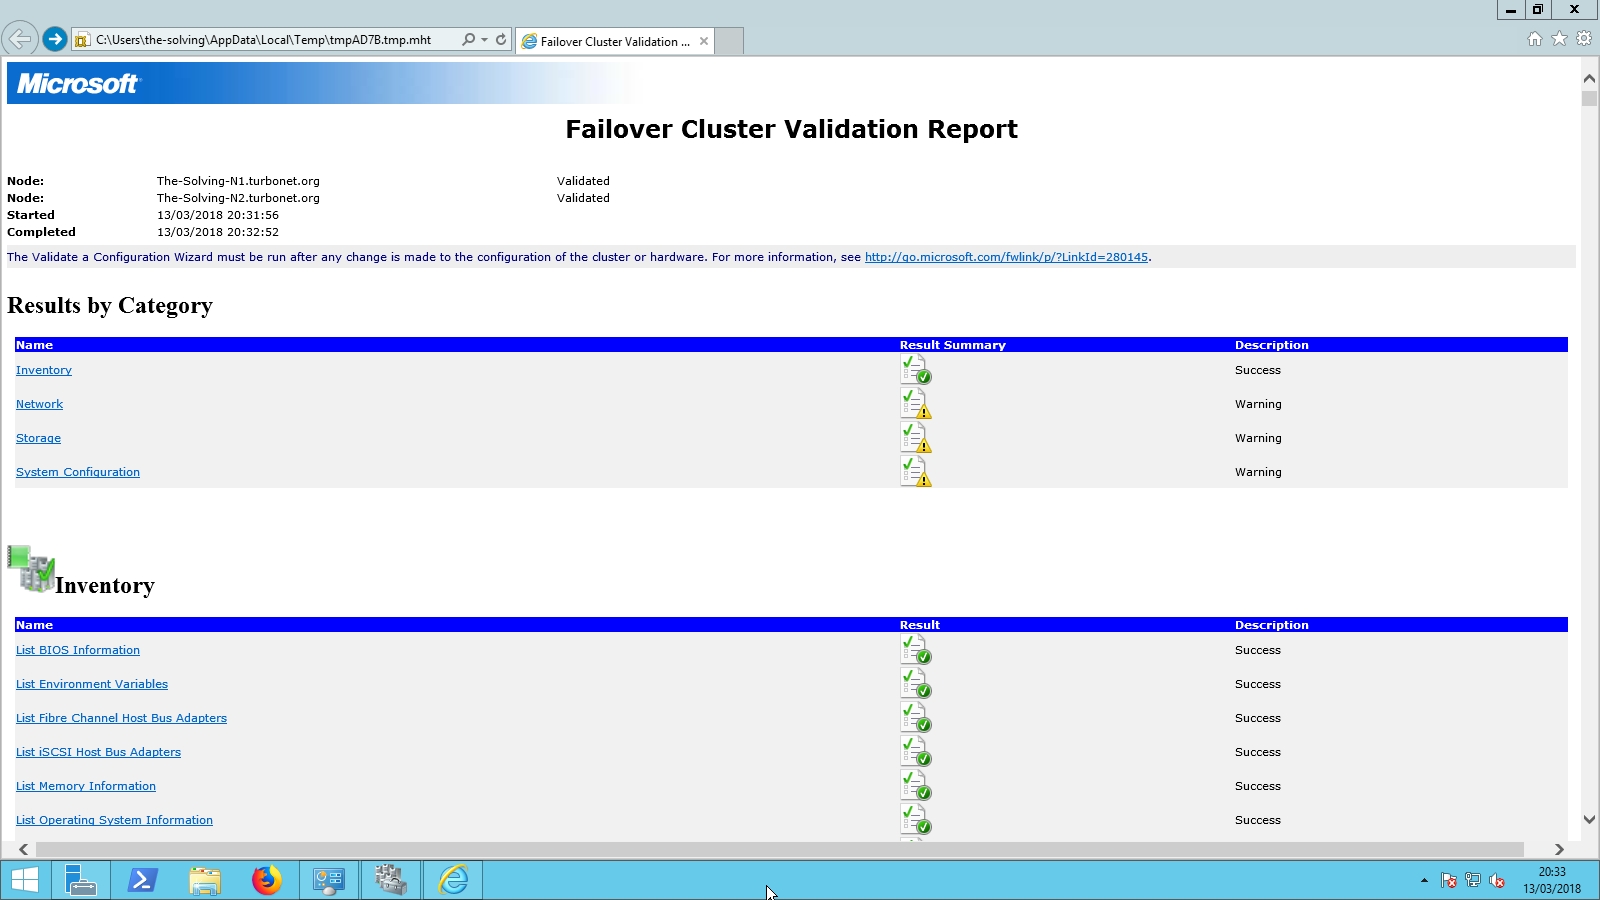
- Once completed, this will show the Validation report. Check for Errors and warning applicable to your infrastructure. In a production environment ensure that all results are successful:
- Once the report has been review, Click Next and the Cluster Wizard will automatically start. Ensure you tick the box Add all eligible storage to the cluster:

- input your designated cluster name and cluster IP address:

- The Cluster Wizard will now create the cluster for you. This process takes a few minutes to complete depending on the complexities of your setup.
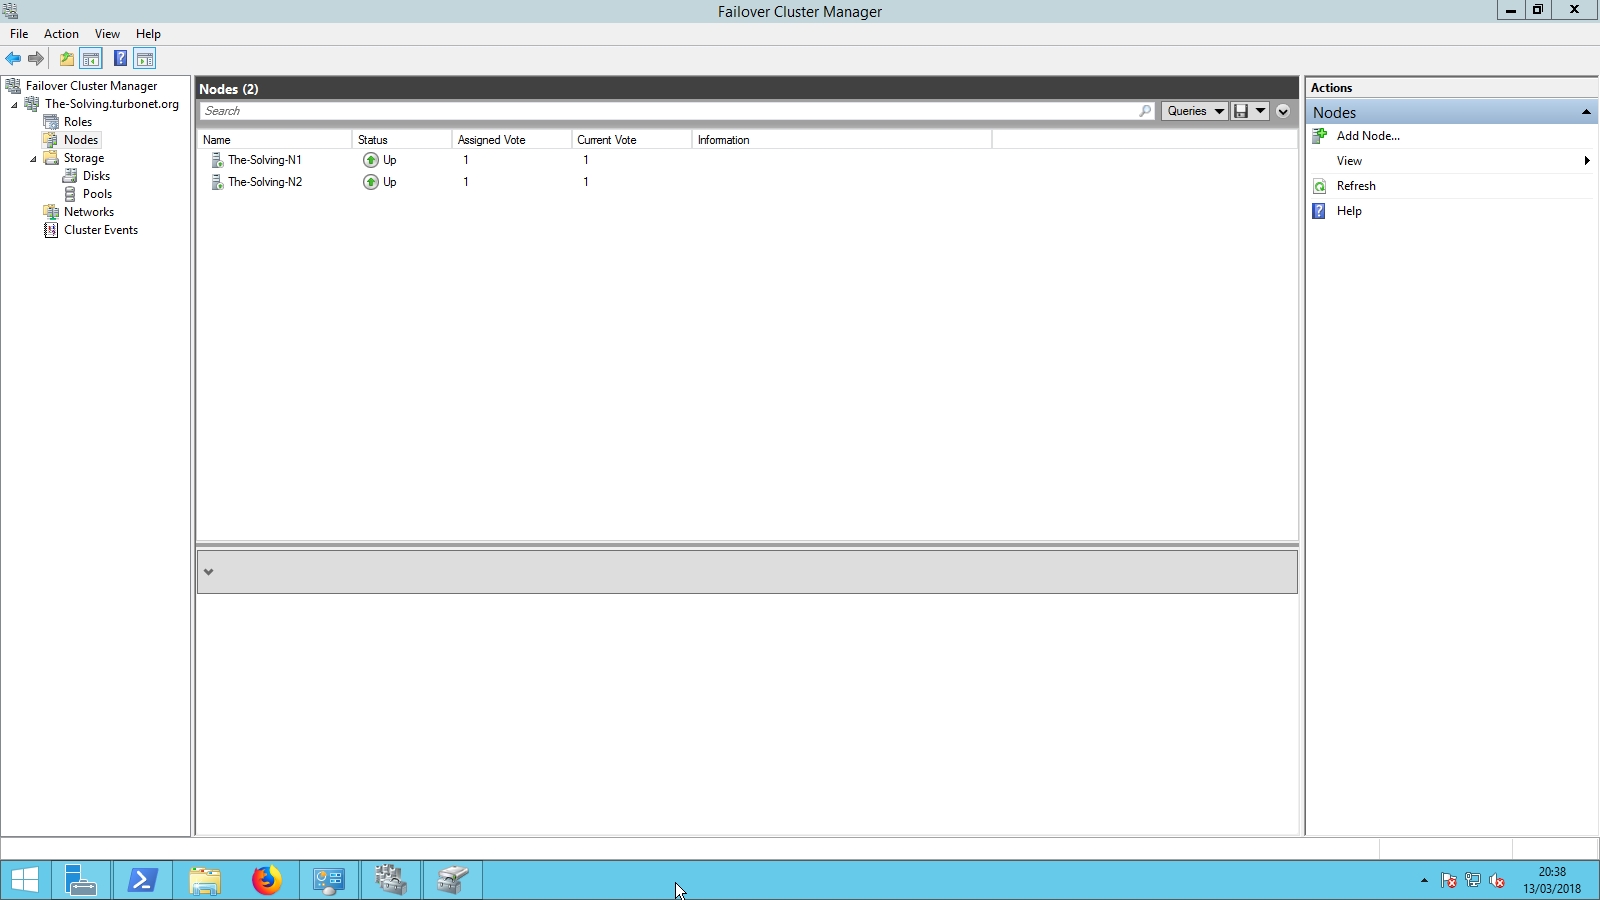
- Once completed your cluster will be available to view in Failover Cluster Manager:
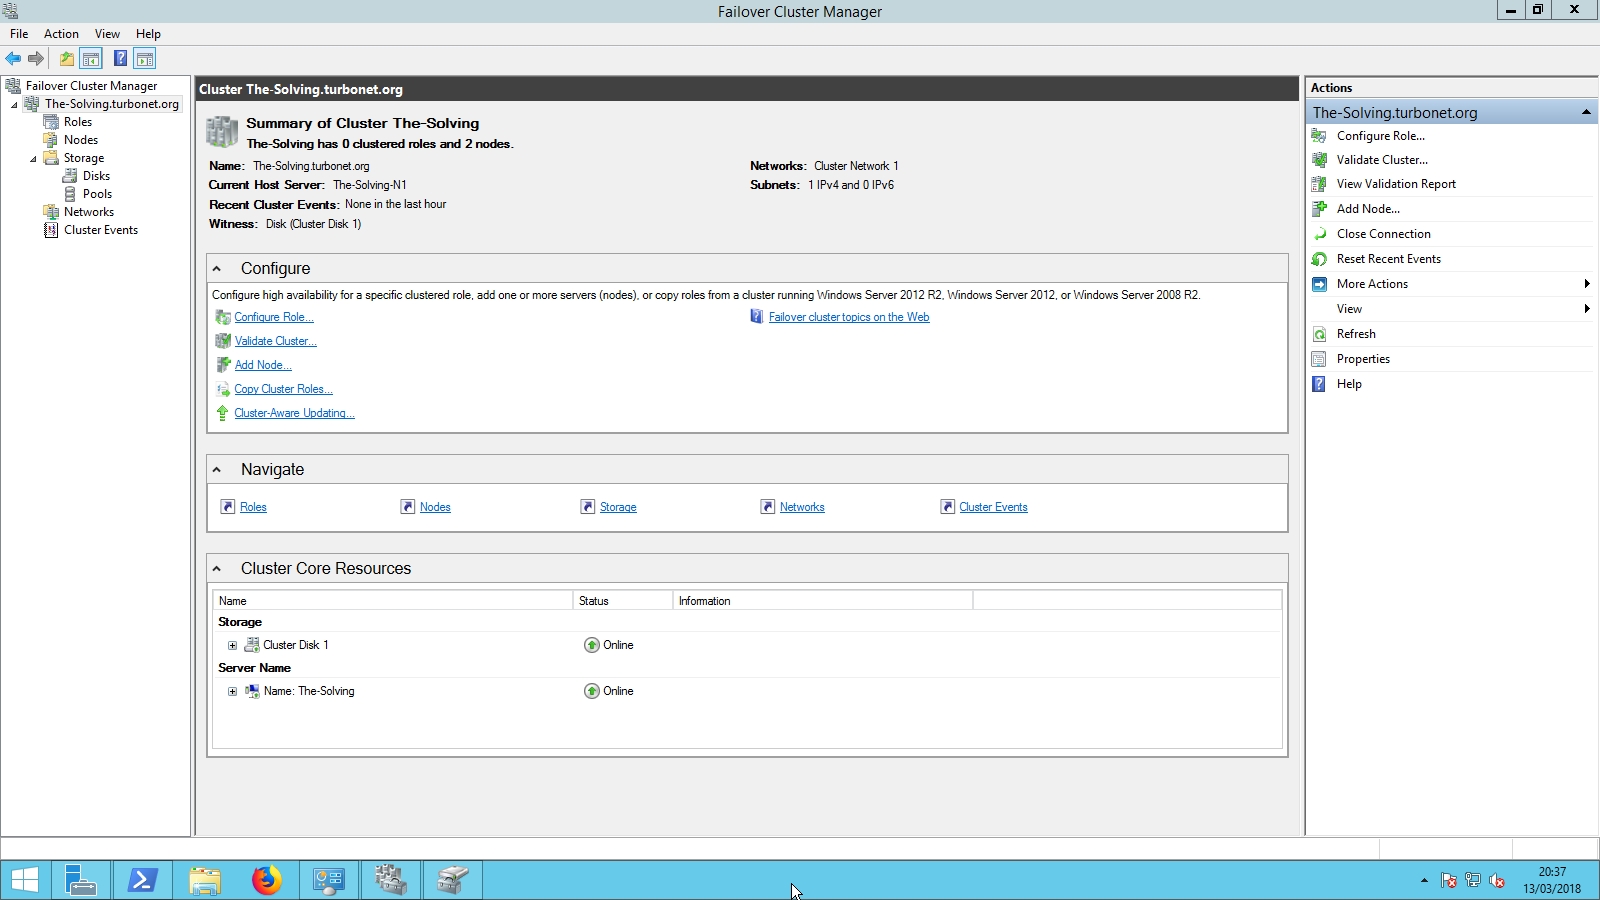
- Ensure both cluster nodes are available:
- Ensure that the clustered storage is available and if applicable check cluster network and heartbeat NICS:


Comments