
 English
 Español
iSCSI è una potente tecnologia di storage che può rivelarsi utile anche per la condivisione di un volume di rete a un gruppo di utenti.
Anche se iSCSI è stato sviluppato per consentire operazioni più complesse, essendo in grado di collegare un volume di rete ad un PC client, può rivelarsi una soluzione interessante anche per una condivisione di rete.
Windows Server 2012 e 2012 R2 possono gestire nativamente degli iSCSI target mentre le versioni più vecchie necessario l’installazione di un pacchetto Microsoft.
In questo tutorial vedremo come creare un iSCSI target e come collegarlo ad un PC client.
Aprite il Server Manager:

Cliccate To install iSCSI Target Server, start the Add Roles and Features Wizard:

La procedura guidata apparirà pre-configurata con i ruoli richiesti. Cliccate Next fino alla fine:
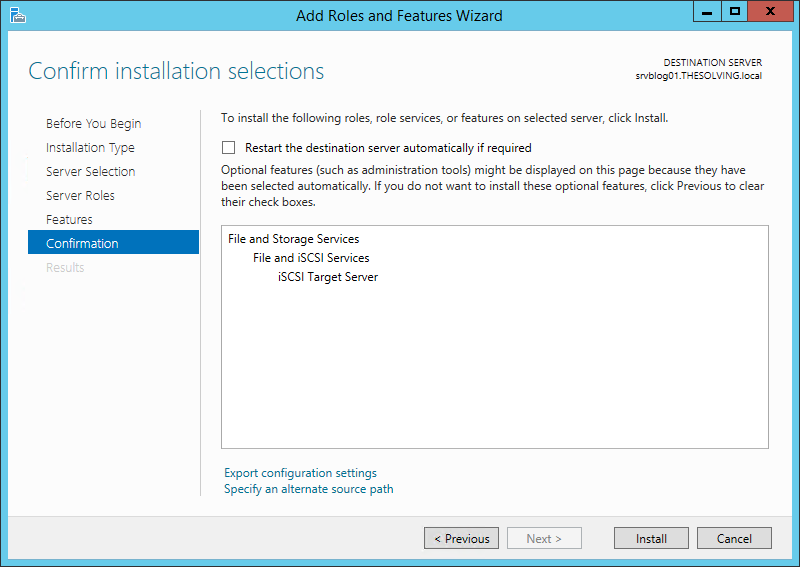
Ora iSCSI Target Server è installato e configurabile come nuovo target.
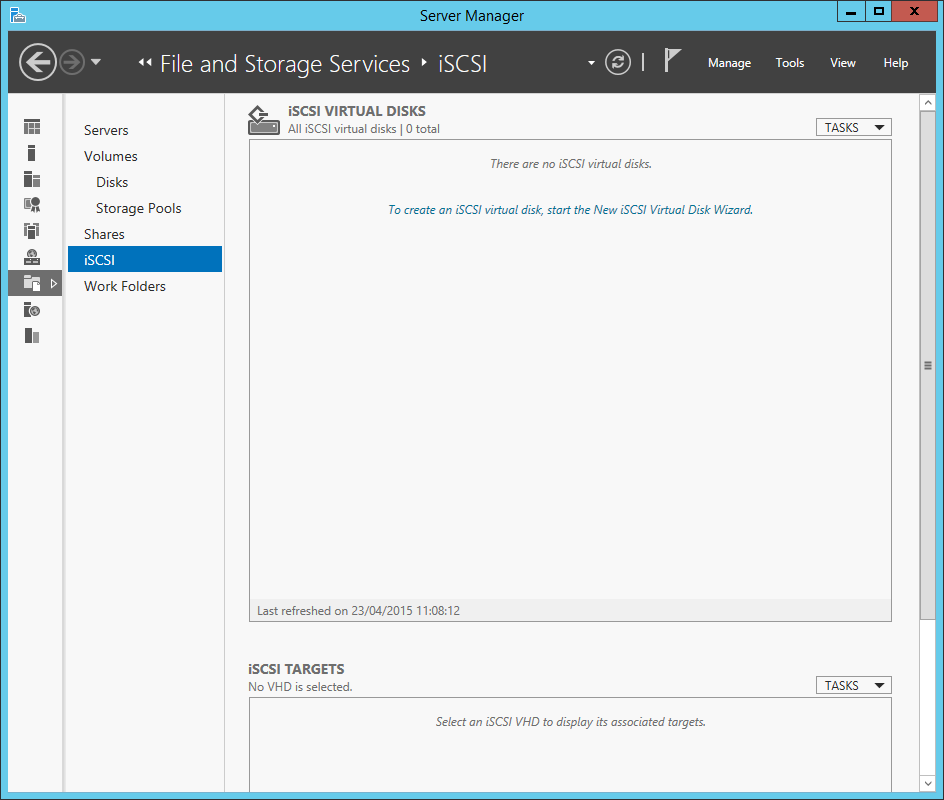
Cliccate To create an iSCSI virtual disk, start the New iSCSI Virtual Disk Wizard:
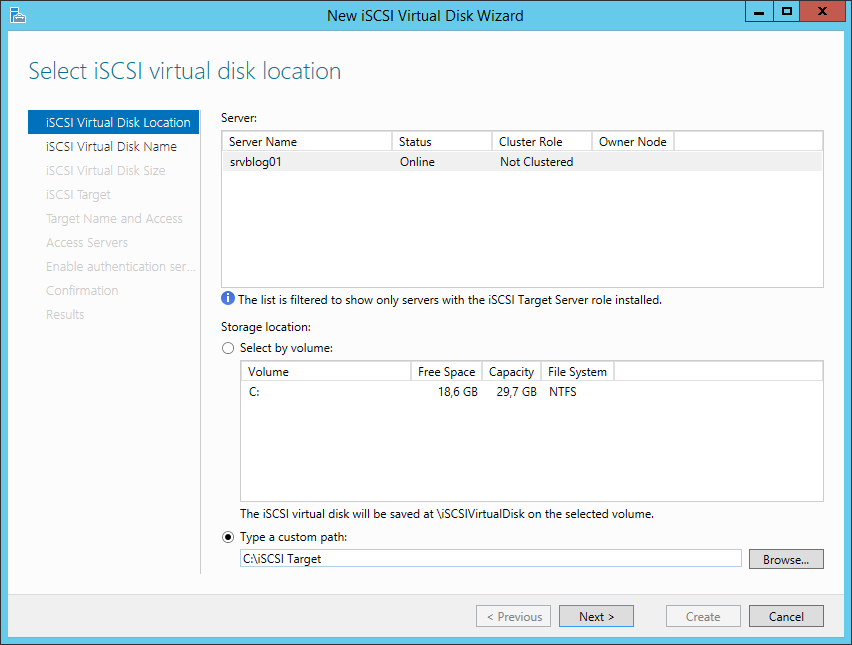
Selezionate un volume o scegliete un percorso in cui salvare il disco virtuale:
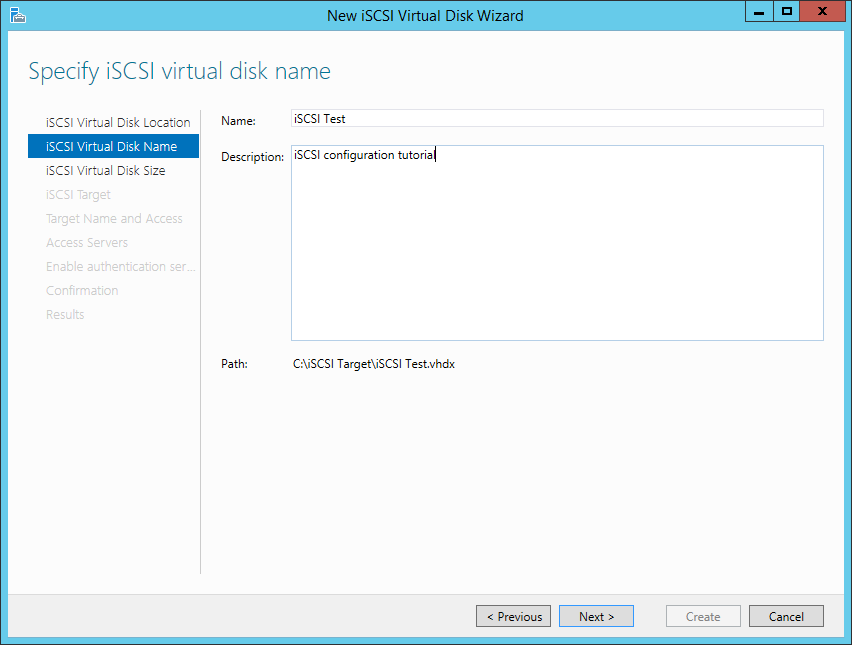
Nominate il disco virtuale iSCSI :
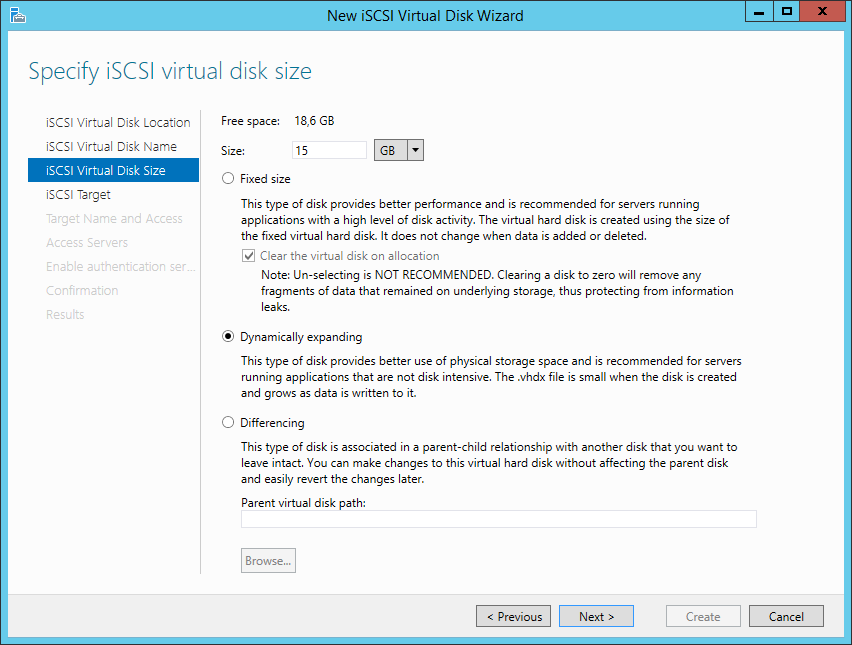
Scegliete il formato e selezionate Dynamically expanding:
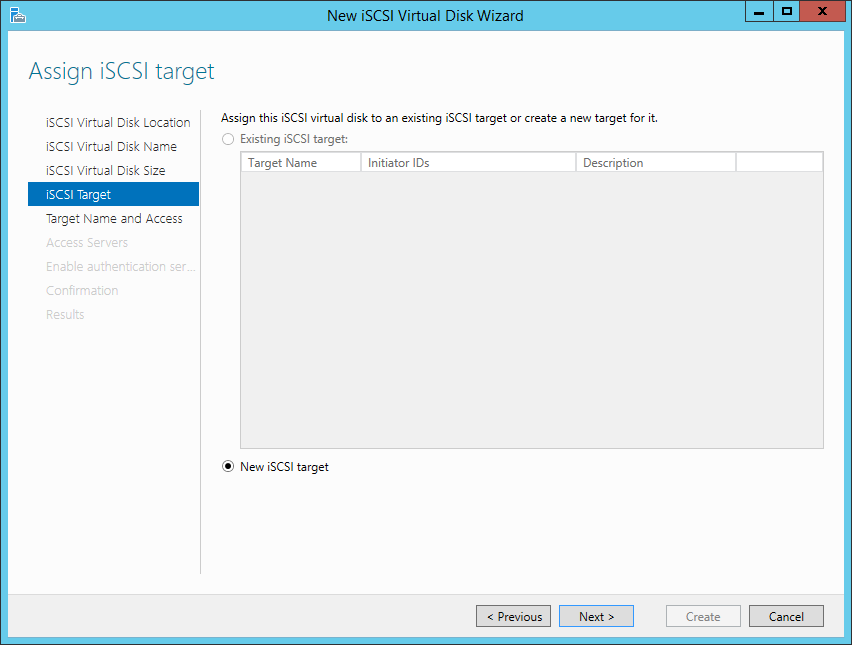
Selezionate New iSCSI target:
Nominate target iSCSI :

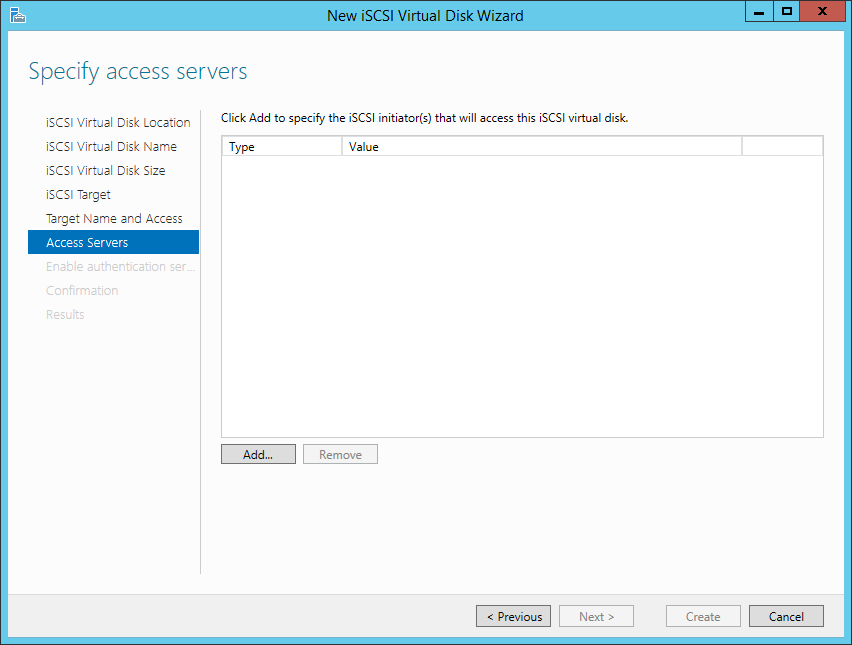
Cliccate Add, sarete in grado di specificare (e limitare) l’accesso ad un Initiator:
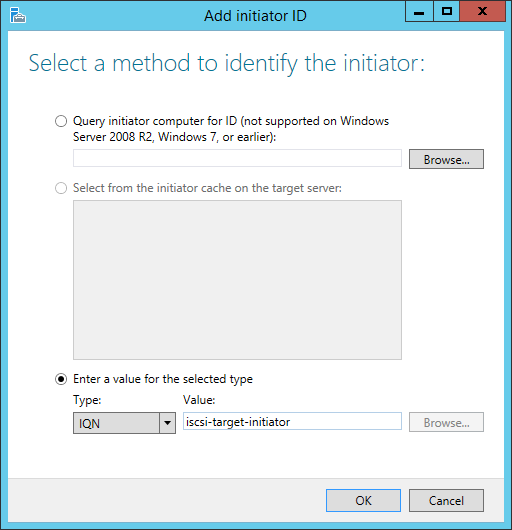
Scegliete IQN e nominate l’Initiator:
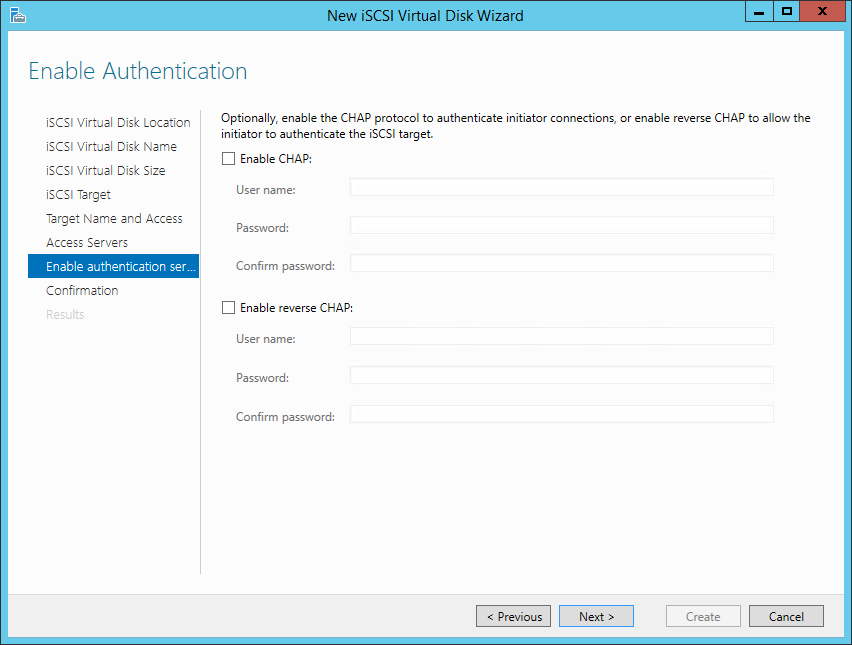
E’ possibile incrementare ulteriormente la sicurezza tramite l’autenticazione CHAP. Salteremo questo passo:
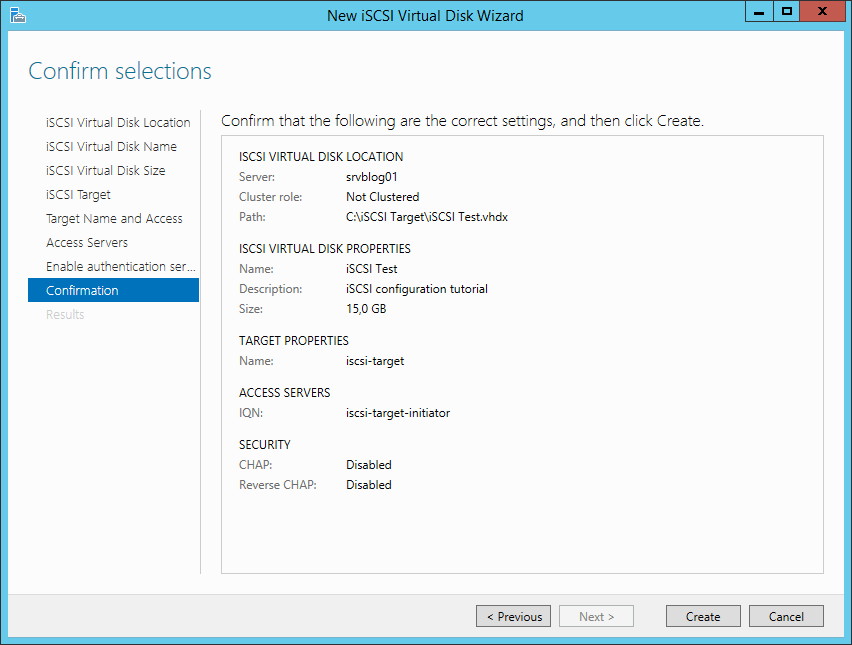
Cliccate Create:
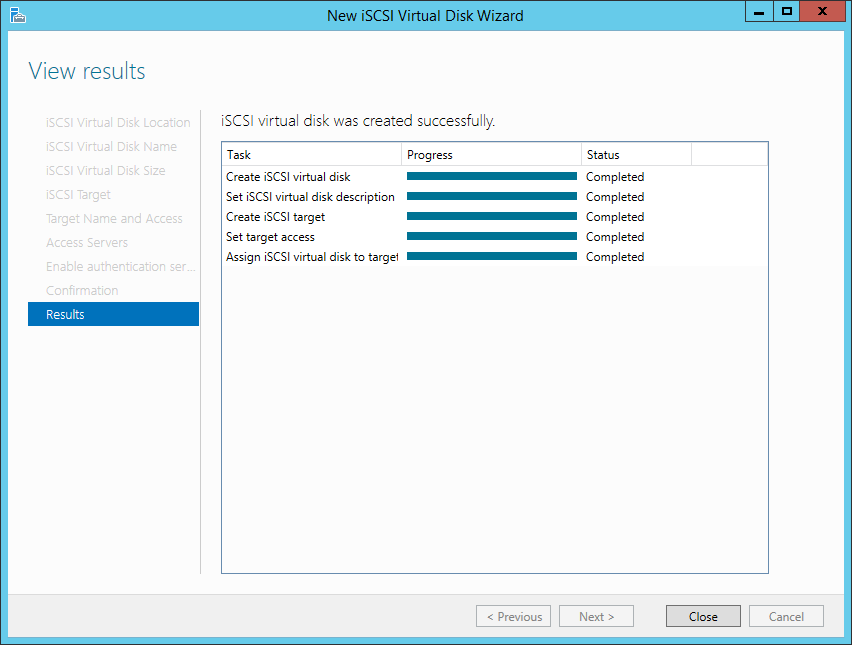
Target creato!
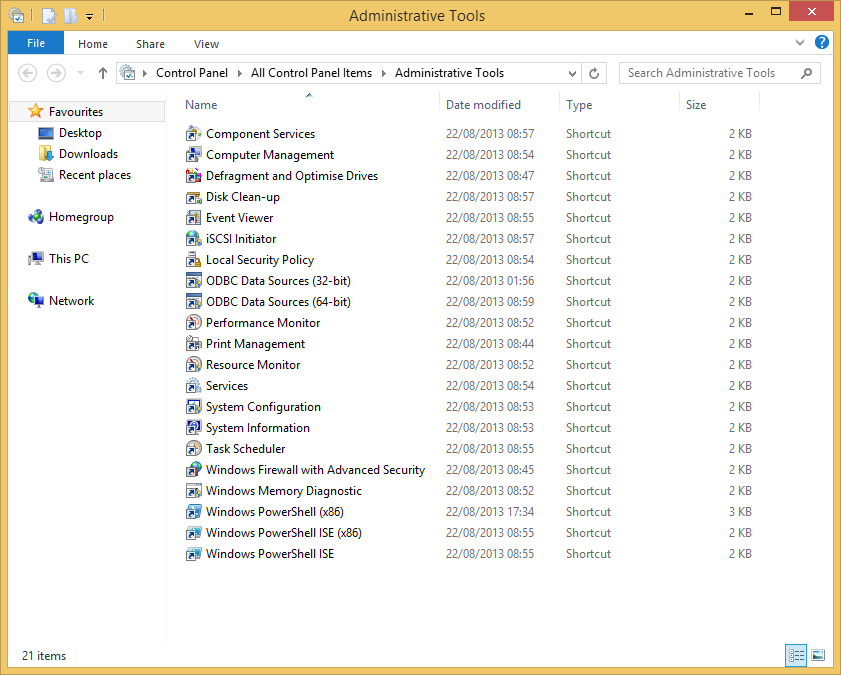
Ora bisogna connettere un PC client al target iSCSI. Aprite il pannello di controllo del computer client e selezionate Administrative Tools. Lanciate l’iSCSI Initiator:
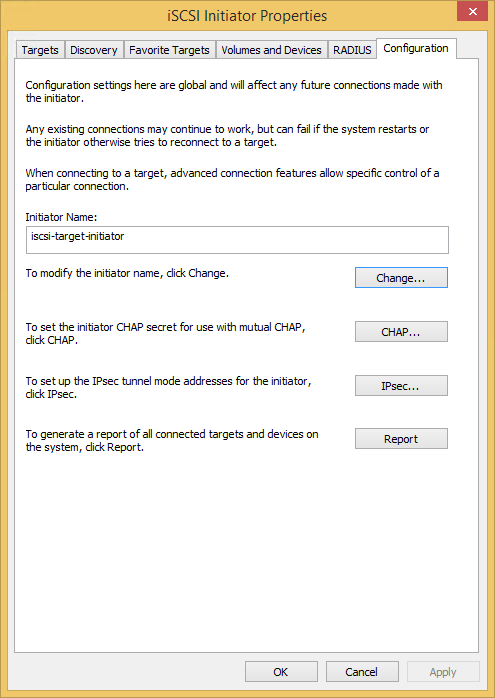
Andate al tab Configuration e specificate il nome dell’iniziatore (utilizzate lo stesso configurato per il target):
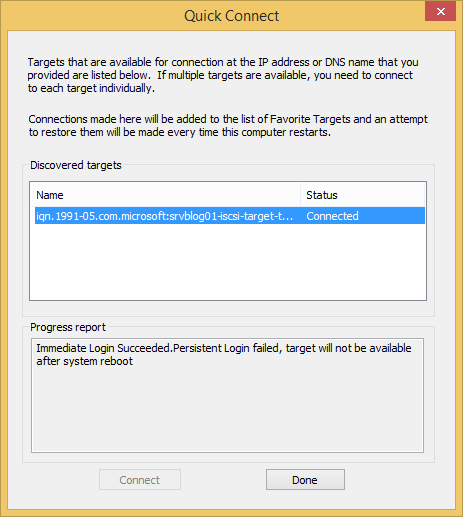
Andate al tab Targets e specificate l’IP del Target Server, cliccate Quick Connect:

Connessione completata:
Troverete un nuovo volume nel pannello Disk Management del client PC. Potete formattarlo e gestirlo come desiderate.
Read related articles
Come imporre restrizioni alle periferiche con un GPO
Abbiamo visto come limitare software (in due modi diversi) e siti web attraverso GPO. Ora è il momento di limitare le
PowerShell: una guida completa – parte 3a
Benvenuti alla parte 3 di 3 di PowerShell: una guida completa. Clicca i seguenti link per consultare la parte 1
PowerShell: una guida completa – parte 2a
Benvenuti alla parte 2 di 3 di PowerShell: una guida completa. Clicca i seguenti link per consultare la parte 1