
 Italiano
 Español
Welcome to part 2 of 3 of The Solving A guide to PowerShell. Click here for Part 1 and Part 3. Here we will introduce importing & exporting data to and from the Shell.
Importing Data into PowerShell
PowerShell supports a large number of data formats which can be imported into it. This gives administrators the ability to execute tasks or commands against the data input. There are 2 key commands to grasp, Get-Content and Import-csv. The Get-Content cmdlet will get the content of an item at a defined location, this is usually text or a string. Import-Csv creates a table-like custom object using the data and headings from a csv file. Remember you can read more by typing get-help get-content -full and get-help import-csv -full
To demonstrate this I will be using The-Solving 2012 R2 Lab. I have created a text file with the server hostnames and saved it to C:\Temp\Test.txt
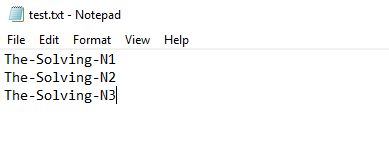
Type Get-Content C:\TEMP\Test.txt – Powershell will import that content.

Now we have the data in the Shell we can start making use of it
type Get-Content C:\Temp\test.txt | ForEach-Object {Get-WMIObject -class win32_processor} | FT – Autosize

This command outputs the CPU details of the Servers in my test.txt. The command introduces several concepts which are key to understanding importing data into PowerShell
- The Get-WMIObject -class win32_processor is the command which gathers the CPU information.
- The ForEach-Object cmdlet will apply the Get-WMIObject command to each hostname listed in the test.txt.
- The parenthesis { } wrap the command {Get-WMIObject -class win32_processor} tells PowerShell to run Get-WMIObject -class win32_processor against every object (or line) of text in C:\Temp\test.txt.
- The final part of the command | FT -Autosize introduces outputting data from PowerShell, FT is an alias of Format-Table, the -autosize makes the shell display all the details in a readable format on my screen.
As always, this can be taken further. The output above might not list everything you need to know about the Processor.
Type Get-content C:\TEMP\test.txt | ForEach-Object {Get-WmiObject -class win32_processor} | Get-member
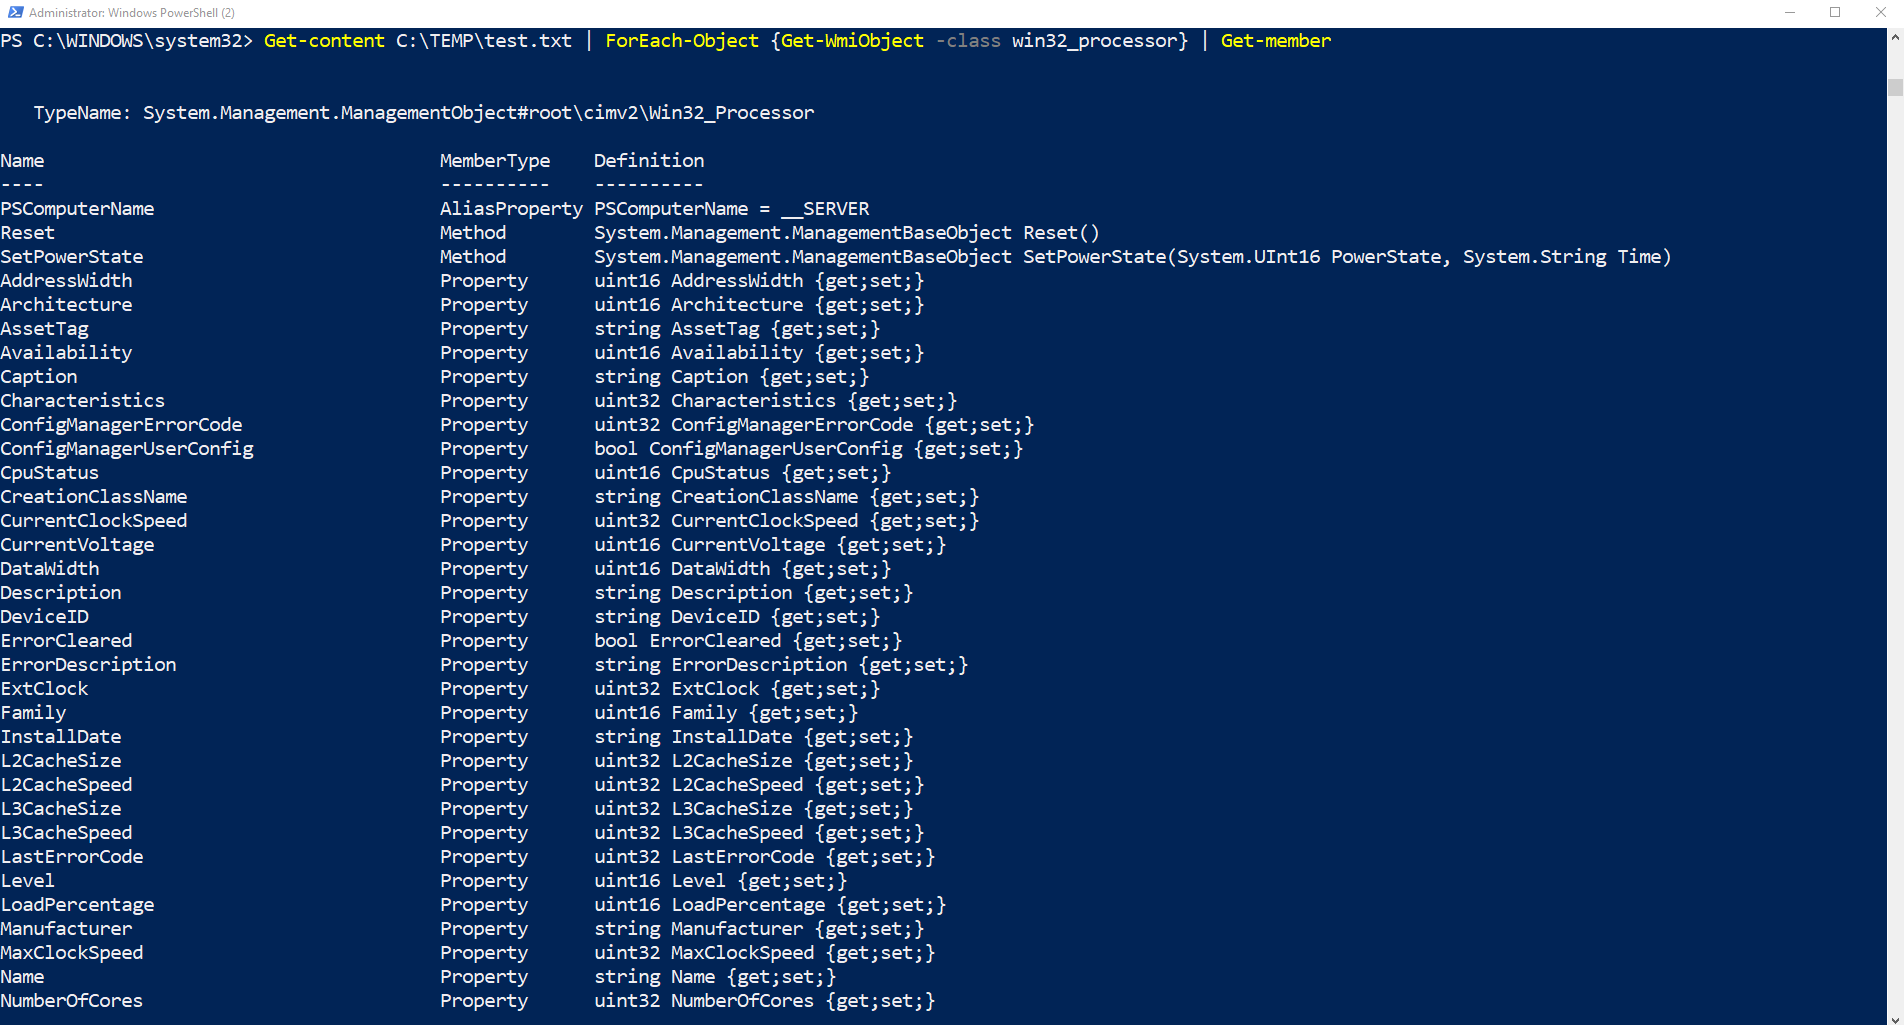
You can now edit the original command to search for specific properties you require.
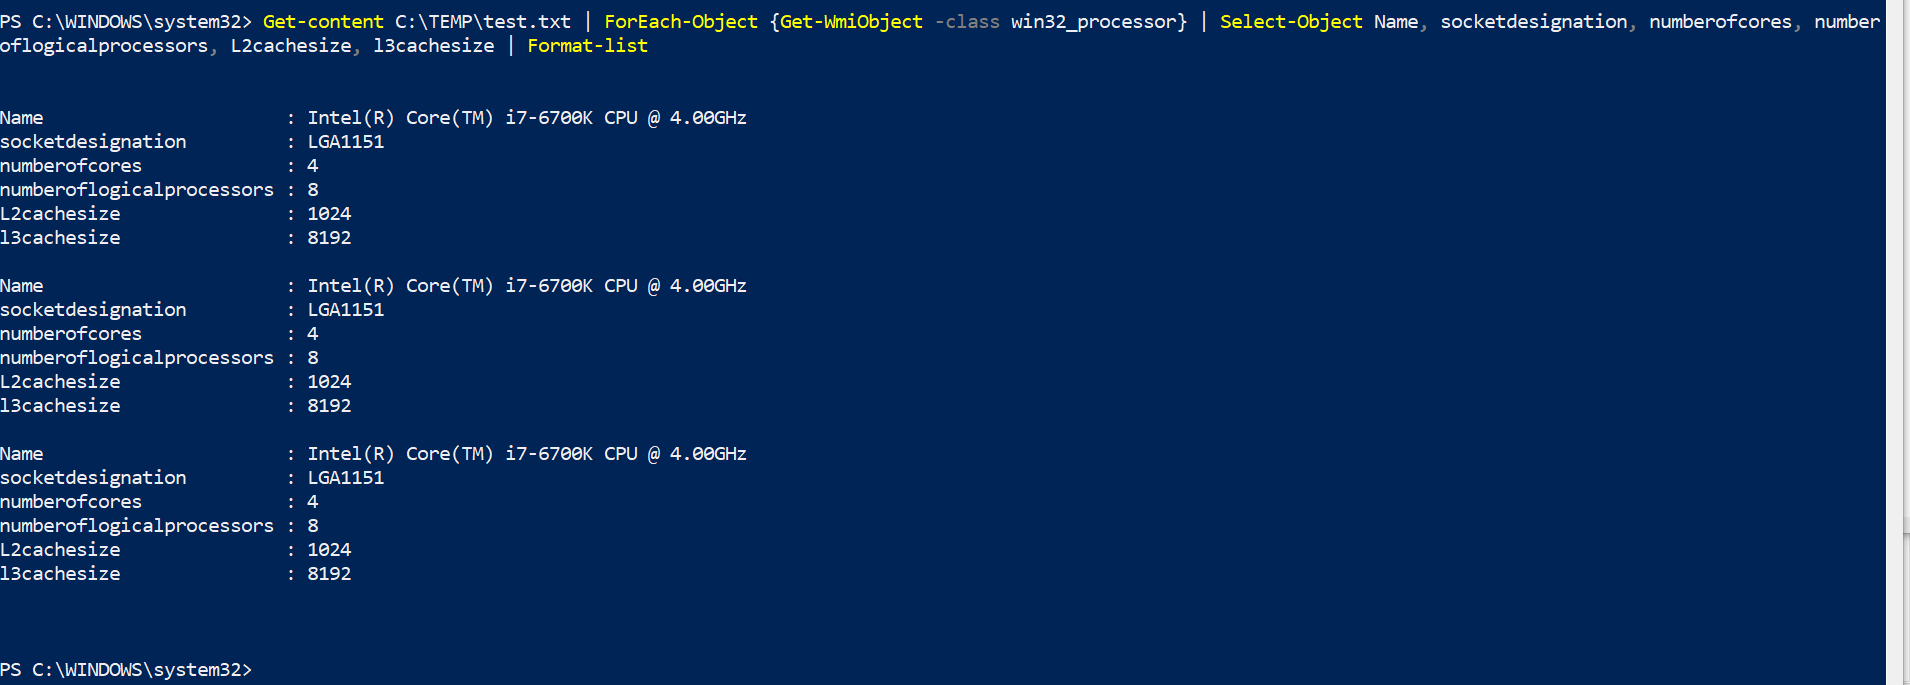
For example Get-content C:\TEMP\test.txt | ForEach-Object {Get-WmiObject -class win32_processor} | Select-Object Name, socketdesignation, numberofcores, number
oflogicalprocessors, L2cachesize, l3cachesize | Format-table -AutoSize

Outputting Data from PowerShell
We have already briefly mentioned output data from PowerShell with the Format-Table cmdlet. There are many formats which can be used. Some of the most popular are:
- Format-List – This is the default way PowerShell outputs data from the pipeline. Here is an example:
Type Get-content C:\TEMP\test.txt | ForEach-Object {Get-WmiObject -class win32_processor} | Select-Object Name, socketdesignation, numberofcores, number
oflogicalprocessors, L2cachesize, l3cachesize | Format-list
- Export-CSV – PowerShell can output directly to Comma Separated Values (CSV) – this is a great way to get data for report.
Type Get-content C:\TEMP\test.txt | ForEach-Object {Get-WmiObject -class win32_processor} | Select-Object Name, socketdesignation, numberofcores, number
oflogicalprocessors, L2cachesize, l3cachesize | Export-CSV C:\TEMP\Test.csv
Then Open the CSV file located in C:\TEMP\Test.csv

- Convertto-HTML – Powershell can output data directly to HTML, you can also import CSS styles to create professionally designed reports.
Type Get-content C:\TEMP\test.txt | ForEach-Object {Get-WmiObject -class win32_processor} | Select-Object Name, socketdesignation, numberofcores, number
oflogicalprocessors, L2cachesize, l3cachesize | ConvertTo-Html > C:\Temp\test.html

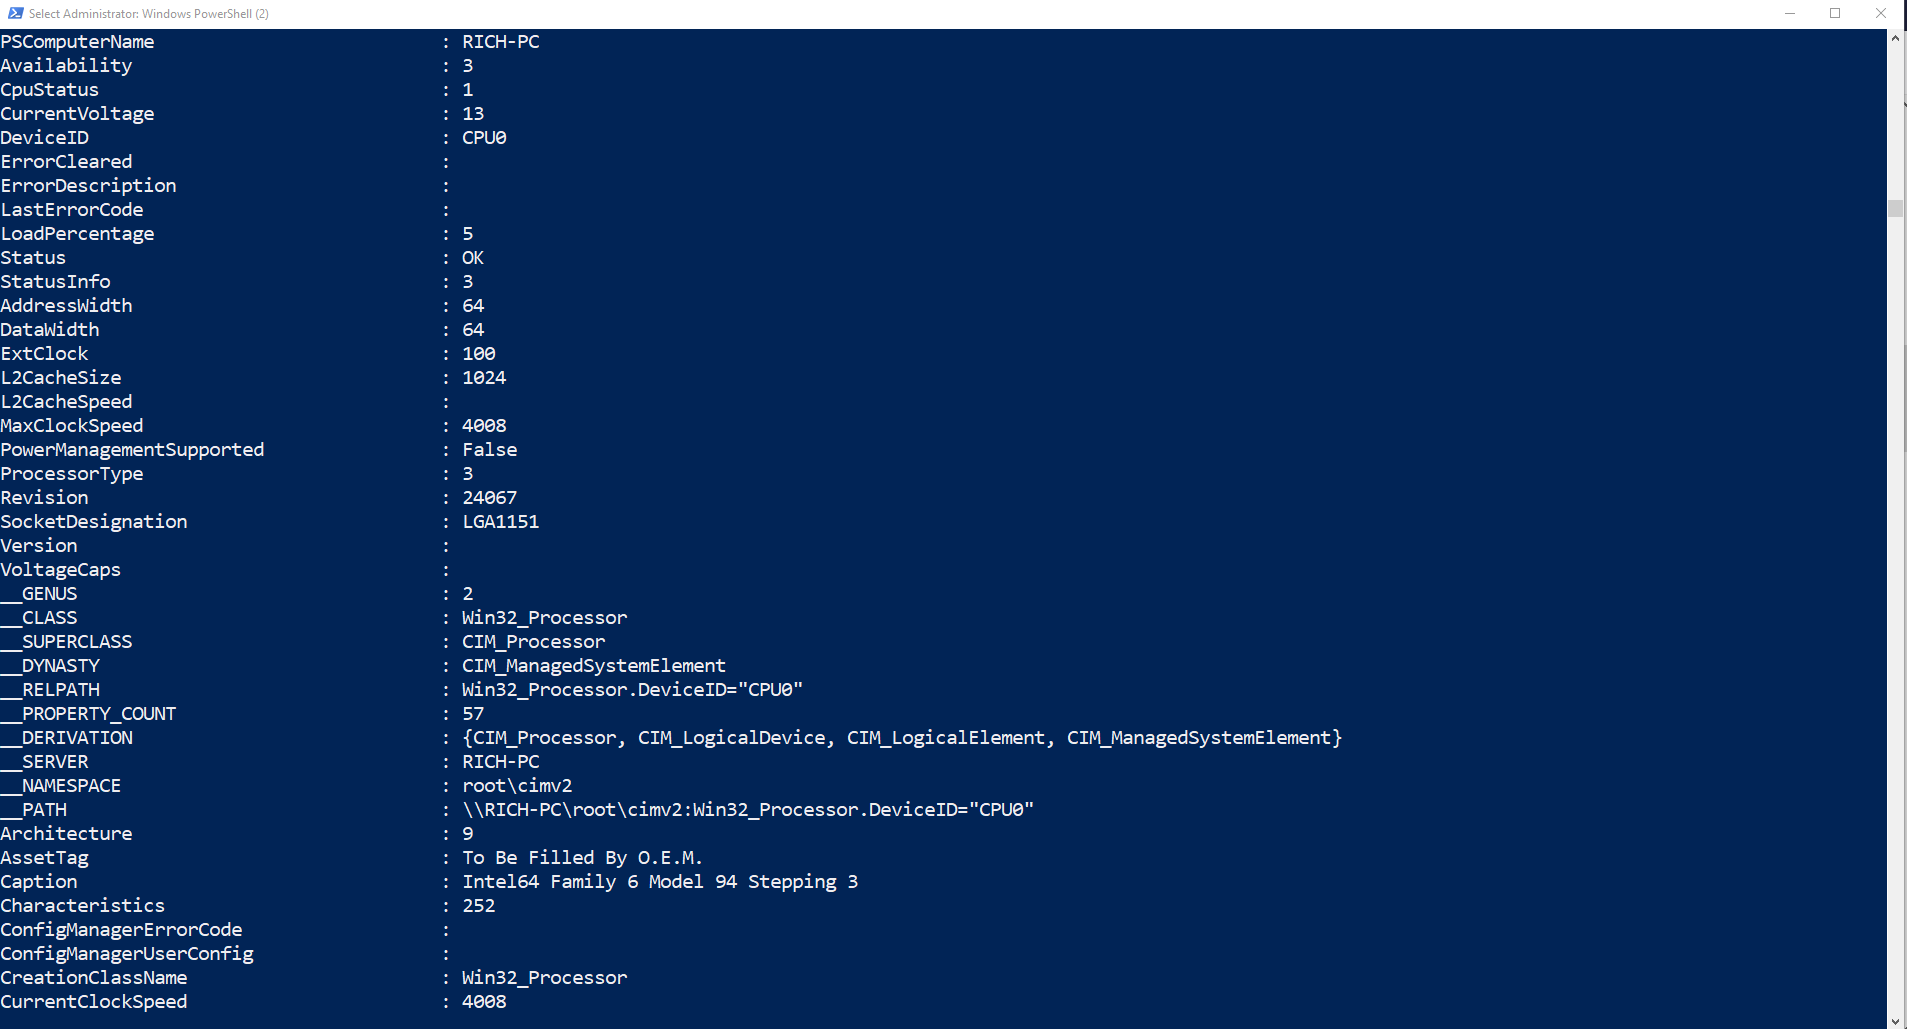
- Output Everything! – You can even tell PowerShell to output everything is has in the pipeline. Simply add -property * to your command
Type Get-content C:\TEMP\test.txt | ForEach-Object {Get-WmiObject -class win32_processor} | Format-List-Property *
In Part 3 of A guide to PowerShell we will introduce practical examples of PowerShell scripting for system Administrators. This will include using it with Active Directory, Filesystems, and much more.
Read related articles
Configuring and using Windows Deployment Services (WDS)
Windows Deployment Services (WDS) is the Microsoft server role that enables administrators to deploy Windows operating systems over the network
Sysprep in 2026: practical guide for sysadmins and MSPs
Sysprep (System Preparation Tool) is the Microsoft tool used to prepare a Windows installation for cloning. During installation, Windows generates
A Guide to PowerShell – part 3
Welcome to part 3 of 3 of The Solving A guide to PowerShell. Check also Part 1 and Part 2.