
 Italiano
 Español
Windows Deployment Services (WDS) is the Microsoft server role that enables administrators to deploy Windows operating systems over the network via PXE boot, eliminating the need for physical installation media such as DVDs or USB drives. In large environments – whether managed directly or as part of an MSP portfolio – WDS significantly reduces the time and manual effort required to provision new machines or rebuild existing ones.
Deprecation Notice: WDS is partially deprecated and two recent changes significantly limit what you can do with it in 2026:
- Windows 11 and Windows Server 2025 cannot be deployed end-to-end with WDS using
boot.wimfrom installation media. Microsoft has blocked this workflow. WDS can still PXE-boot these clients, but only with a custom boot image (e.g., WinPE built with the Windows ADK, or via Configuration Manager). - Hands-free deployment via unattend.xml is disabled by default starting with the April 2026 security update (CVE-2026-0386). Existing automated workflows that worked before April 14, 2026 will stop working unless an explicit registry override is set (which is not recommended).
This guide remains applicable for: Windows 10 and Windows Server 2016/2019/2022 deployments still in support, PXE-boot scenarios with custom boot images, and existing WDS infrastructure being maintained. For new infrastructure or Windows 11/Server 2025 deployments, jump directly to Modern Alternatives.
WDS Requirements
Before installing and configuring WDS, verify that your environment meets the following prerequisites:
- Operating System: Windows Server 2022 or 2025 (recommended for new deployments). Windows Server 2019 is technically supported but not recommended for new WDS installations in 2026 (it reached end of mainstream support in January 2024 and only receives security updates through January 2029).
- Active Directory Domain Services (AD DS): The WDS server must be a member of (or a domain controller in) an AD domain.
- DHCP Server: A functioning DHCP server is required to assign IP addresses to PXE-booting clients. If DHCP and WDS run on the same server, additional configuration is required.
- DNS Server: Required for proper AD integration.
- Disk: At least one partition formatted as NTFS with sufficient free space to store boot and install images (plan for a minimum of 20-50 GB, depending on the number of images).
- Network: A switched network with PXE-capable NICs on client machines. For UEFI clients, ensure the firmware supports PXE over IPv4 (and/or IPv6 if needed).
- Windows ISO or media: The official installation media for the OS version(s) you intend to deploy.
Note: boot.wim from Windows 11 or Windows Server 2025 installation media cannot be used as a WDS boot image (see deprecation notice above). For deploying these OSes, you’ll need a custom boot image built with the Windows ADK.
1. Installing the WDS Role
Via Server Manager (GUI)
Open Server Manager, click Manage → Add Roles and Features, and select Windows Deployment Services.
Note: The screenshots in this guide were captured on Windows Server 2019. The WDS management interface and configuration wizards are functionally identical on Windows Server 2022 and 2025.
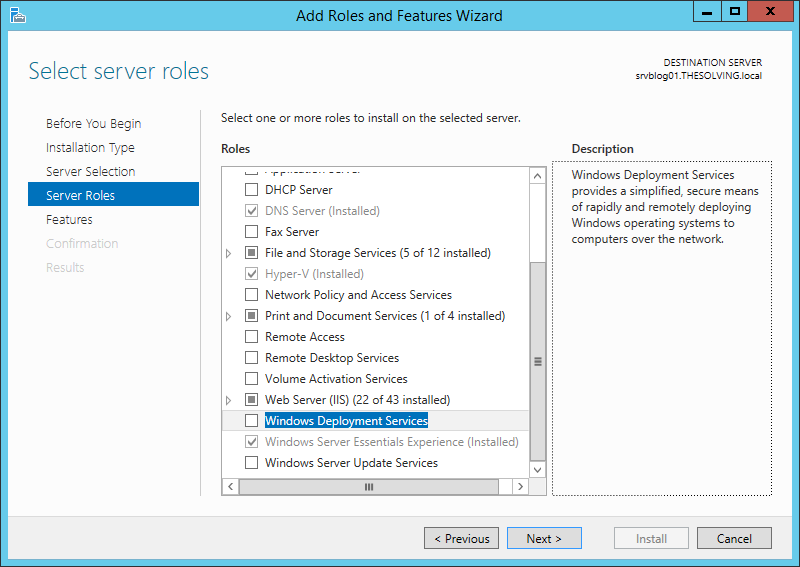
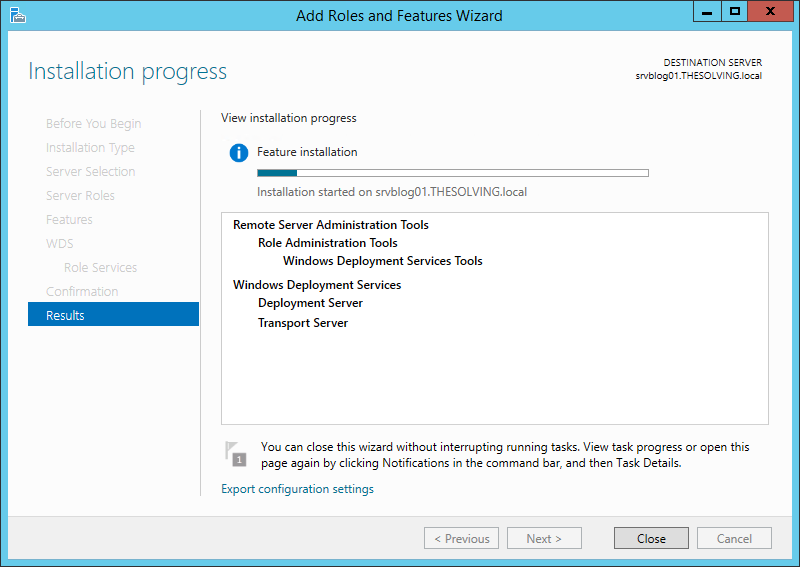
The wizard will prompt you to add both Deployment Server and Transport Server sub-roles. Keep both selected (Deployment Server provides the full management interface; Transport Server handles the underlying multicast and unicast data transfer).
Proceed through the wizard and complete the installation.
Via PowerShell (Recommended for MSPs and Automation)
For scripted, repeatable deployments – including remote server management – use:
Install-WindowsFeature -Name WDS -IncludeAllSubFeature -IncludeManagementToolsVerify the installation:
Get-WindowsFeature -Name WDS*2. Accessing the WDS Management Console
Once installed, open the WDS management console from Server Manager → Tools → Windows Deployment Services.
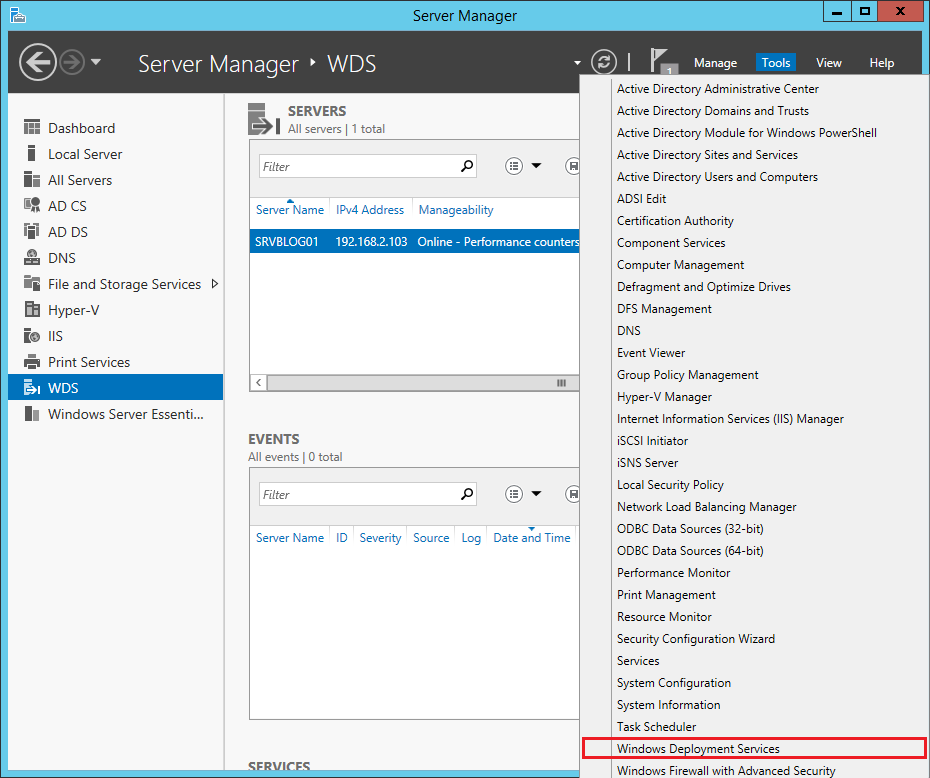
You can also launch it directly with:
wdsmgmt.msc3. Configuring the WDS Server
In the Servers pane, right-click the server name and select Configure Server.
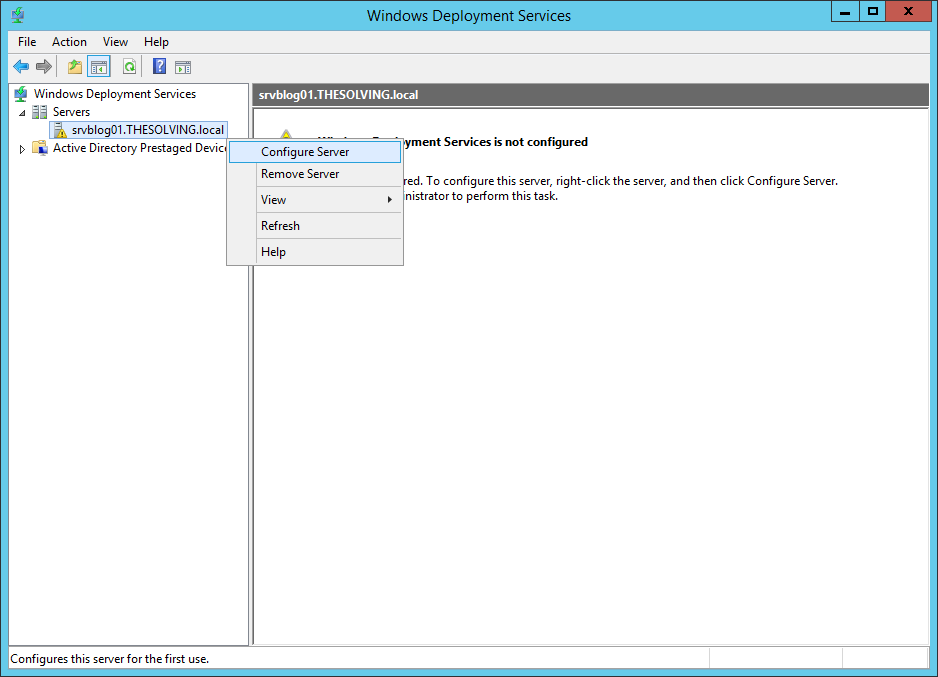
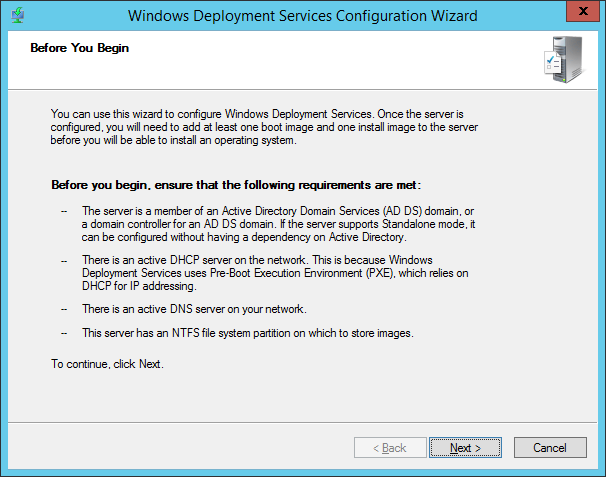
Click Next to begin the configuration wizard.
Integration Mode
Select Integrated with Active Directory. This is the standard and recommended mode for domain-joined environments. It enables automatic computer account management and group policy integration.

The Standalone mode is available for environments without AD DS (e.g., workgroup scenarios), but it significantly limits functionality and is not recommended for production.
Image Store Path
Specify a path on an NTFS volume to store all WDS images. Choose a dedicated volume if possible, separate from the OS volume, to avoid disk contention.
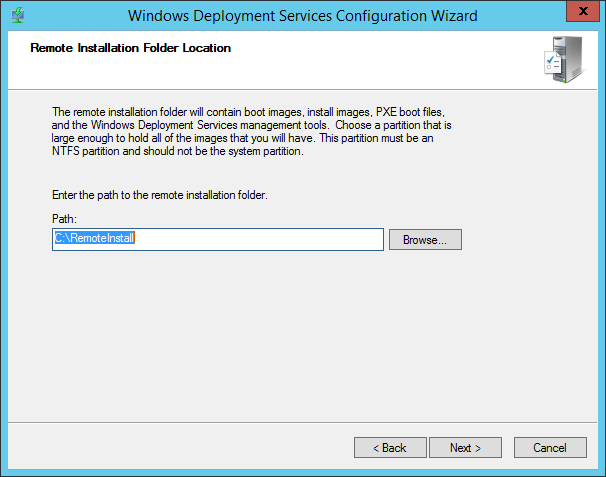
Best practice for MSPs: If you manage multiple sites from a single WDS server, ensure the image store volume has enough capacity for all images across all managed OS versions. A 200-500 GB volume is typical in multi-tenant or multi-OS environments.
PXE Response Policy
Configure how the server responds to PXE boot requests.
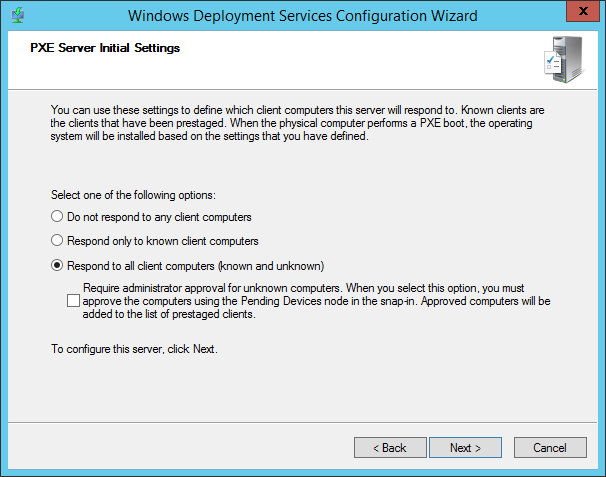
The available options are:
| Option | Description | Recommended use |
| Do not respond to any client | WDS is inactive | Initial staging only |
| Respond only to known clients | Only pre-staged computer accounts in AD | Controlled/secure environments |
| Respond to all clients (known and unknown) | Any PXE client can connect | Lab, MSP provisioning environments |
| Respond to all clients with a delay for unknown clients | Known clients get priority | Mixed production environments |
For most MSP and enterprise deployment scenarios, Respond to known clients only with a prestaging workflow is the most secure option. For internal lab or rapid provisioning environments, responding to all clients is acceptable.
Click Finish. WDS will prompt you to add images immediately.
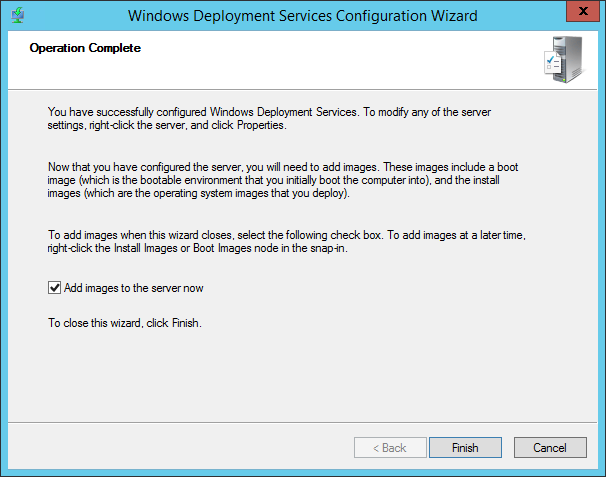
4. Adding Boot and Install Images
Boot image compatibility by deployment target
WDS support depends on the combination of boot.wim source and the Windows version being deployed. The following table summarizes the current status based on Microsoft’s official compatibility matrix:
| OS being deployed | boot.wim from Windows 10 | boot.wim from Server 2016 / 2019 | boot.wim from Server 2022 | boot.wim from Windows 11 |
|---|---|---|---|---|
| Windows 10 | Supported | Supported | Not supported | Not supported |
| Windows Server 2022 | Deprecated (warning) | Deprecated (warning) | Deprecated (warning) | Not supported |
| Windows Server 2019 | Supported | Supported | Not supported | Not supported |
| Windows 11 | Blocked | Blocked | Blocked | Blocked |
| Windows Server 2025 | Not supported | Not supported | Not supported | Not supported |
Key takeaways:
- For Windows 10 deployments, use a boot.wim from a matching or newer Windows 10 version, or from Server 2016/2019. Do not use boot.wim from Server 2022 or later (it is not supported for Windows 10 deployment).
- Windows Server 2022 can still be deployed via WDS, but the workflow is deprecated and displays a non-blocking warning during setup regardless of which boot.wim is used.
- Windows 11 and Server 2025 cannot be deployed end-to-end with WDS using any
boot.wimfrom installation media. Attempting to do so on a WDS server running Server 2025 may produce a “media driver missing” error; on earlier WDS servers, a deprecation message will block the workflow.
Workaround for Windows 11 / Server 2025: build a custom WinPE boot image with the Windows ADK and import that into WDS instead of boot.wim. The install.wim from these OSes can still be served by WDS as an install image (the limitation applies only to the boot image).
WDS uses two types of images:
- Boot image (
boot.wim): The WinPE environment that loads over the network and initiates the installation - Install image (
install.wimorinstall.esd): The actual Windows OS image to be deployed
Both files are found in the sources\ folder of any official Windows installation media (ISO or USB).
Note on Windows 11 and Server 2025 media: Microsoft switched from install.wim to install.esd in more recent releases. WDS requires a .wim file. If you only have an .esd, convert it first using DISM:
dism /Export-Image /SourceImageFile:install.esd /SourceIndex:1 /DestinationImageFile:install.wim /Compress:max /CheckIntegrityAdding the Install Image
A new wizard will start. Select the install.wim (or converted .wim) from your Windows media.
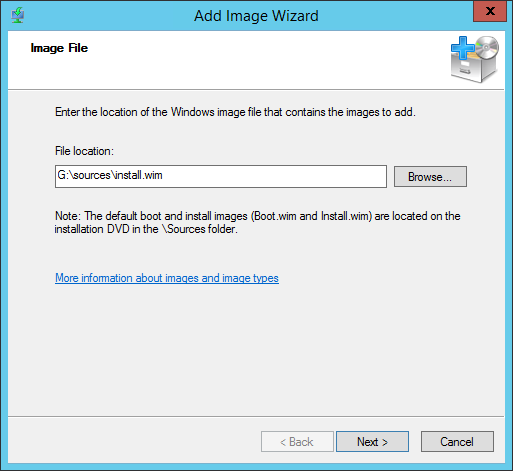
Choose which editions (indexes) within the .wim file to add. You can add multiple editions (e.g., Pro and Enterprise) from the same file.
Click Next to proceed.
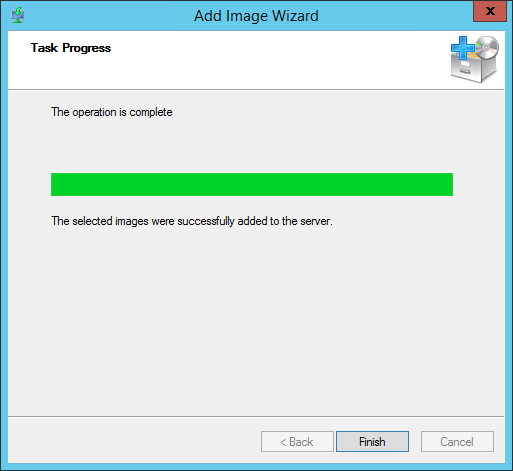
The install image is now added to the WDS image store.
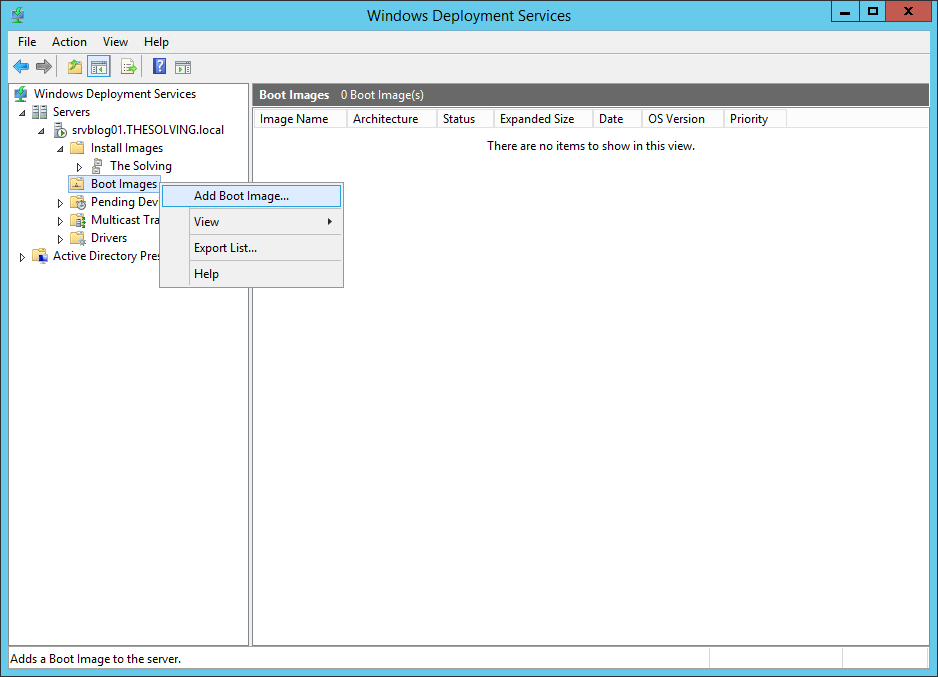
Adding the Boot Image
Right-click Boot Images in the left pane and select Add Boot Image.
Specify the path to boot.wim from the Windows installation media.
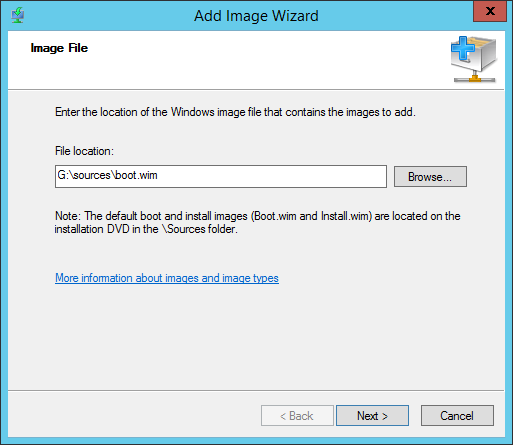
Click Next.
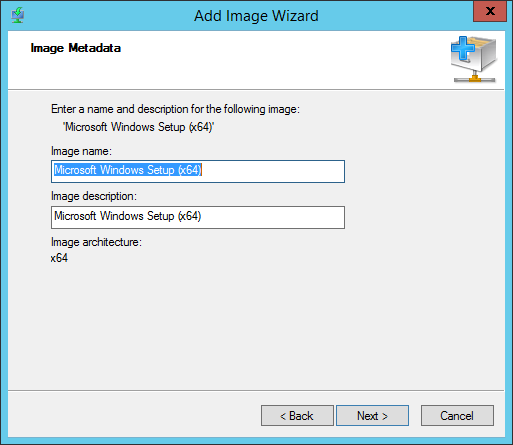
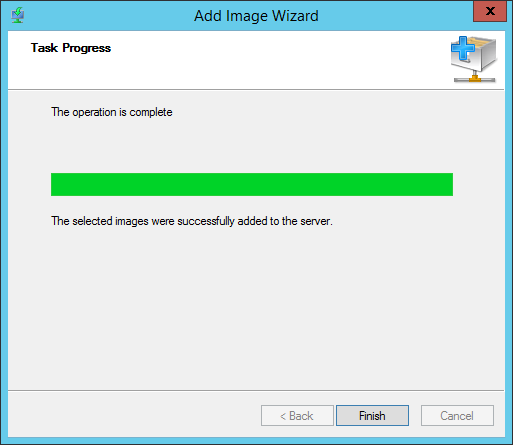
Confirm and complete the wizard.
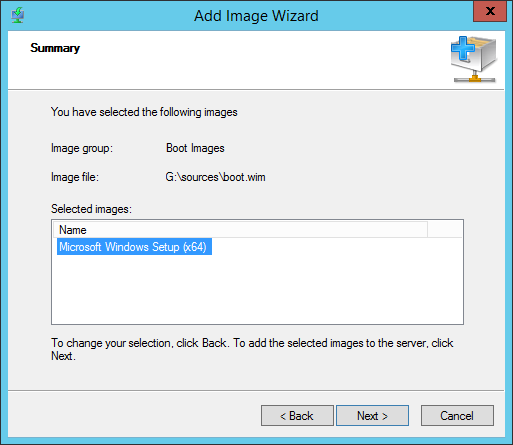
The boot image is now available in the WDS image store.
Managing Images via PowerShell
For MSPs managing multiple servers or automating image updates, PowerShell is the preferred approach:
# Add a boot image
Import-WdsBootImage -Path "D:\media\sources\boot.wim" -NewImageName "Win10 22H2 Boot" -NewDescription "WinPE Boot Image"

# Add an install image (index 1 = Windows 10 Pro)
Import-WdsInstallImage -ImageGroup "Windows10" -Path "D:\media\sources\install.wim" -ImageName "Windows 10 Pro" -NewImageName "Win10Pro-22H2"

# List all images
Get-WdsInstallImage
Get-WdsBootImage
5. DHCP Coexistence
If WDS and DHCP are running on the same server, you must configure WDS to avoid conflicts with DHCP’s PXE response. Without this, clients may not receive a proper PXE offer.
Run the following from an elevated command prompt or PowerShell:
wdsutil /Set-Server /UseDHCPPorts:No /DHCPOption60:YesOr, in the WDS console: right-click the server → Properties → DHCP tab → enable Do not listen on DHCP ports and Configure DHCP option 60 to indicate that this server is also a PXE server.
6. UEFI and Secure Boot Considerations
Modern hardware (manufactured since approximately 2012, and mandatory for Windows 11) uses UEFI firmware with Secure Boot rather than legacy BIOS. WDS supports both, but they use different boot files:
| Client firmware | Boot file used by WDS |
| Legacy BIOS | pxeboot.n12 / abortpxe.com |
| UEFI (64-bit) | bootmgfw.efi |
| UEFI (32-bit, rare) | bootia32.efi |
WDS automatically serves the correct boot file based on the DHCP option 93 (client architecture) sent by the client’s firmware, no manual configuration is required in most cases.
Secure Boot: WDS boot images signed by Microsoft will work with Secure Boot enabled. If you use custom or third-party WinPE images, ensure they are properly signed or temporarily disable Secure Boot in the client BIOS for testing purposes.
7. Deploying Windows via PXE
With WDS configured and images added, deploying Windows to a client machine follows this process:
- Connect the target machine to the same network as the WDS and DHCP server
- Power on the machine and press the key to trigger a network boot (typically F12, F8, or configured via UEFI boot order)
The machine will obtain an IP from DHCP and receive the WDS boot image.
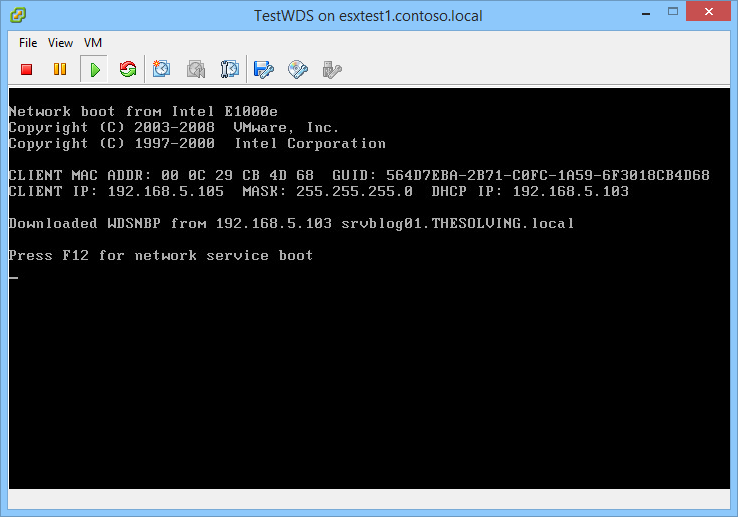
WinPE loads over the network.
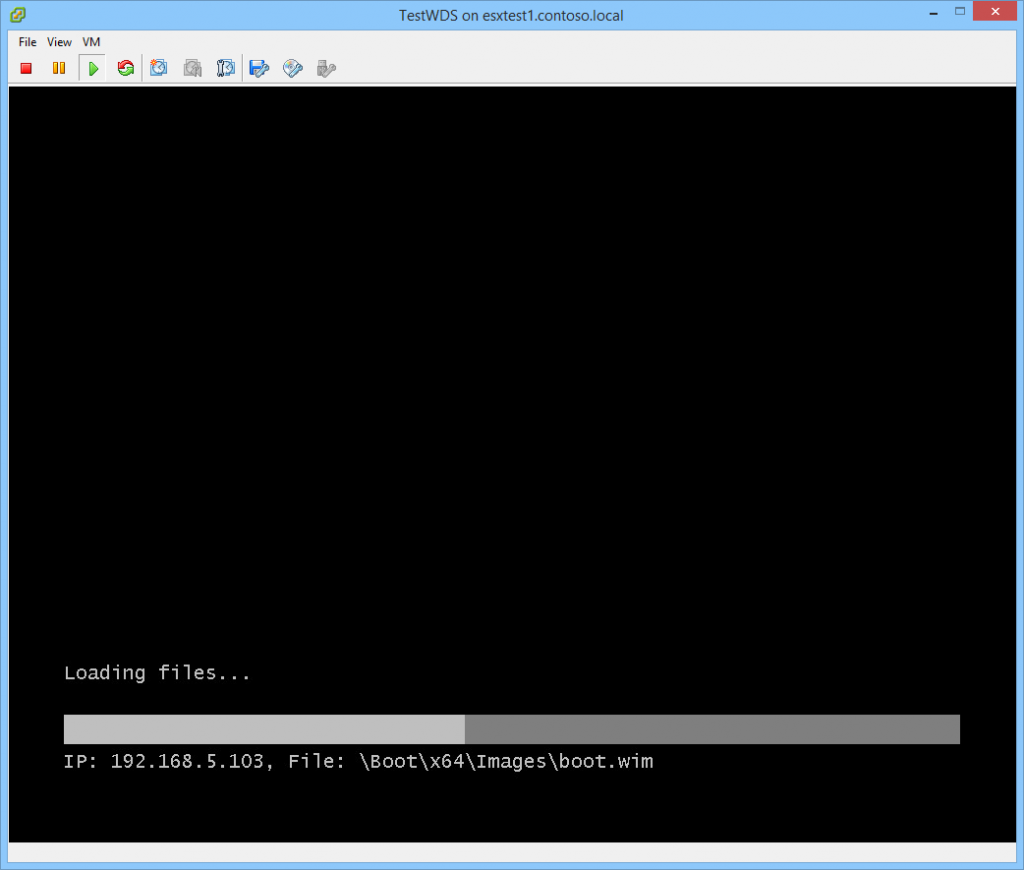
The technician selects the install image, and the Windows installation begins, entirely over the network with no physical media required.
8. Prestaging Computers (Known Clients)
For secure environments where only authorized machines should receive a PXE response, prestage computer accounts in Active Directory before deployment:
- In Active Directory Users and Computers, create a new computer account for the target machine
- Right-click the account → Properties → Attribute Editor → set the netbootGUID attribute to the machine’s GUID or MAC address (formatted as a binary GUID)
- In WDS, set the server to respond only to known clients
Alternatively, use PowerShell to prestage directly. The netbootGUID attribute accepts a byte array derived either from the machine’s MAC address or from its SMBIOS GUID (retrievable from UEFI firmware). Both methods are shown below:
# 1. Create the computer account in AD
New-ADComputer -Name "WS-NEWPC-001" -Path "OU=Workstations,DC=domain,DC=local"

# 2a. Prestage by MAC address
# WDS expects the MAC formatted as a GUID: 00000000-0000-0000-0000-<MAC no separators>
$mac = "001122334455"  # replace with target machine's MAC, no separators
$guid = [System.Guid]::new("00000000-0000-0000-0000-$mac")
$guidBytes = $guid.ToByteArray()
Set-ADComputer -Identity "WS-NEWPC-001" -Replace @{netbootGUID = $guidBytes}

# 2b. Alternatively, prestage by SMBIOS GUID (from UEFI firmware)
# Retrieve the SMBIOS GUID from the target machine (run locally or remotely):
# Get-CimInstance -ClassName Win32_ComputerSystemProduct | Select-Object -ExpandProperty UUID
# Remote: Get-CimInstance -ClassName Win32_ComputerSystemProduct -ComputerName "TARGET-PC" | Select-Object -ExpandProperty UUID

$smbiosGuid = "XXXXXXXX-XXXX-XXXX-XXXX-XXXXXXXXXXXX"  # replace with actual value
$guid = [System.Guid]::new($smbiosGuid)
$guidBytes = $guid.ToByteArray()
Set-ADComputer -Identity "WS-NEWPC-001" -Replace @{netbootGUID = $guidBytes}
This approach gives MSPs precise control over which machines can be reimaged via PXE, preventing accidental deployments.
9. Multicast Deployments
For deploying the same image to multiple machines simultaneously – common in classroom, lab, or large-scale refresh scenarios – WDS supports multicast transmissions, which dramatically reduce network bandwidth compared to unicast (one-to-one) transfers.
New-WdsMulticastTransmission -ImageGroup "Windows10" -ImageName "Win10Pro-22H2" -FriendlyName "Win10 Multicast" -TransmissionType AutoCastTwo multicast modes are available:
- Auto-Cast: The transmission starts immediately when the first client requests it. New clients can join at any point.
- Scheduled-Cast: The transmission waits until a defined number of clients have connected, or until a specific time, before starting. More efficient for large simultaneous rollouts.
Modern Alternatives for MSPs and Sysadmins
Given Microsoft’s deprecation roadmap for WDS, organizations planning new infrastructure should evaluate the following alternatives based on their environment:
| Scenario | Recommended solution |
| On-premises, complex task sequences, driver management | Microsoft Configuration Manager (MCM) OSD, or third-party tools (SmartDeploy, FOG Project) |
| On-premises, large scale, ConfigMgr already deployed | Microsoft Configuration Manager (MCM) OSD |
| Cloud-first, Entra ID (Azure AD) joined devices | Windows Autopilot + Microsoft Intune |
| Hybrid (on-prem AD + cloud management) | Autopilot for new devices + MCM for legacy |
| Open-source, cross-platform environments | FOG Project or Clonezilla Server |
Note on MDT: Microsoft Deployment Toolkit, historically a popular companion to WDS in MSP environments, was retired by Microsoft in January 2026. Existing deployments continue to function but receive no further updates or security patches, and download packages may be removed from official channels. MDT should not be considered for new infrastructure.
WDS in 2026: where it still fits
WDS remains usable for legacy Windows 10 and Windows Server 2019/2022 deployments in environments where Active Directory and on-prem DHCP are already in place. It is no longer the right tool for new infrastructure or for Windows 11 / Server 2025 end-to-end deployment.
For MSPs and sysadmins, the key operational considerations in 2026 are:
- UEFI/Secure Boot compatibility is handled automatically by WDS, but always verify firmware settings on target hardware
- Prestaging client accounts provides the right balance of automation and security
- PowerShell management is preferable to the GUI for automation, documentation, and remote administration
- Plan for migration to Autopilot or MCM as WDS approaches end of support in future Windows Server releases.
Before planning any new WDS infrastructure, consult Microsoft’s official documentation on deprecated Windows Server features to verify the current support status.
Read related articles
Sysprep in 2026: practical guide for sysadmins and MSPs
Sysprep (System Preparation Tool) is the Microsoft tool used to prepare a Windows installation for cloning. During installation, Windows generates
A Guide to PowerShell – part 3
Welcome to part 3 of 3 of The Solving A guide to PowerShell. Check also Part 1 and Part 2.
A Guide to PowerShell – part 2
Welcome to part 2 of 3 of The Solving A guide to PowerShell. Click here for Part 1 and Part