
 Italiano
 Español
Load balancing and failover (LBFO), also known as NIC Teaming, is a powerful feature introduced by Microsoft only with Windows Server 2012. With previous versions of Windows you could only rely on third party software, a curious limitation.
NIC Teaming allows an administrator to place in a team multiple network adapters being part of the same machine.
Working as a team, the network adapters improve bandwidth and protect from failures, sharing the same IP and network configuration.
The reason is pretty straightforward, if one of the adapters breaks, the others will take care of the local connectivity. Windows supports up to 32 adapters placed in a single team.
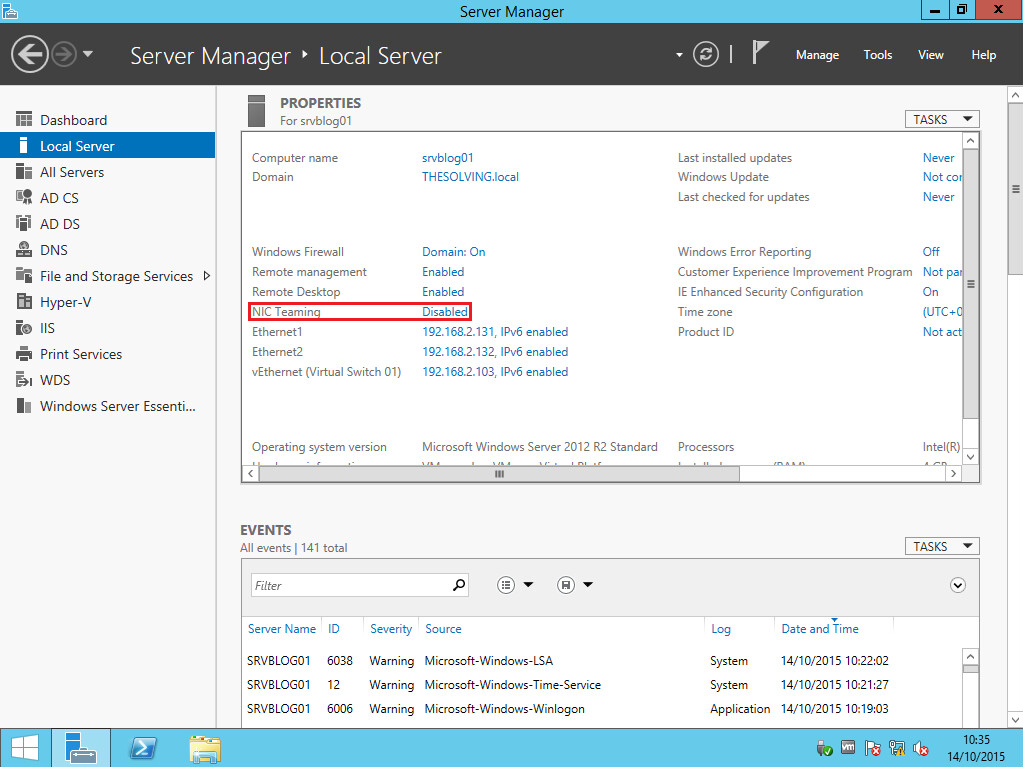
To create a NIC Team, open the Server Manager and look for the NIC Teaming field. Click on Disabled:
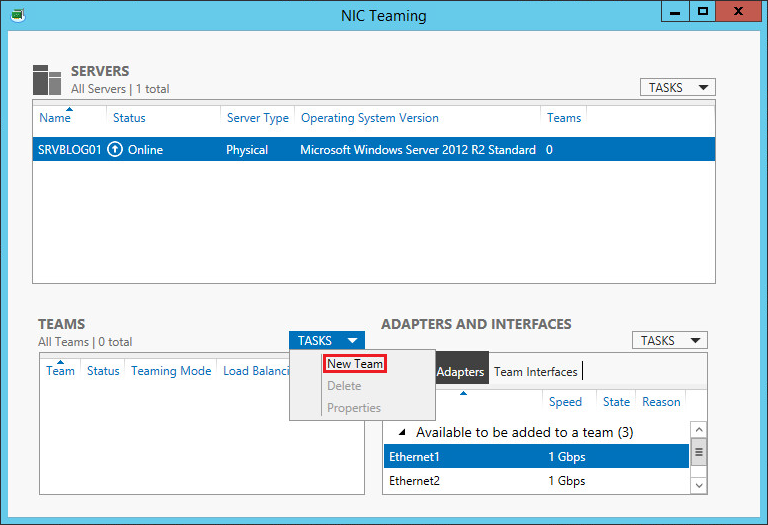
Select New Team from the TASKS dropdown menu:
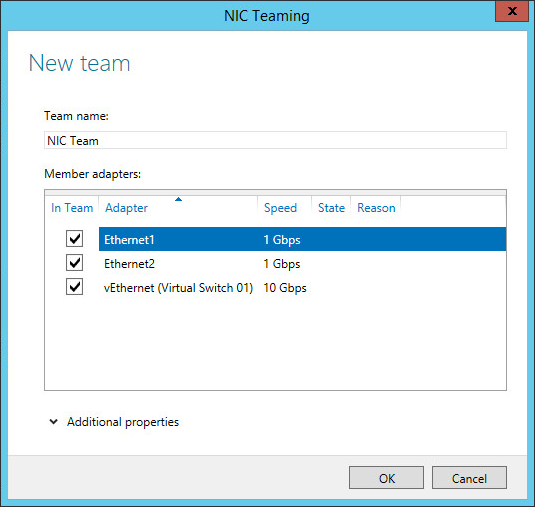
Select the adapters you want to include in the team and click Ok. The team will be created (Note: it will be created a new adapter with the NIC Team name, you may be unable to reach the machine through RDP depending upon the network configuration):
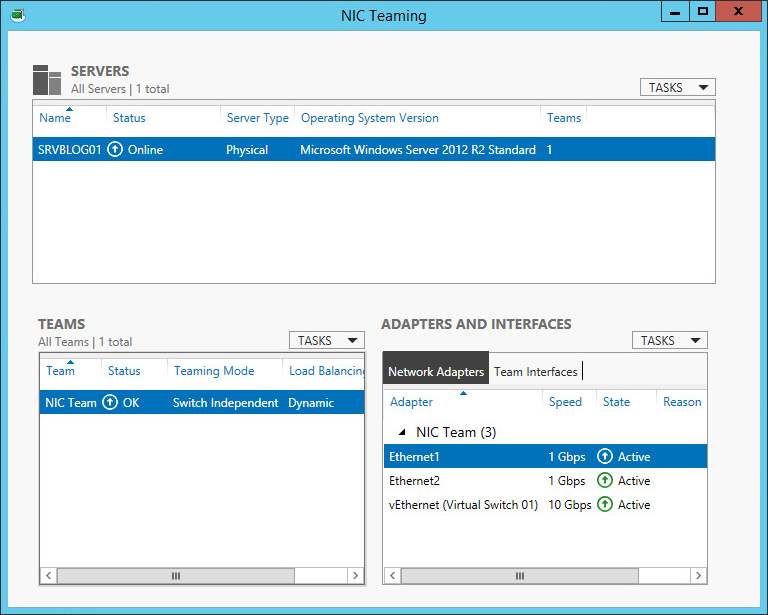
The team is ready:
It’s time to configure the team, open the Network and Sharing Center and click the team name:
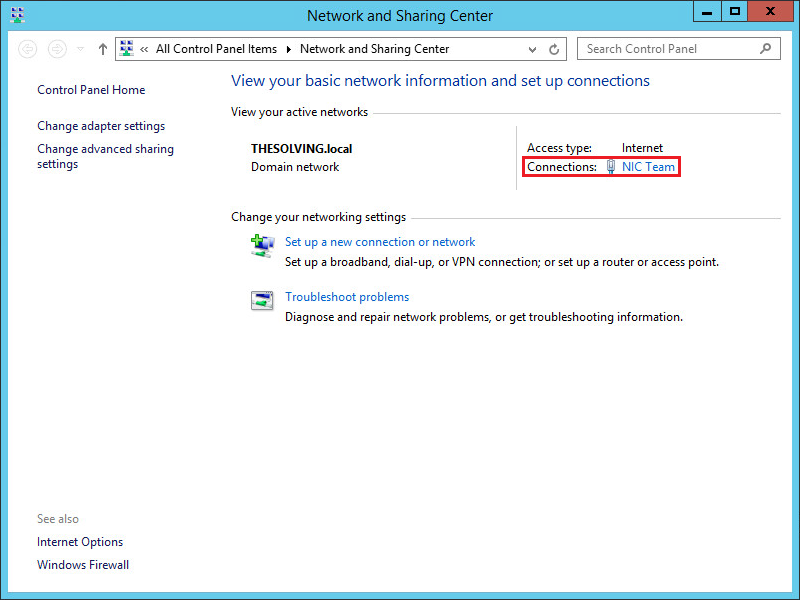
Configure the team and enjoy it:

Read related articles
How to use Sysprep in 2026: guide for sysadmins and MSPs
Sysprep in 2026: practical guide for sysadmins and MSPs Sysprep (System Preparation Tool) is the Microsoft tool used to prepare
A Guide to PowerShell – part 3
Welcome to part 3 of 3 of The Solving A guide to PowerShell. Check also Part 1 and Part 2.
A Guide to PowerShell – part 2
Welcome to part 2 of 3 of The Solving A guide to PowerShell. Click here for Part 1 and Part