FileZilla is a free and open source FTP server that may come in handy for setting up an online file repository or to build a webserver.
The installation is quite simple, just follow these steps and you’ll be ready to use your FTP server.
Download FileZilla Server from this page, it’s a Windows-only package.
Installation
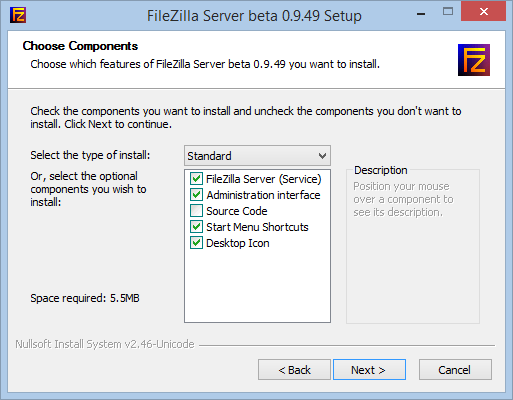
Launch the executable and install the software. Skip the two crapware at the beginning, then select everything except the source code:
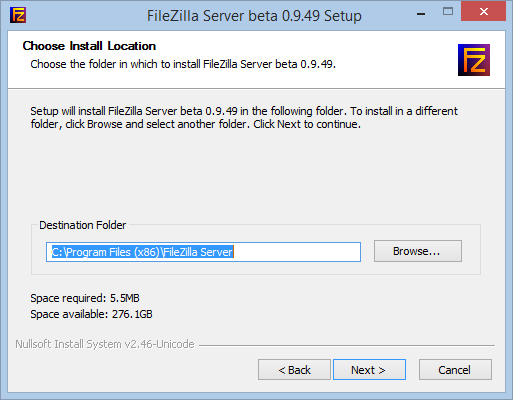
Choose the installation path:
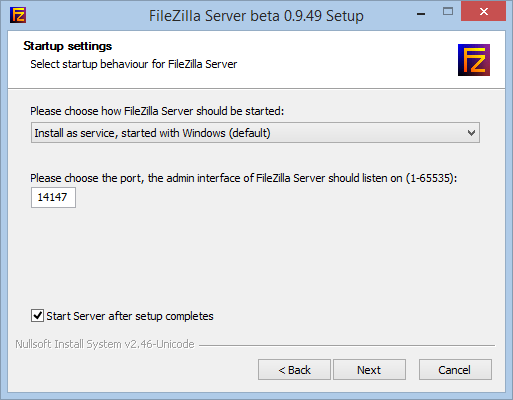
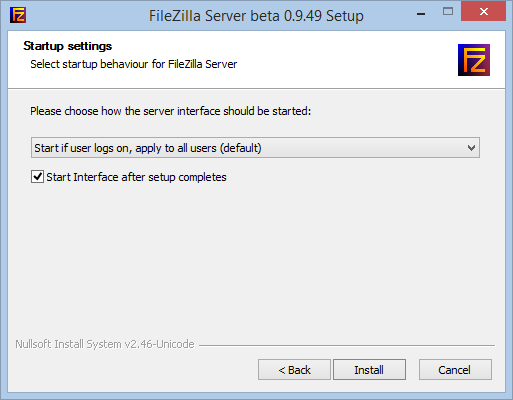
The default settings are good for us:
Now FileZilla Server is installed and it’s time to configure our FTP groups and users.
Configuration
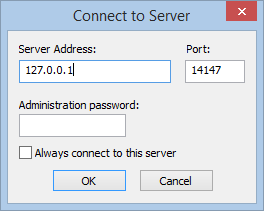
At the first dialog, the Administration interface asks us to specify what server we want to manage. Insert 127.0.0.1 (there’s no password):
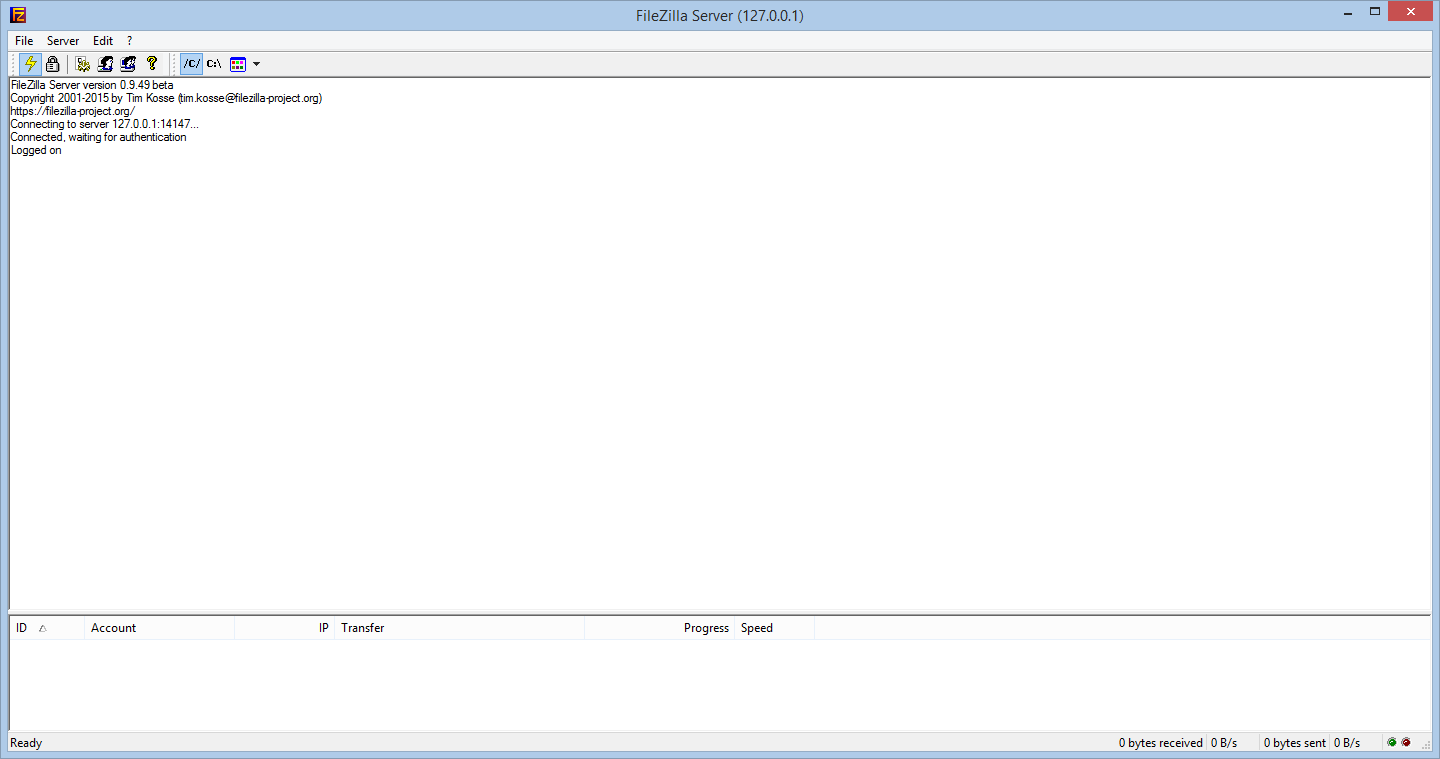
The console will appear:
Create your first Group
FileZilla allows to create groups of users that share access to the same folders. Groups can be useful whenever a FTP folder must be accessed by multiple users.
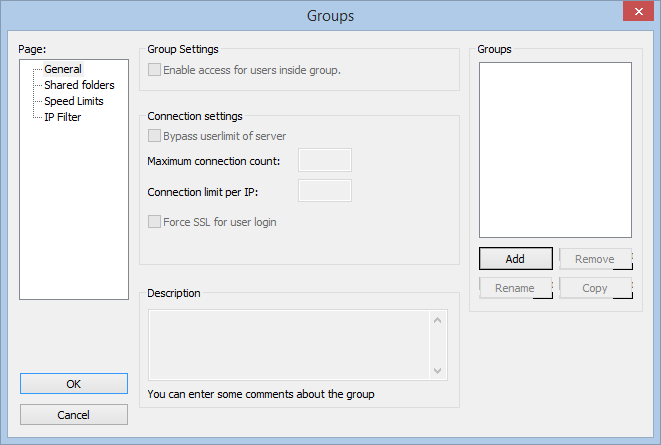
To create a Group open the Edit menu and select Groups. Then click on Add:
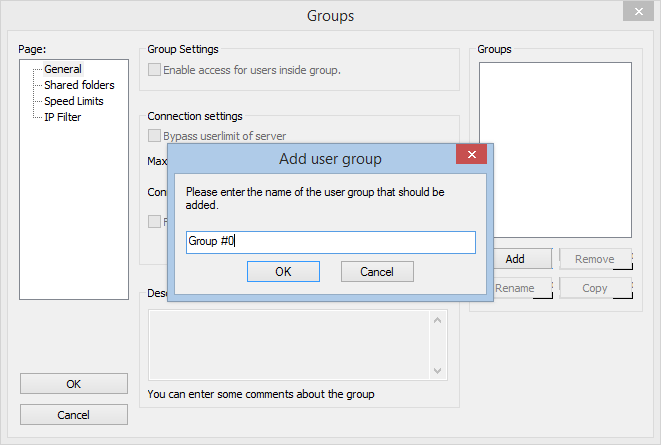
Specify the name of the Group:
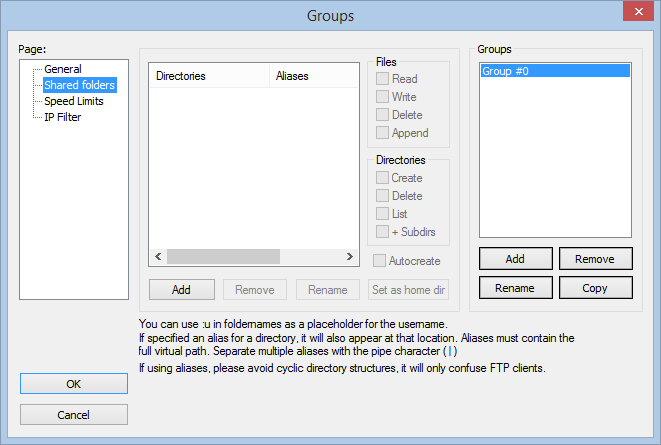
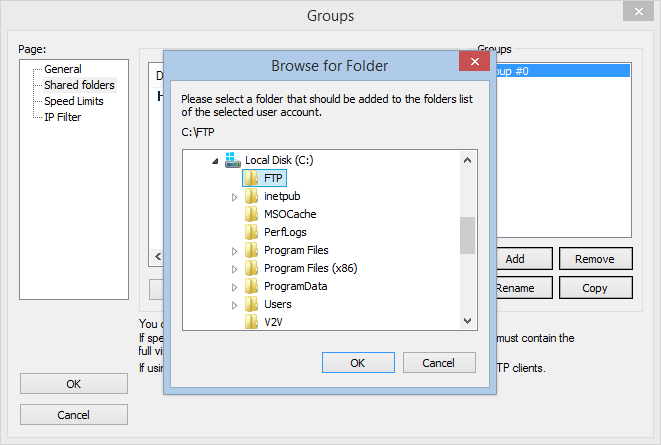
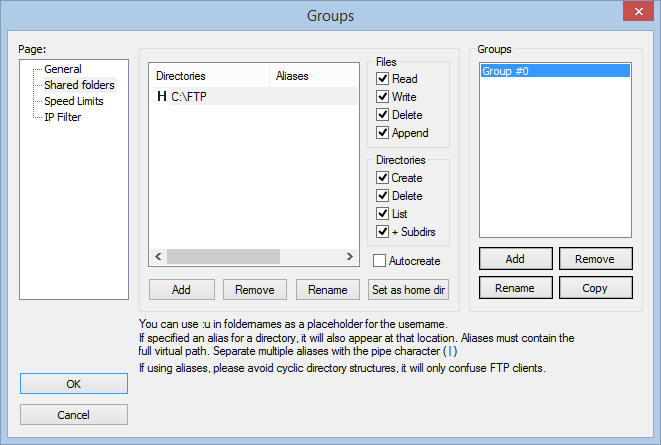
It’s time to select the shared folder/s and specify the access permissions:
Click on Ok and the Group will be created.
Create your first User
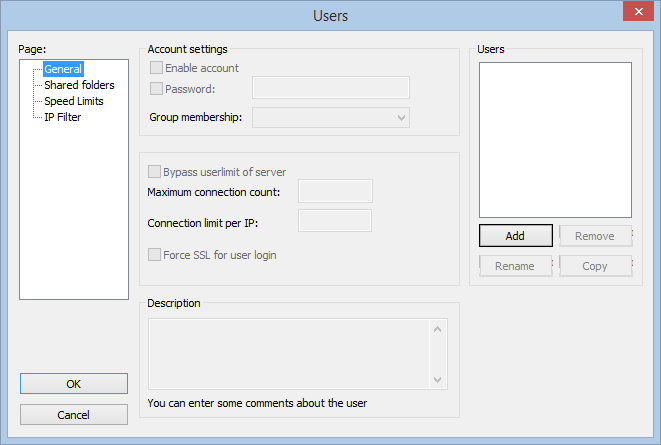
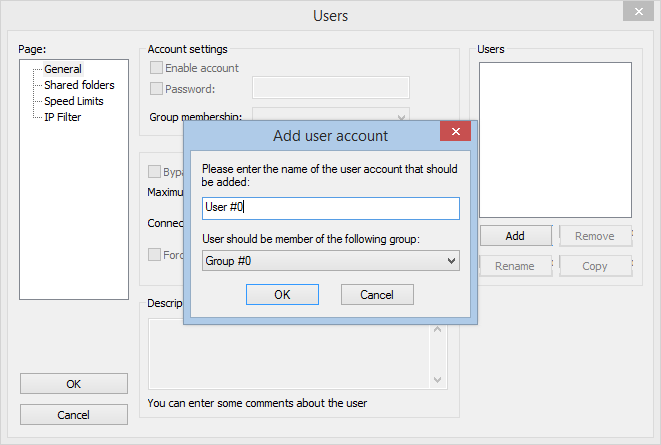
Now you can create a User. The procedure is quite similar to the creation of a Group. Follow these steps and click on Ok, the first User will be created:
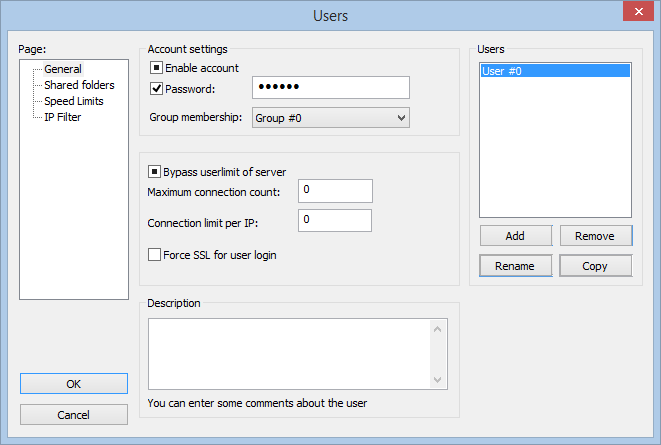
You’re ready to perform the first connection to your new FTP server, powered by FileZilla.
Read related articles
A Guide to PowerShell – part 3
Welcome to part 3 of 3 of The Solving A guide to PowerShell. Check also Part 1 and Part 2.
A Guide to PowerShell – part 2
Welcome to part 2 of 3 of The Solving A guide to PowerShell. Click here for Part 1 and Part
A Guide to PowerShell – part 1
Welcome to part 1 of 3 of The Solving A guide to PowerShell. Click here for Part 2 and Part

 Italiano
 Español
