XAMPP – acronym for Cross-Platform, Apache, MySQL, PHP and Perl – is a widely adopted Apache distribution used to locally host and test websites.
It’s available as a unique installation package for Windows and other platforms. You can download the package from the official site.
XAMPP is a powerful tool in the hands of a web developer.
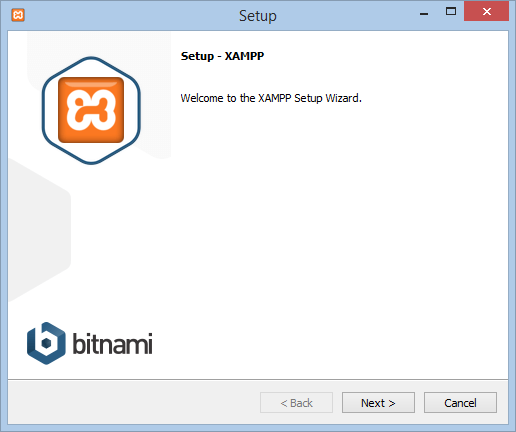
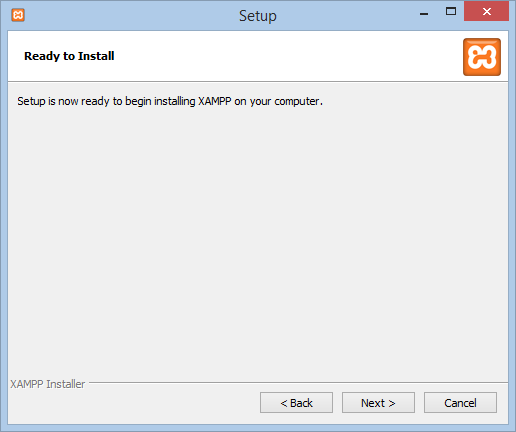
The installation procedure is quite simple, just double-click on the installer and follow these steps.
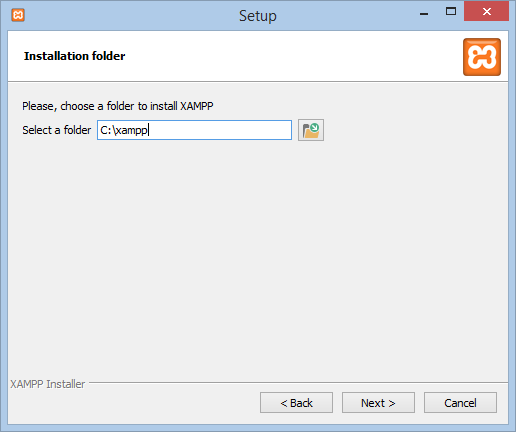
If you have UAC enabled – and we hope so – remember to install XAMPP inside the folder C:\xampp. Anyway the installer suggest to do so:
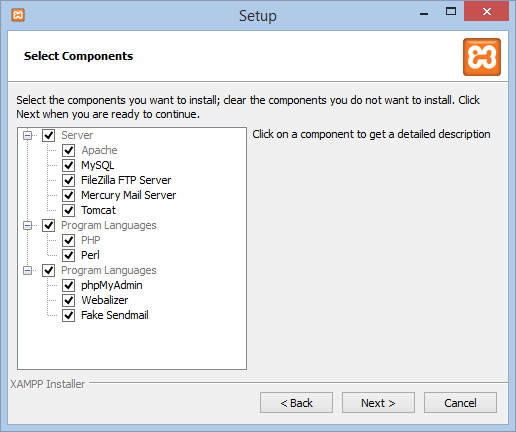
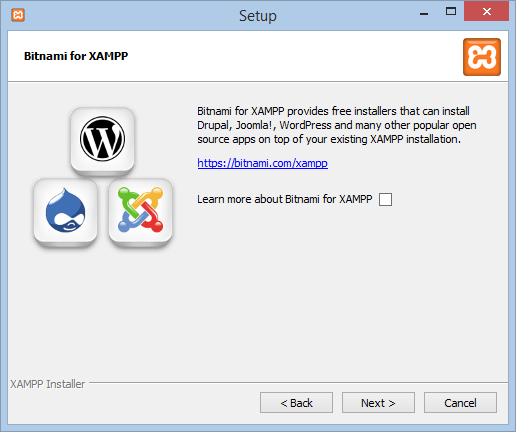
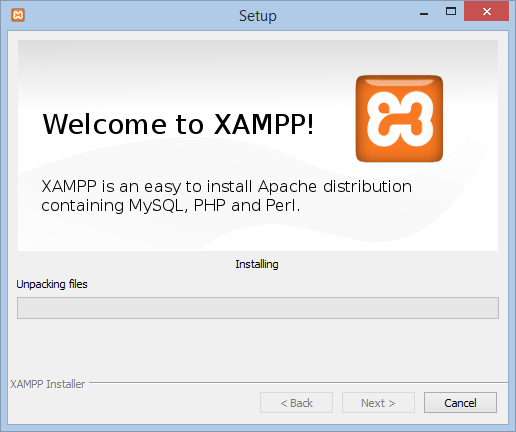
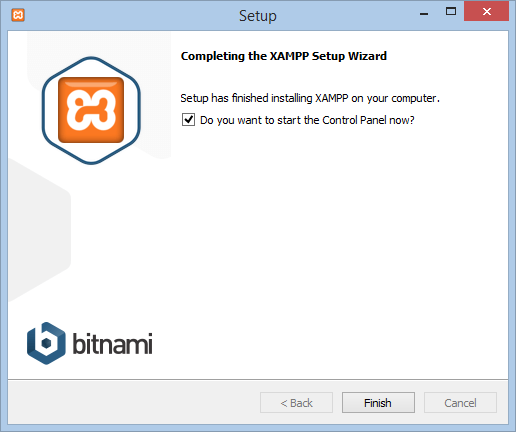
The installation wizard is really dummy-proof:
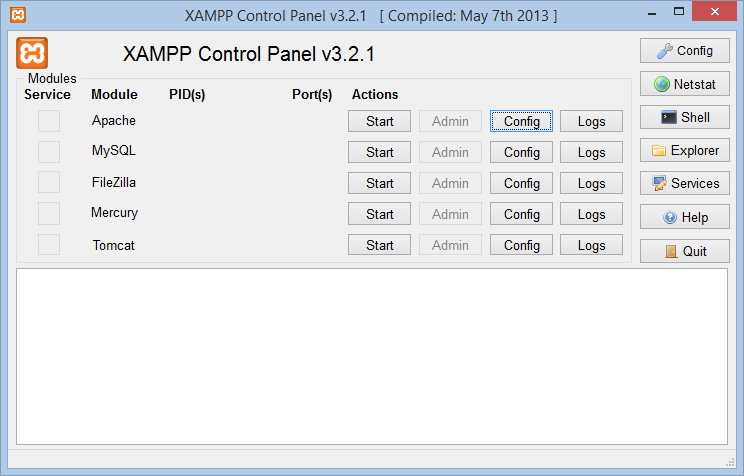
After the completion of the installation you’ll be able to launch the XAMPP Control Panel. From this interface you can enable and disable the various services:
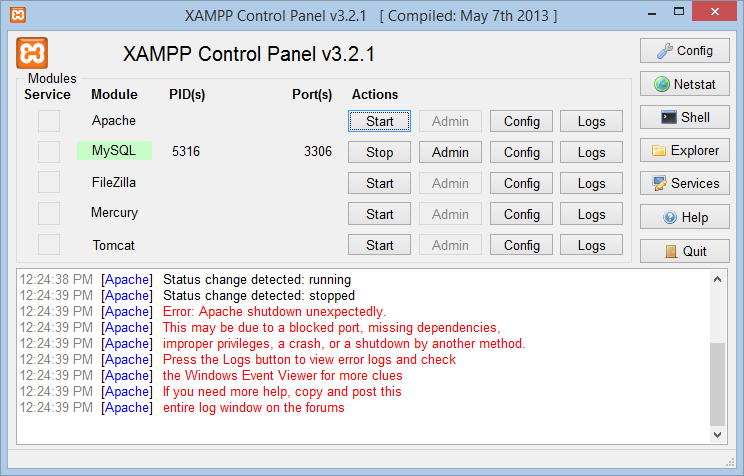
In order to host a website – for example, a WordPress CMS – you need to run Apache and MySQL. On Windows 8 and higher Apache won’t run on port 80 because the system is already using it. An error will pop-up:
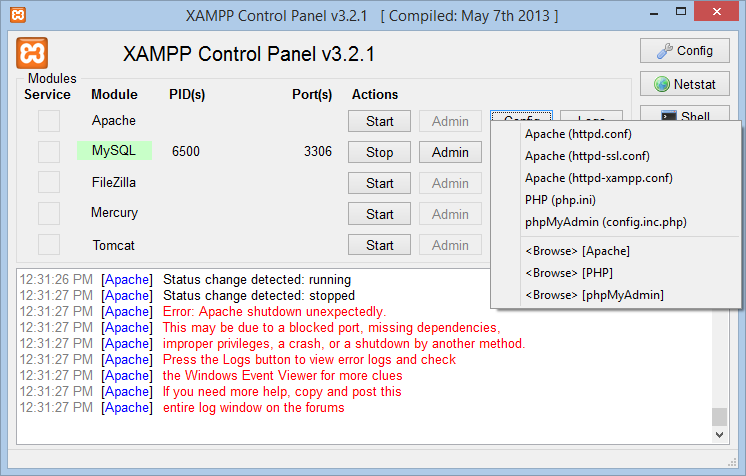
Click on the Config button and select Apache (httpd.conf):
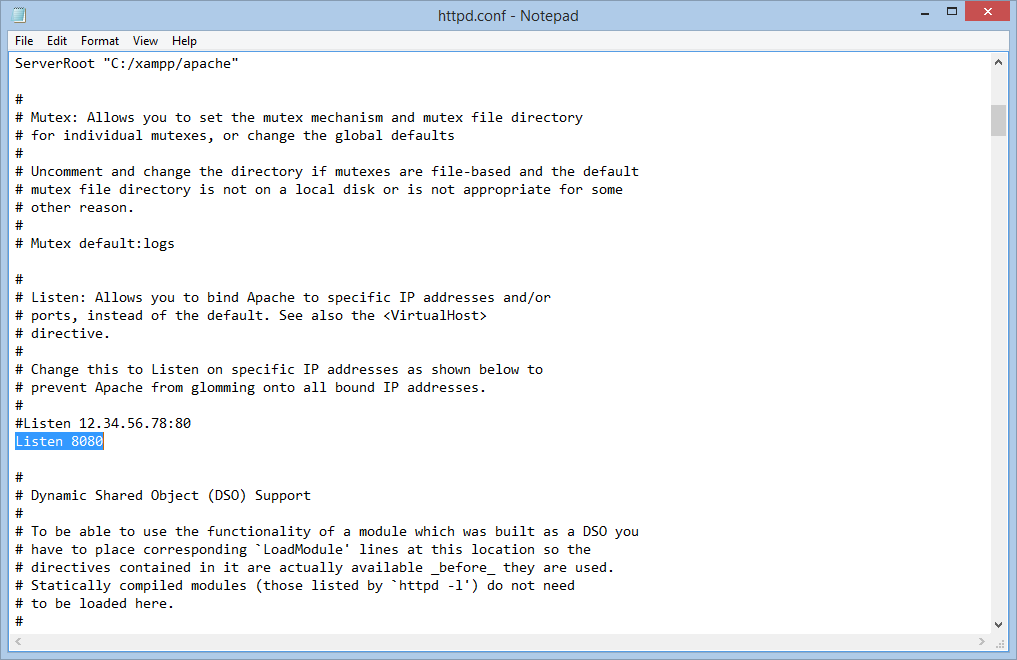
Look for the Listen: 80 row and change the value with 8080. Save and go back to the XAMPP Control Panel:
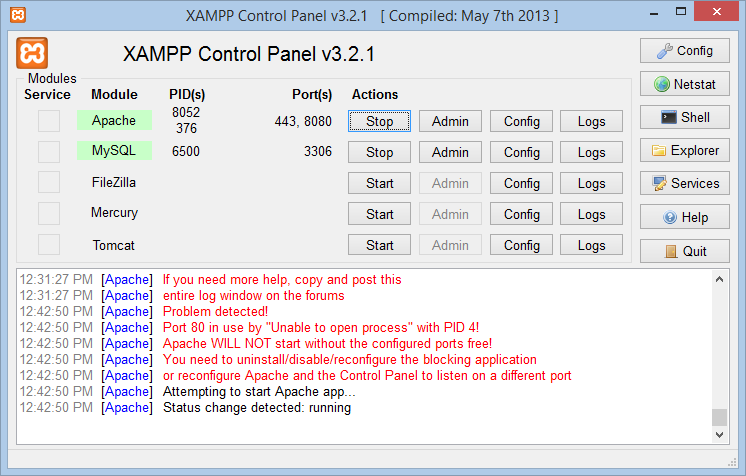
Start the Apache service:
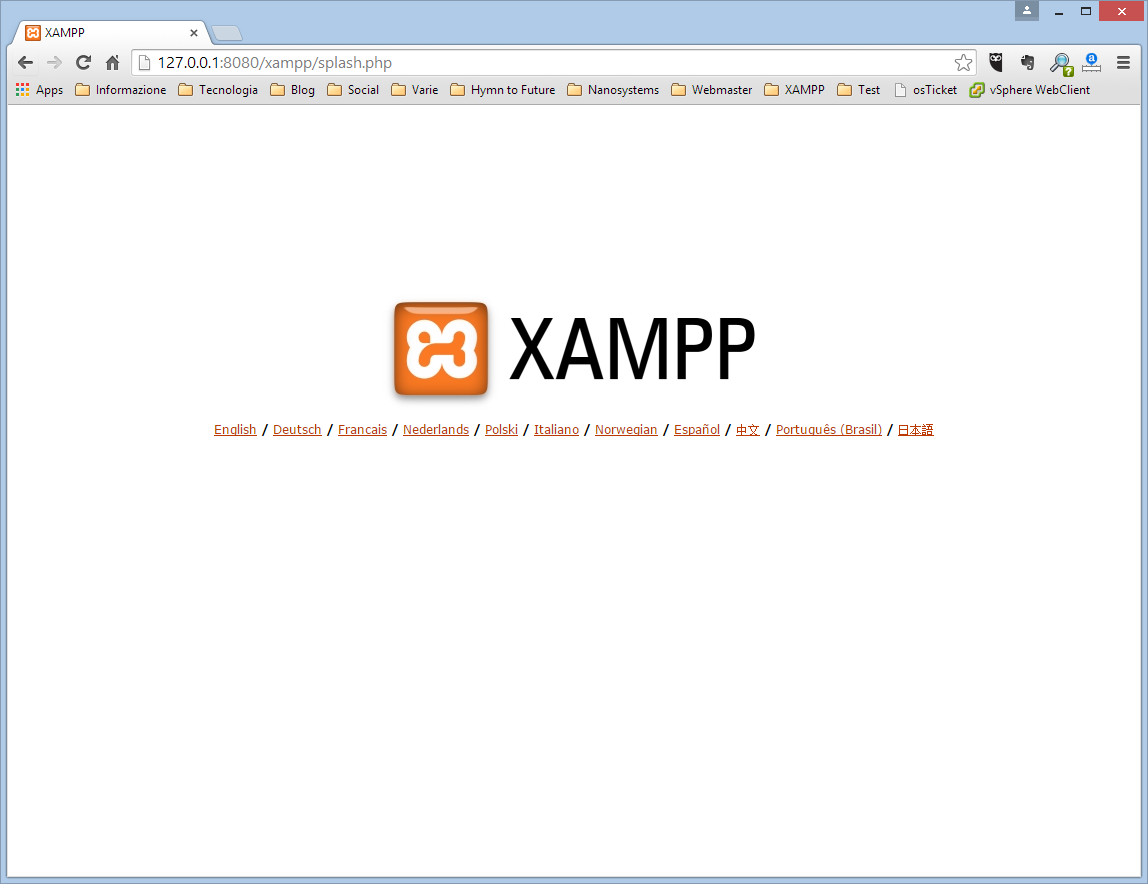
Open your browser and specify the address 127.0.0.1:8080/xampp or localhost:8080/xampp, you’ll be able to access the XAMPP web interface:
In order to deploy a brand new website, put it inside the path C:\xampp\htdocs\website_name
Read related articles
A Guide to PowerShell – part 3
Welcome to part 3 of 3 of The Solving A guide to PowerShell. Check also Part 1 and Part 2.
A Guide to PowerShell – part 2
Welcome to part 2 of 3 of The Solving A guide to PowerShell. Click here for Part 1 and Part
A Guide to PowerShell – part 1
Welcome to part 1 of 3 of The Solving A guide to PowerShell. Click here for Part 2 and Part


