

 Italiano
 Español
Sysprep prepares a Windows installation for cloning by removing the machine’s unique SID, and must be run before distributing any golden image. Skipping it causes identical SIDs across clones, leading to WSUS client recognition failures, KMS/MAK license conflicts, and Active Directory issues. Use /oobe /generalize /reboot for validation, or /shutdown for production capture.
Sysprep (System Preparation Tool) is the Microsoft tool used to prepare a Windows installation for cloning. During installation, Windows generates a unique SID (Security Identifier) for that machine.
If you clone that image without using Sysprep, all derived machines will have the same SID, causing real issues: WSUS not recognizing clients correctly, conflicts with KMS/MAK volume licenses, anomalies in Office and Citrix, and, in certain scenarios, conflicts within Active Directory.
This practical guide details what Sysprep is, when and how to use it, and includes specific Windows Sysprep commands.
The rule is simple: every image intended for cloning must pass through Sysprep before being distributed.
When to use Sysprep
Sysprep is the final step in four recurring scenarios:
| Scenario | Platform | Objective |
|---|---|---|
| Golden image for VMs | Hyper-V, VMware ESXi, Azure, AWS | Each VM instantiated from the template starts with a unique SID |
| Bare metal deployment | WDS, MDT | Prepare a .wim image to be distributed on multiple physical machines |
| Re-imaging of existing machines | Any | Start over from a clean configuration, without the SID and accounts of the old installation |
| Multi-client MSP environments | Any | Make the same golden image reusable on different infrastructures |
Where to find Sysprep and how to launch It
Sysprep is always located in:
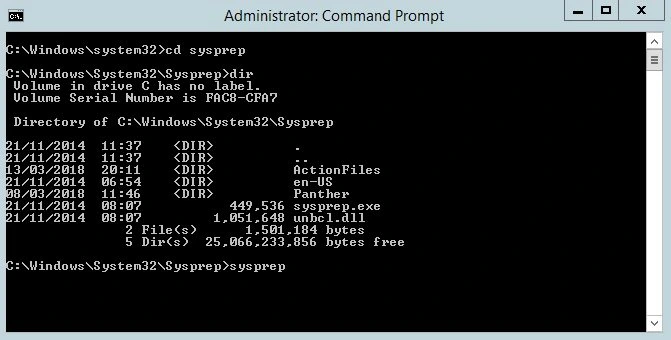
C:\Windows\System32\Sysprep\ It must always be run as an Administrator; otherwise, it will launch and fail silently with an error. There are two possible methods:
- From File Explorer: Right-click
sysprep.exe→ Run as Administrator. - From elevated PowerShell or CMD: Use
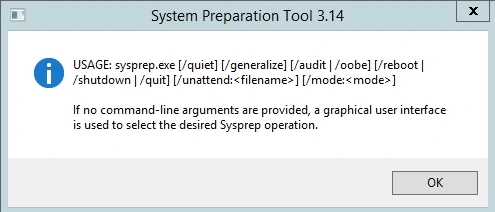
cd C:\Windows\System32\Sysprepthen runsysprep.exe
The Sysprep GUI: options
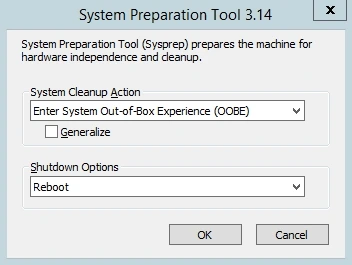
Launching sysprep.exe opens an interface with three primary choices.
- System cleanup action
- Enter System Out-of-Box Experience (OOBE): resets the system to its “first boot” state; at the next startup, it will ask for language, account, and license settings. This is the correct mode for templates and golden images.
- Enter System Audit Mode: starts the system as a local Administrator, bypassing the OOBE. This is used when you still need to install software or drivers on the image before finalizing it.
Note: the system will continue to reboot into Audit Mode until explicitly redirected to OOBE.
- Generalize
- Always check the box Generalize when preparing an image for cloning. This flag removes the SID and hardware-specific information. Without it, the deployment will produce machines with identical SIDs.
- Shutdown options
| Option | When to use it |
|---|---|
| Shutdown | You are preparing a template to be captured or saved. |
| Reboot | You want to verify the OOBE behavior on the same machine. |
| Quit | Exit without performing any action. |
Step-by-step tutorial: standard scenario (OOBE + Generalize + Reboot)
This workflow is used to validate the OOBE behavior before moving to production deployment, for both VMs and bare metal.
- Open
sysprep.exeas an Administrator ;
- Configure the options:
- System cleanup action: enter System Out-of-Box Experience (OOBE).
- Check “Generalize“.
- Shutdown Options: Reboot;
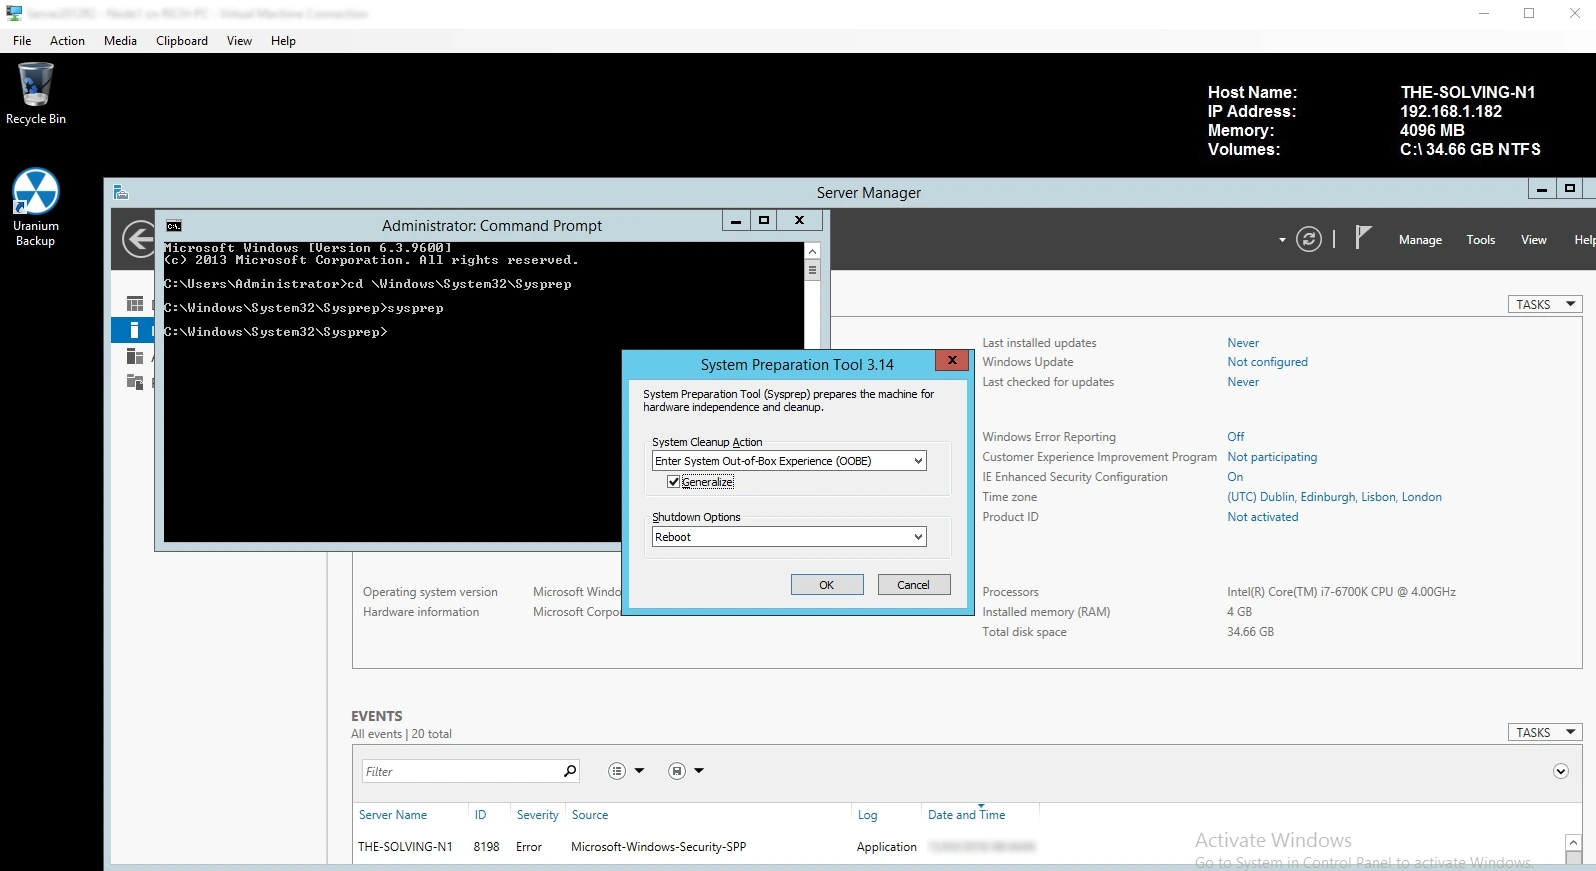
- Click OK. Sysprep will start the generalization process. When finished, the system will automatically restart and present the OOBE wizard on the same machine;
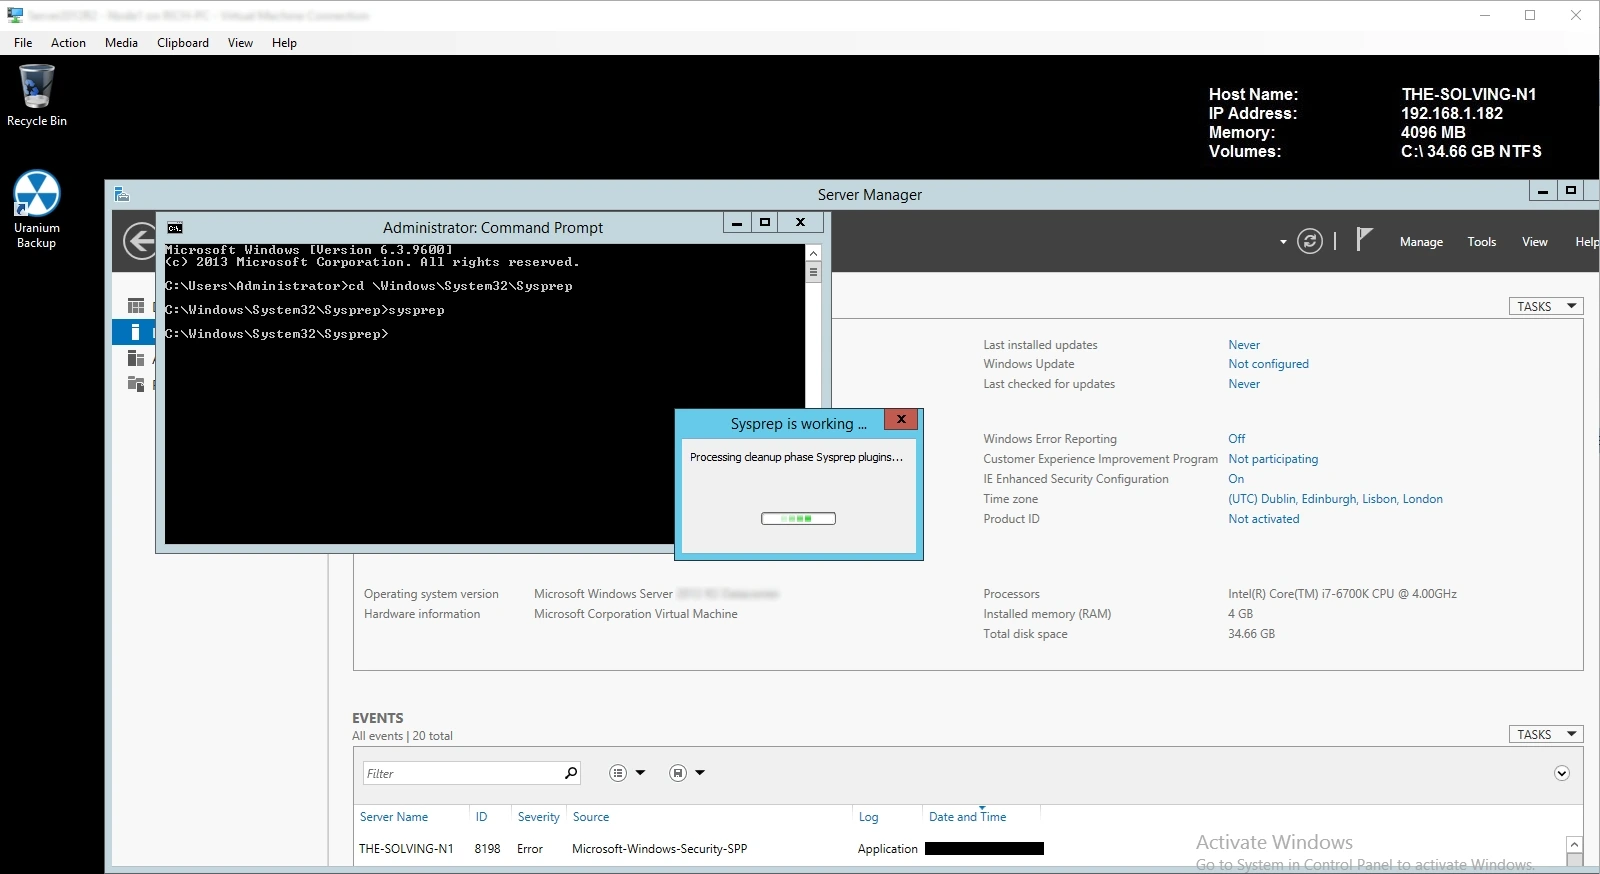
Note: To capture the image, repeat the process selecting Shutdown as the final option: use DISM to export a .wim file, or save it as a template in your virtualization platform.
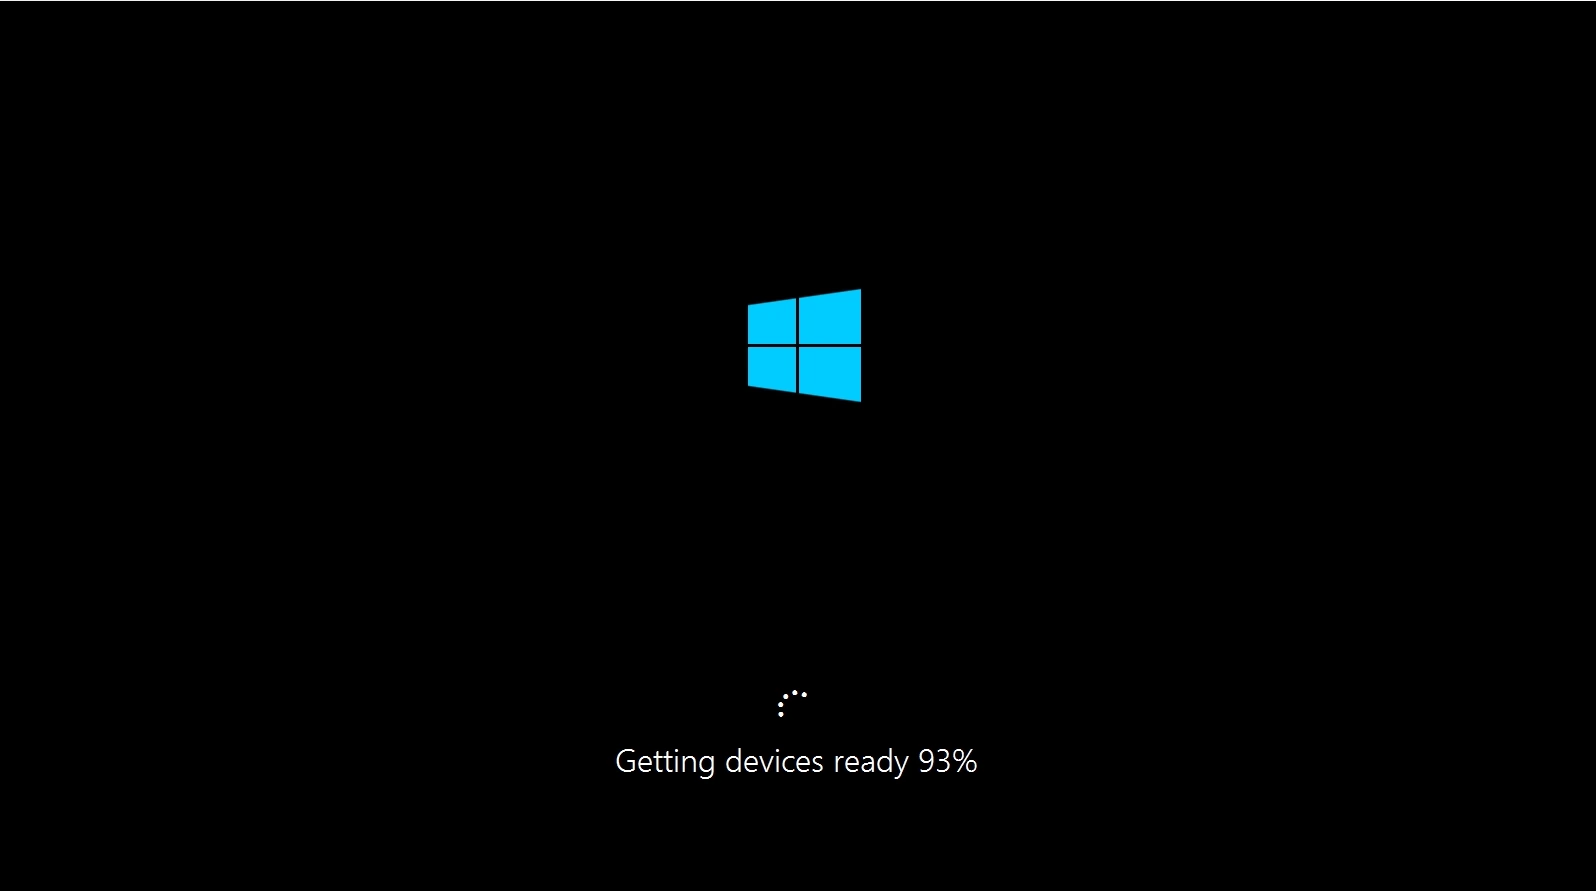
First boot post-Sysprep
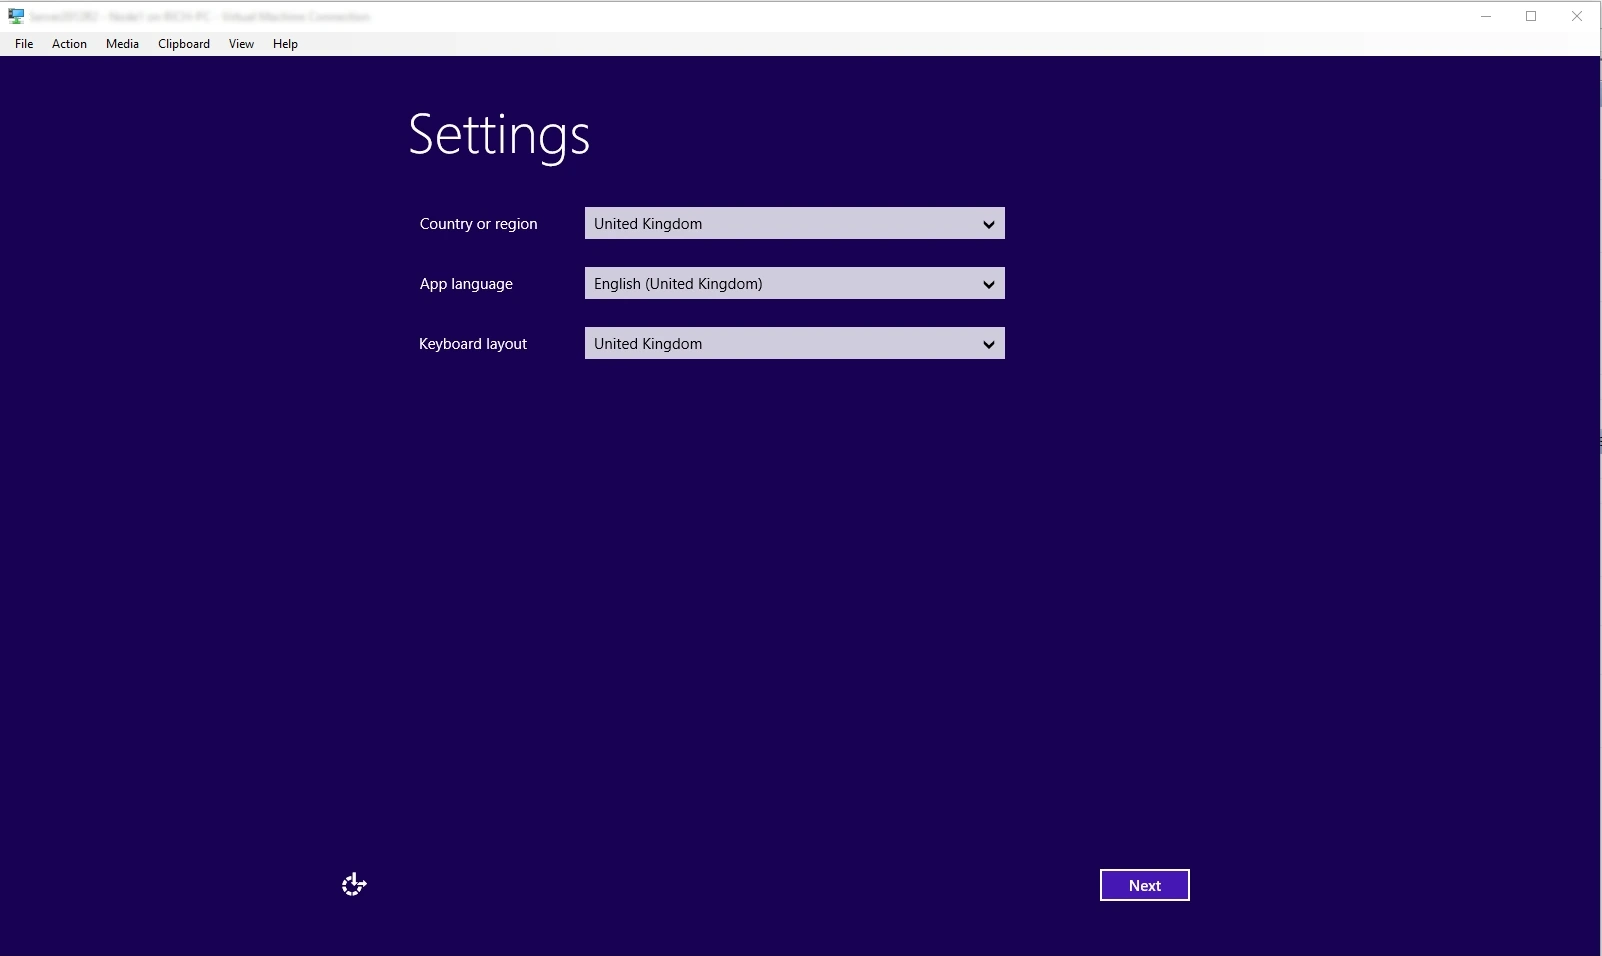
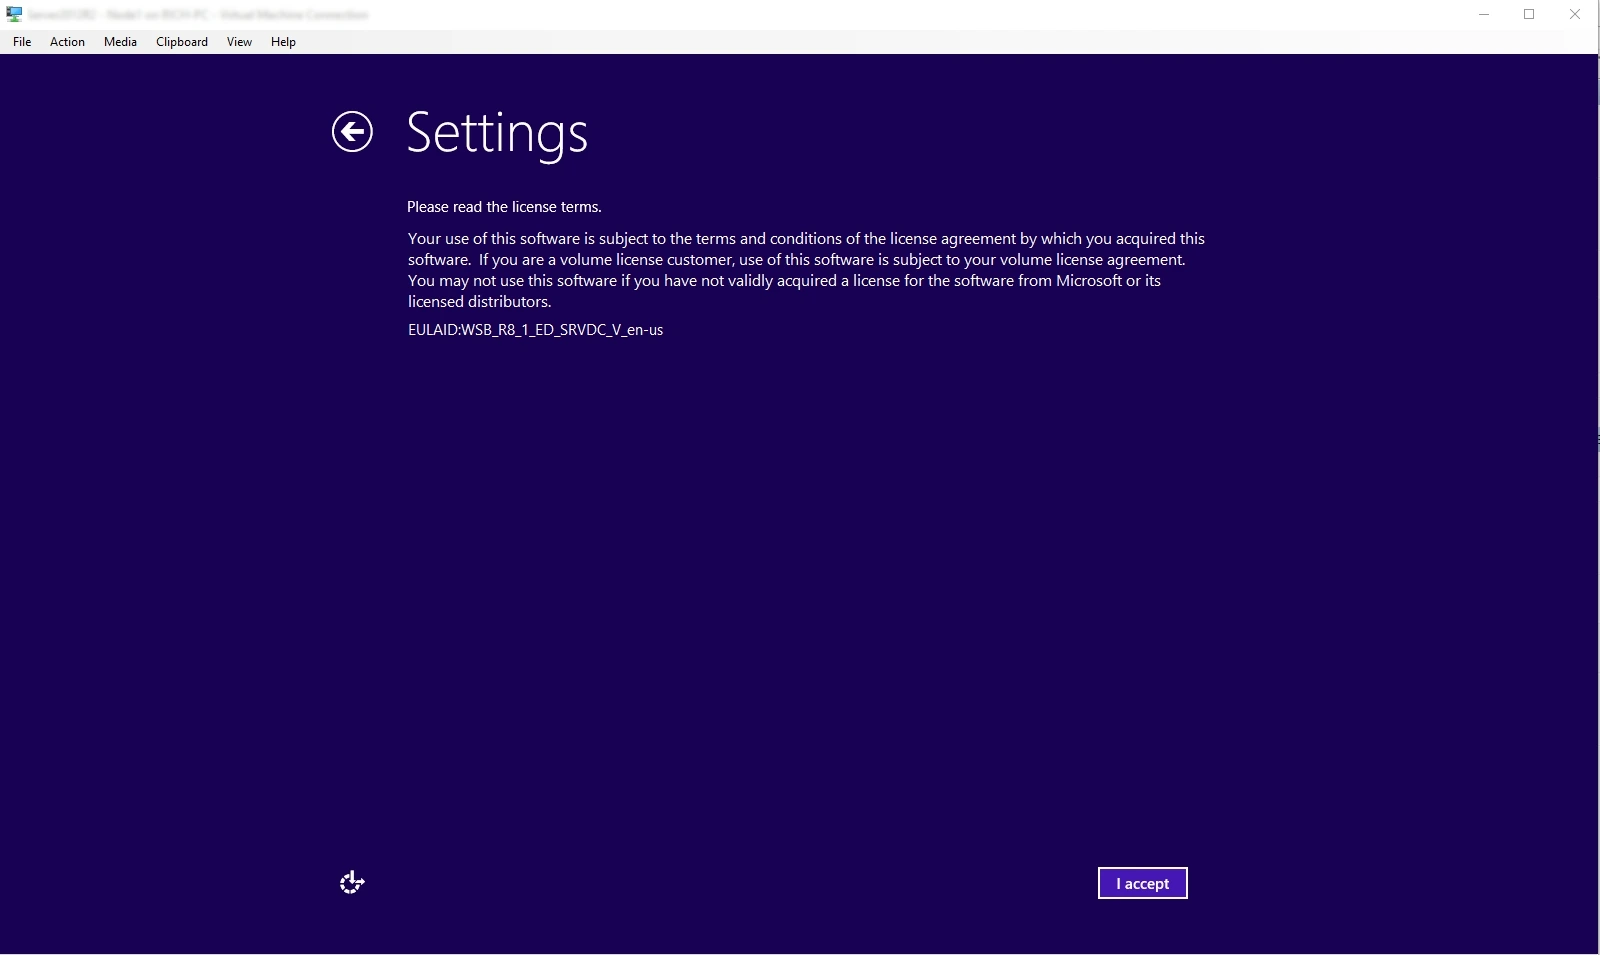
Upon the first boot with OOBE, Windows presents the initial setup wizard:
- Regional and language settings.
- EULA acceptance.
- Creation of the Administrator account (Server) or user account (Windows 10/11).
Upon completion, Windows generates a new unique SID for that machine, and the system becomes operational.
Sysprep via Command Line
For automated deployments, scripts, and MDT task sequences, the command line is the preferred method.
- Standard command – OOBE template:
sysprep.exe /oobe /generalize /reboot- Audit Mode:
sysprep.exe /audit /reboot- With
unattend.xmlresponse file:
sysprep.exe /oobe /generalize /shutdown /unattend:C:\Deploy\unattend.xmlThe unattend.xml file – generated with Windows System Image Manager (WSIM) included in the ADK – automates the OOBE phase: computer name, domain join, local accounts, regional settings, and additional software. For any large-scale unattended deployment, this is the standard configuration.
Note: the unattend.xml command uses /shutdown because in an automated deployment scenario the image is already validated and ready for capture. Unlike the interactive workflow with /reboot, there is no need to verify the OOBE behavior on the same machine.
For a full list of parameters, use:
sysprep.exe /?Advanced scenario: Audit Mode for image customization
When you need to install additional software or drivers before generalization and distribution, Audit Mode is the right tool.
Workflow:
- Run
sysprep.exe /audit /reboot - The system reboots as Administrator in Audit Mode.
- Install software, drivers, and additional configurations.
- Run Sysprep a second time with
/oobe /generalize /shutdownto finalize.
Note: /shutdown is used in step 4 because the image is ready for capture, not for validation.
Limits and common issues
| Problem | Cause | Solution |
|---|---|---|
| Execution limit reached | Sysprep can run a max of 1001 times on the same installation (Windows 10/11 and Windows Server 2016+) | Run it only once on the final image, after all customizations |
| Sysprep fails during generalization | Incompatible applications: aggressive DRM, VPN clients, software that writes the SID to the registry | Read C:\Windows\System32\Sysprep\Panther\setuperr.log to identify the component blocking the process |
| Hard-to-diagnose errors post-generalization | Partially applied Windows updates or pending reboots before Sysprep | Apply all updates and reboot before proceeding |
| Missing drivers after deployment | /generalize removes hardware-specific drivers | Manage drivers in the post-deployment phase, especially in environments with heterogeneous hardware |
| Sysprep fails on a domain-joined machine | The system is still a member of an Active Directory domain | Remove the machine from the domain before running Sysprep |
Integration with modern workflows
In 2026, Sysprep is rarely used alone; it is part of an ecosystem:
- MDT: manages the entire image lifecycle with automated task sequences that include the Sysprep phase.
- Windows Autopilot: requires a sysprepped image as a base for zero-touch deployment with Intune/Azure AD.
- DISM: captures and distributes
.wimimages post-Sysprep. - Hyper-V / VMware: templates are sysprepped before being saved for future cloning.
Pre-Sysprep checklist
- Windows Updates fully applied, no pending reboots.
- Third-party software installed and tested.
unattend.xmlfile ready and validated (if using unattended deployment).- Verify application compatibility; check
setuperr.logif in doubt. - Snapshot or backup of the image performed before proceeding.
- Choose the appropriate Shutdown option based on your goal: Shutdown for production capture, Reboot for validation.
Using Sysprep correctly – with /generalize, a response file, and integrated into MDT or Autopilot workflows – makes the difference between a scalable deployment and a collection of machines managed one by one.
Frequently Asked Questions
I’ve heard Sysprep can only run 3 times before Windows stops activating – is that still true, or does it conflict with the 1001-run limit mentioned in this article?
These are two separate limits. Sysprep itself can run up to 1001 times per image, but activation rearm via /generalize is capped at three. If you’ll run Sysprep repeatedly while building the image, set SkipRearm=1 in your answer file, then switch it back to 0 only on the final run.
Do I need to manually remove the machine from the domain before running Sysprep, or does Generalize handle that on its own?
Generalize removes domain membership automatically. Problems usually come from machines joined to the domain before capture – GPO password policies aren’t always fully reverted, which can trigger OOBE errors on the clone. Safer approach: build and sysprep the reference machine as a workgroup member instead.
I cloned the image but the derived machines all have the same SID even though I used Sysprep – what went wrong?
Almost always, Generalize wasn’t actually applied during that run – either the checkbox was left unchecked in the GUI, or the command only included /oobe /reboot without /generalize. Without that flag, the SID and hardware-specific information stay untouched.
Read related articles
How to configure static routes to route traffic through a specific gateway
Learn how to configure static routes on Windows Server and Windows 11 using route add and PowerShell’s New-NetRoute, so traffic to specific destinations takes the gateway you choose.
How to reset NTFS permissions with ICACLS
Learn how to fix broken NTFS/ACL permissions on Windows Server using ICACLS: reset ACLs, handle access denied errors, take ownership, and back up permission trees safely.
Configuring and using Windows Deployment Services (WDS)
A 2026 guide to WDS: installation, PXE boot, boot/install images, and the limitations introduced with Windows 11 and Server 2025.