
 Italiano
 Español
A guide to Storage Spaces and Storage Pools on Windows Server 2012 / 2012 R2
Storage Spaces is a storage virtualization technology developed by Microsoft and introduced with Windows 8 and Windows Server 2012. It allows to create and manage logical volumes running on a pool – Storage Pool – of physical disks.
We’ve already showed how you can create and manage a Storage Space on Windows 8.1. It’s time to show you how to do the same on Windows Server 2012 / 2012 R2.
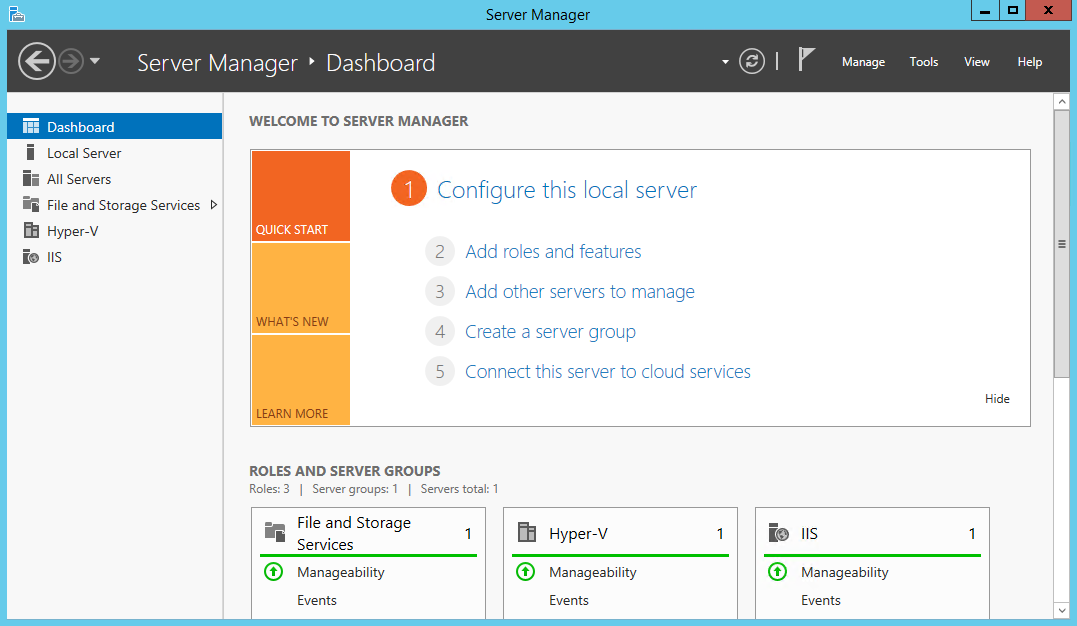
You can find the Storage Services control panel opening the Server Manager. Click on File and Storage Services:
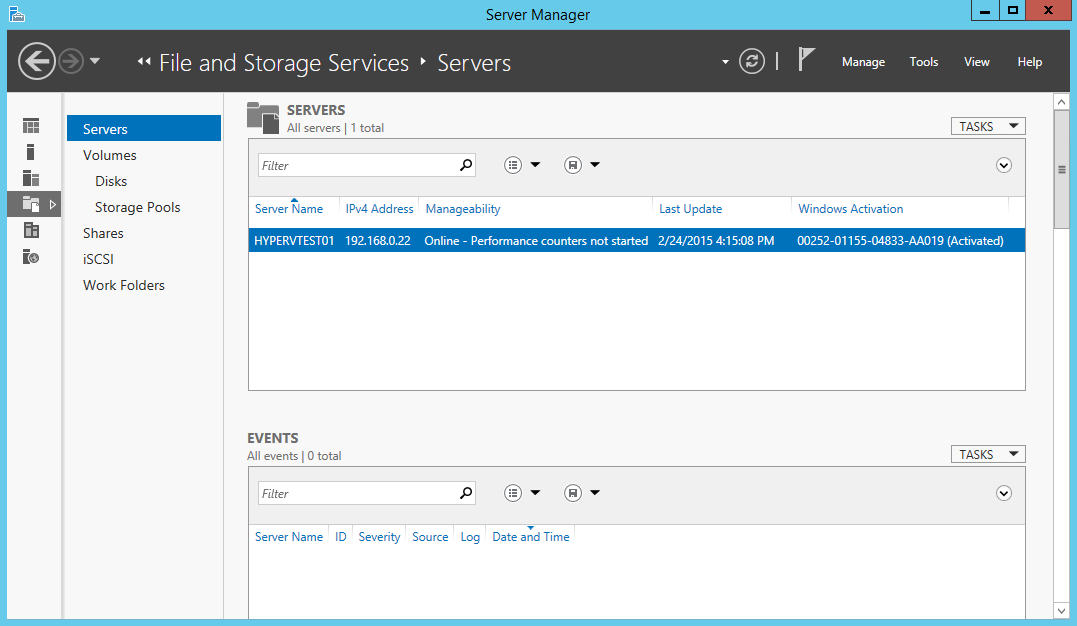
Here we are:
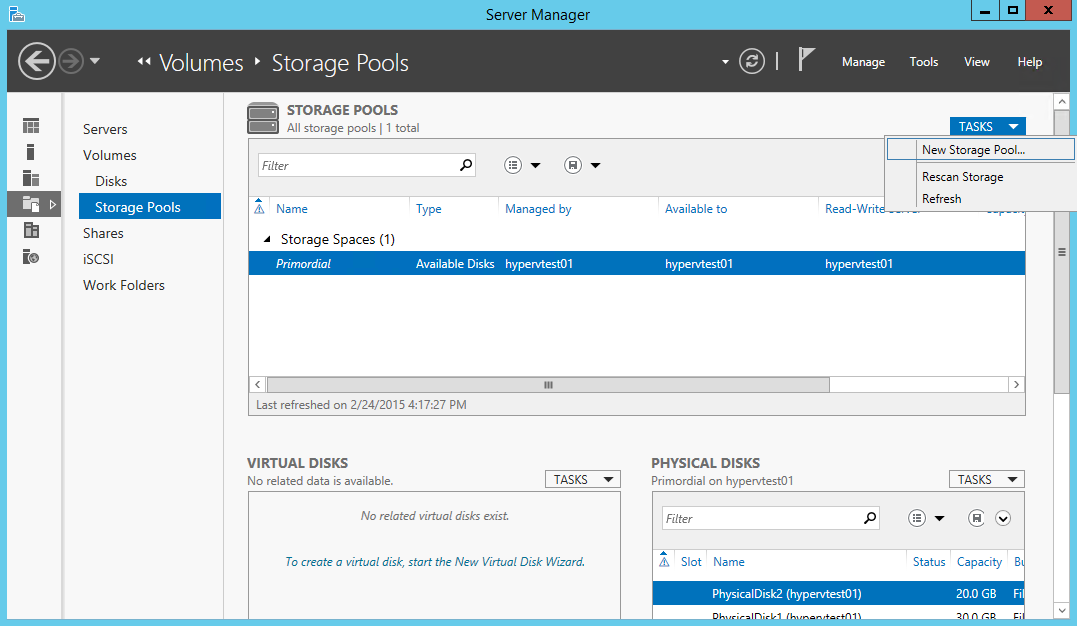
Create the Storage Pool
Open the Storage Pools tab, click on the drop-down menu on the upper-right corner and select New Storage Pool:
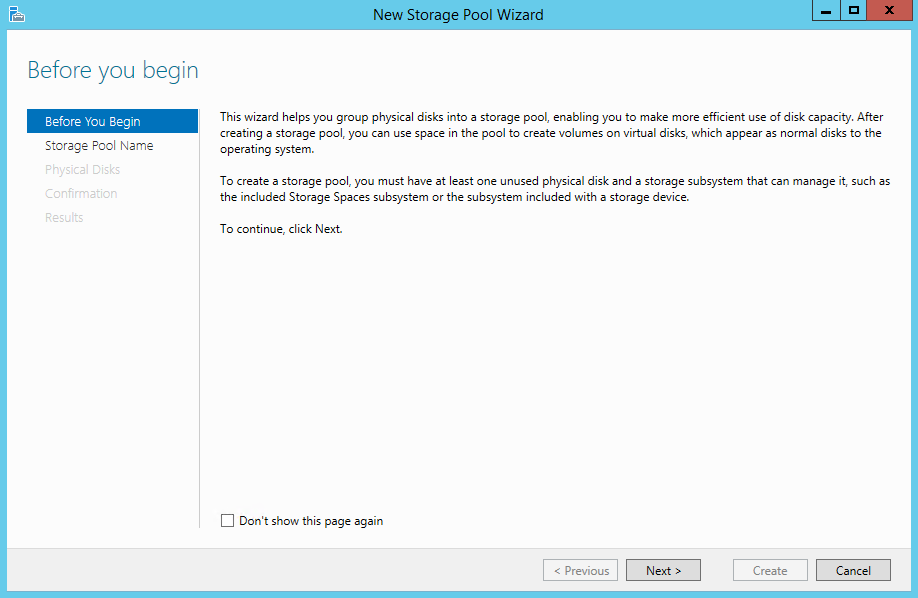
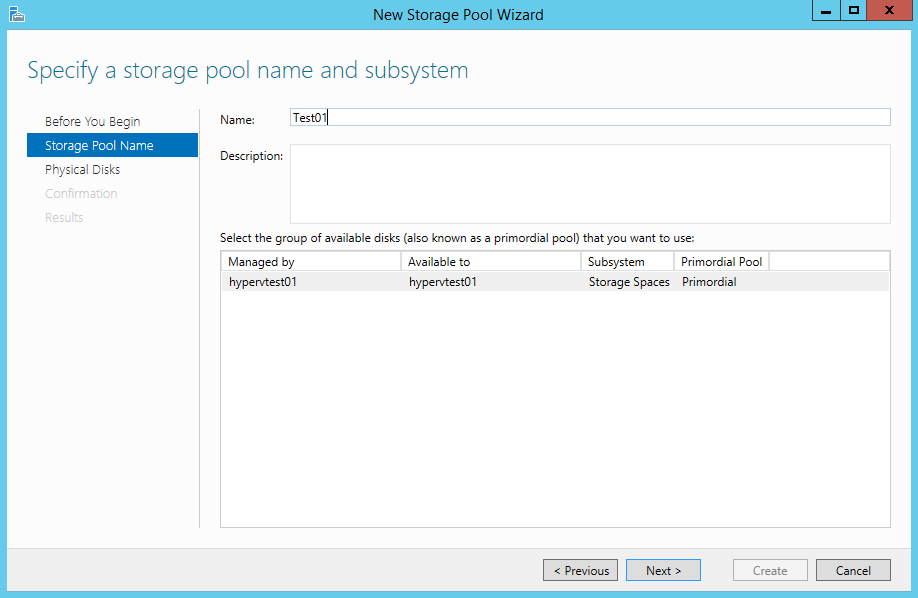
A configuration Wizard will appear. Go on and specify the name of the Pool:
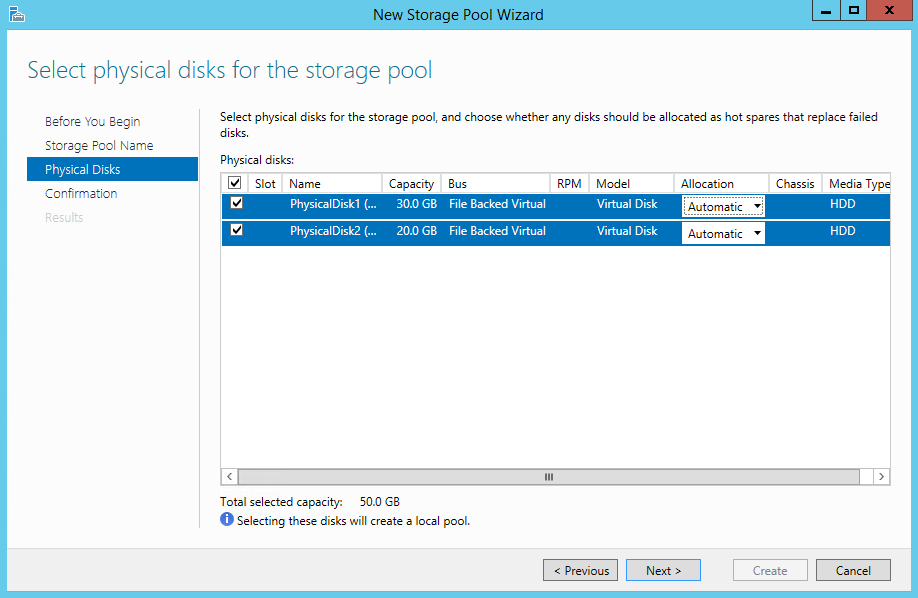
Select the disks you want to use for your pool:
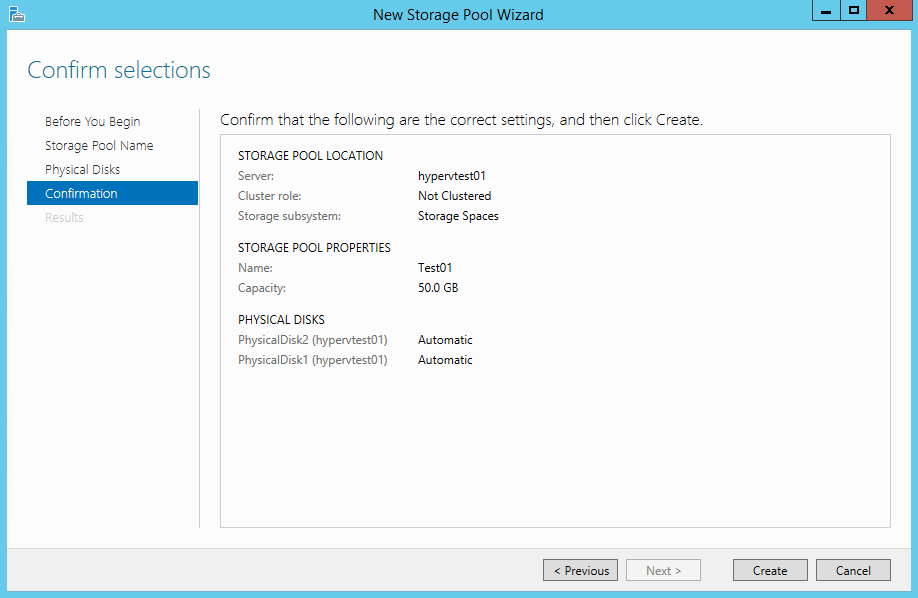
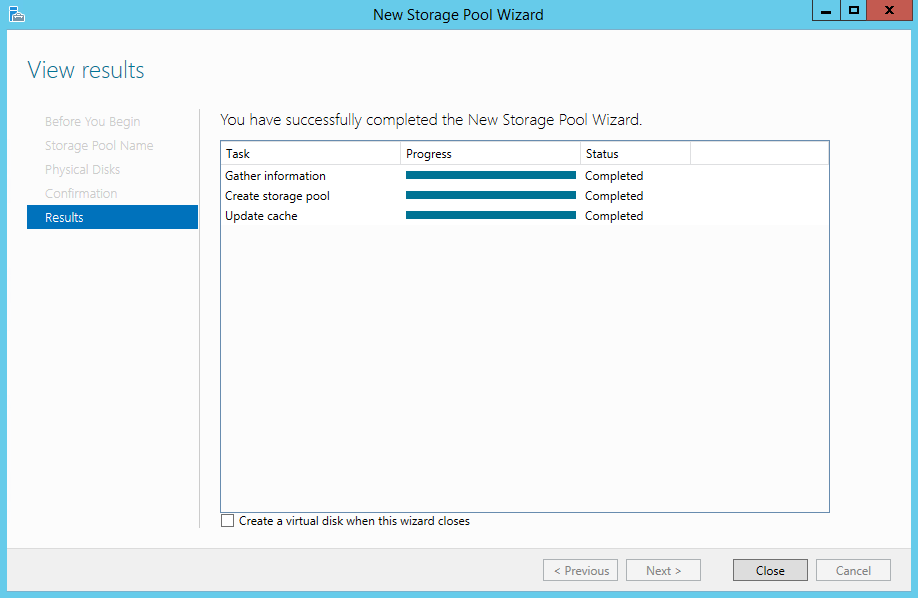
Confirm and the Pool will be created:
Create the Virtual Disk
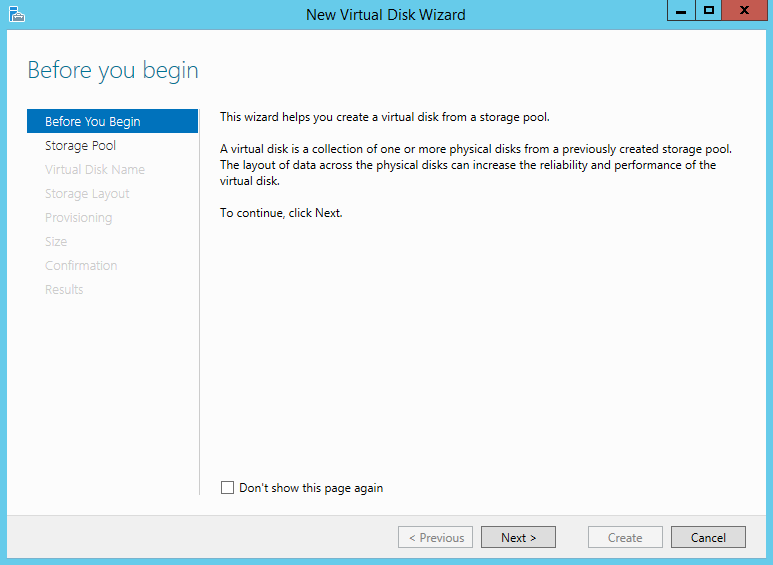
We have a Storage Pool but no logical disk that runs on it. Windows Server will launch a new configuration Wizard to create one:
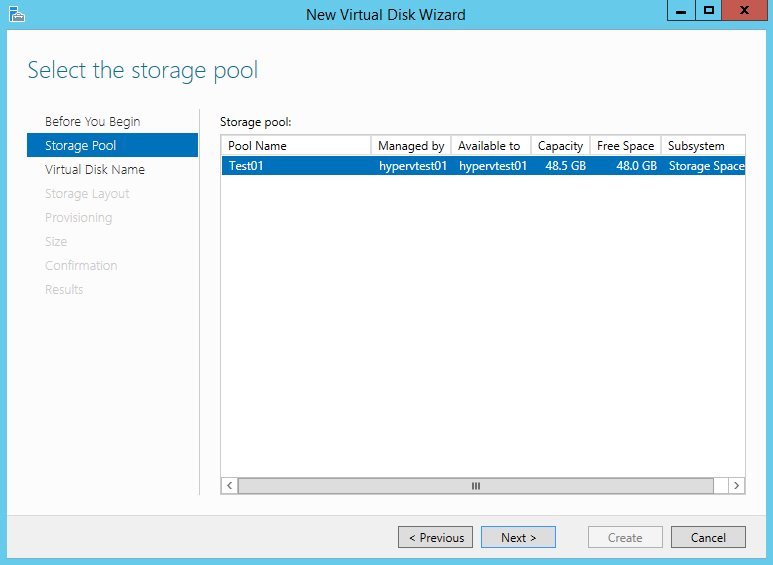
Select the Storage Pool where you want to put your Virtual Disk:
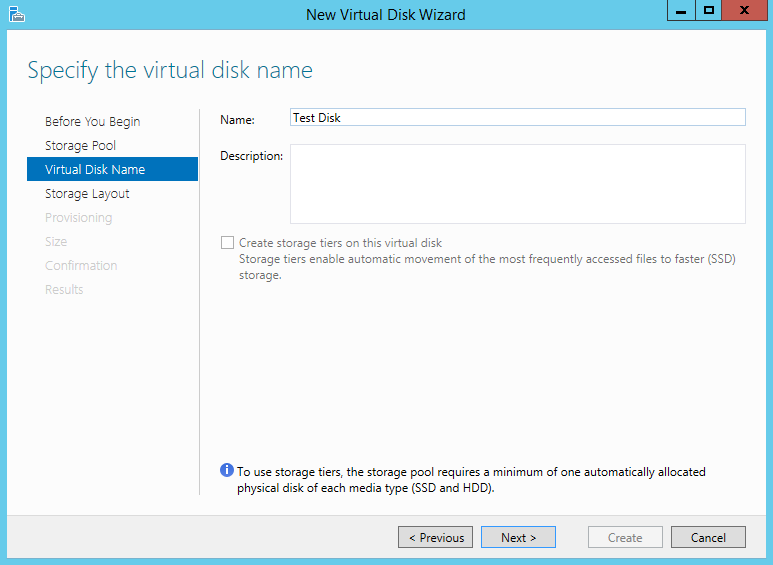
Give it a name:
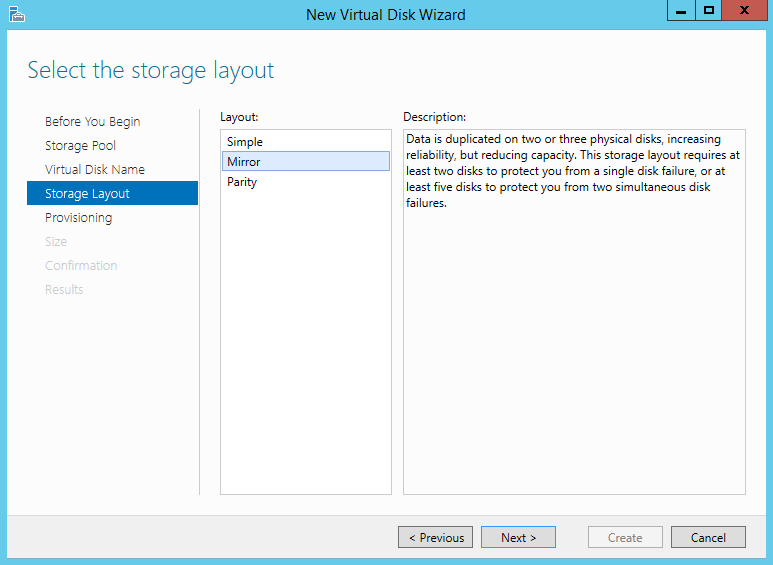
Choose the Storage Layout. With two disks use Mirror – a sort of virtual RAID 1 – while with more drives we suggest to use the Parity mode. Don’t use the Simple mode because it’s unsafe for your data:
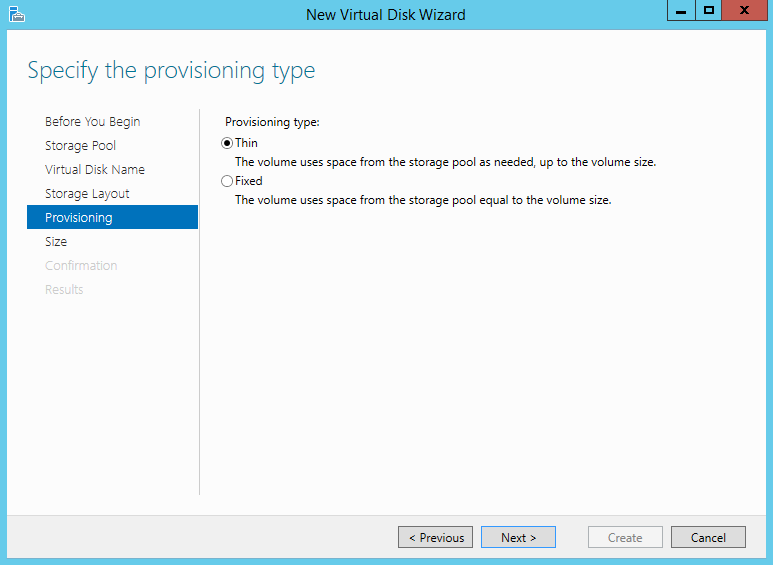
Enabling Thin Provisioning, your Virtual Disk will use only the space effectively occupied by the Virtual Disk:
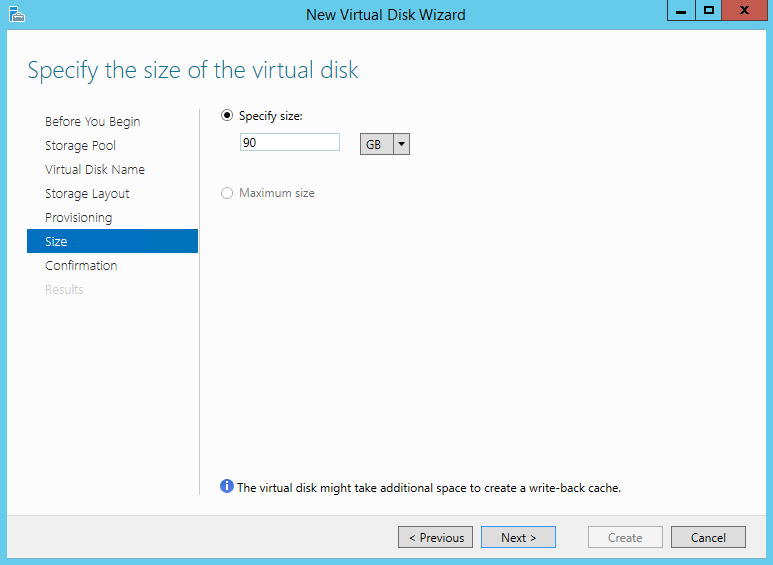
Specify the size (it can be greater than the underlying Storage Pool):
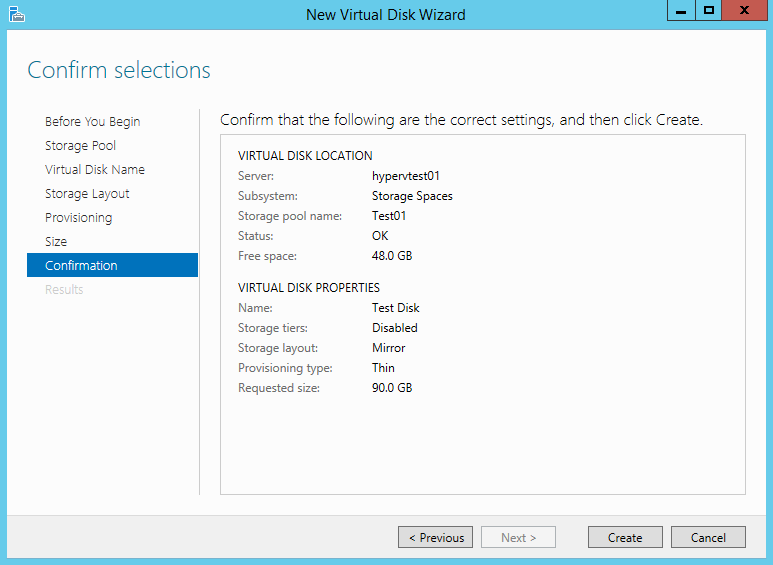
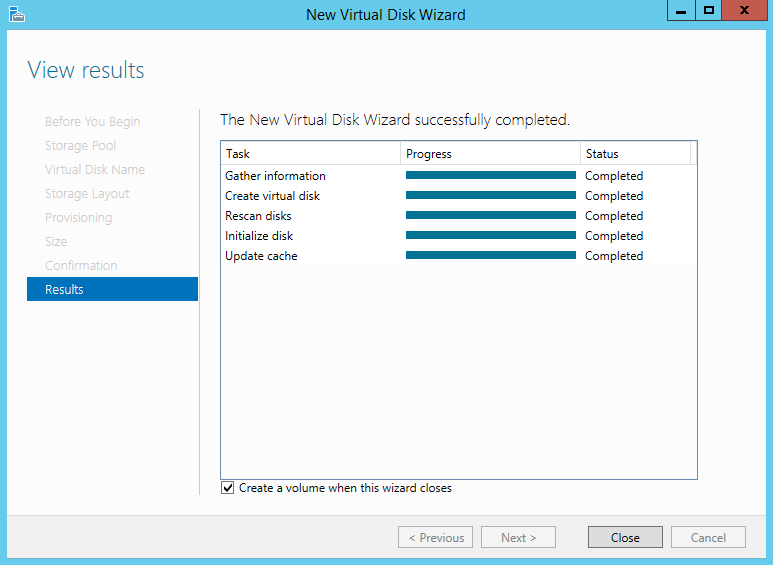
And even the Virtual Disk is done:
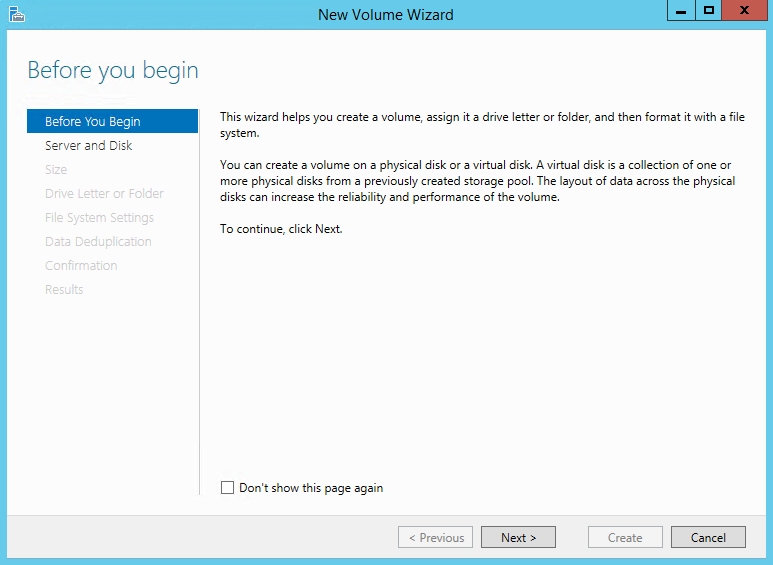
Create the Volume
The last step is to create the Volume. A quite simple step.
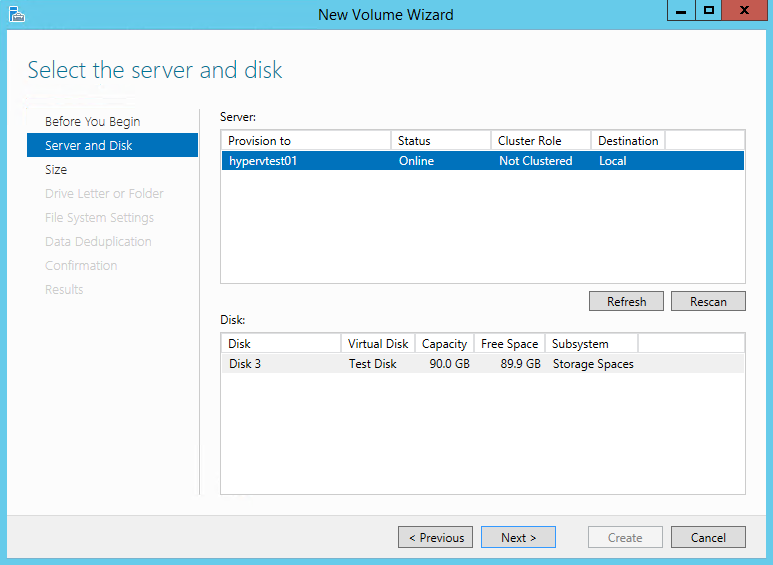
Select the Disk:
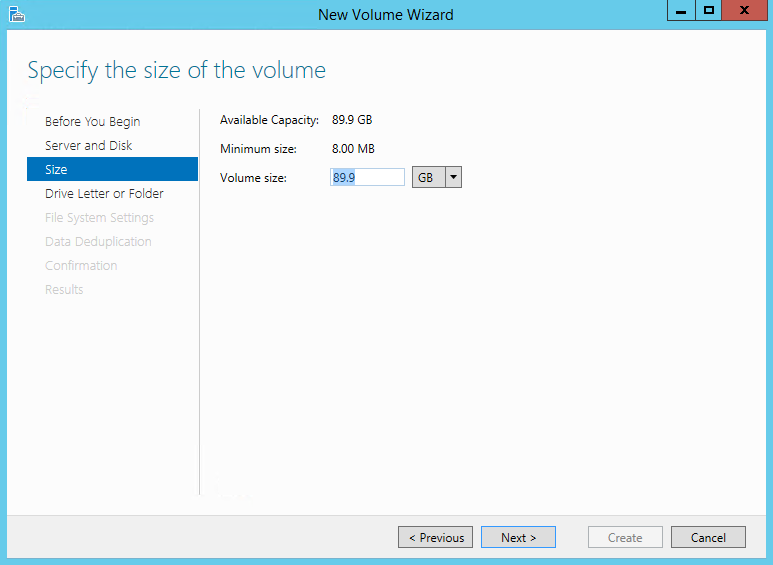
Choose the volume size:
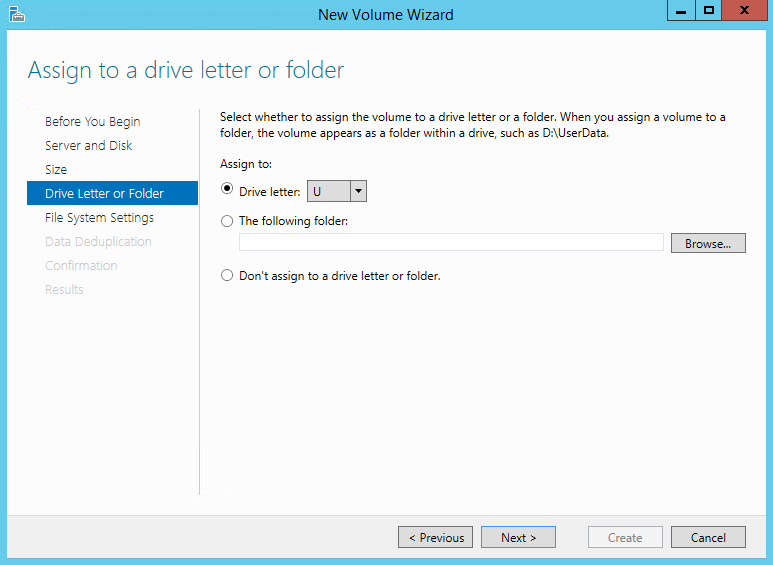
Select the drive letter:
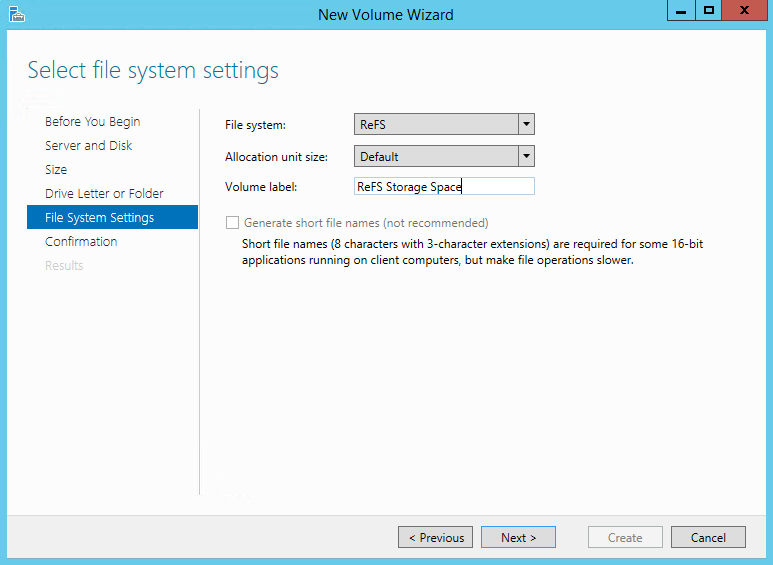
Select the file system. We suggest ReFS for data storage:
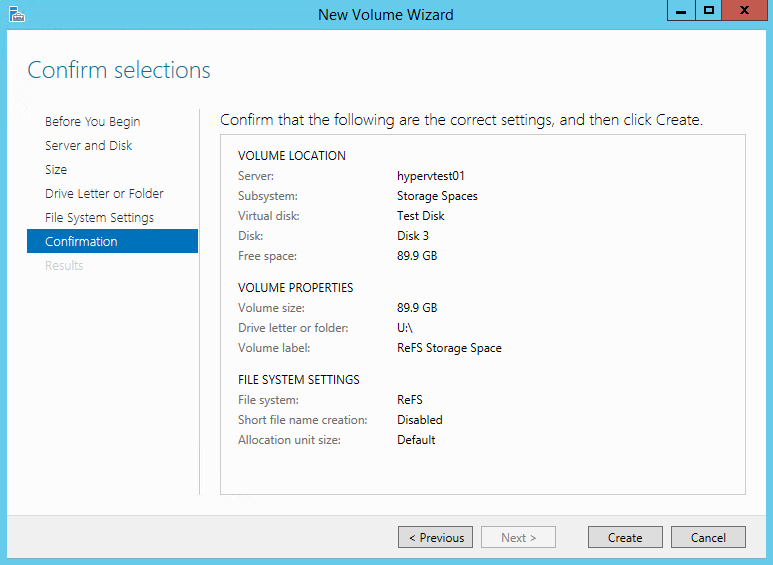
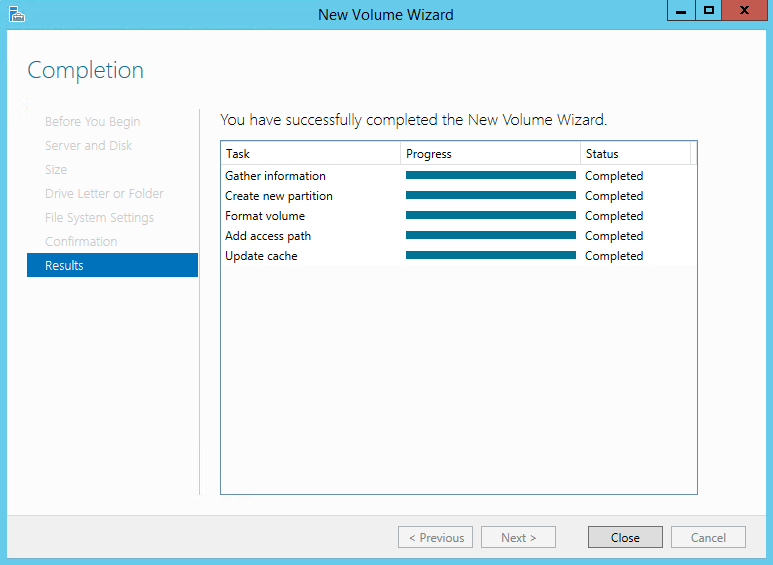
Confirm and the volume will be created:
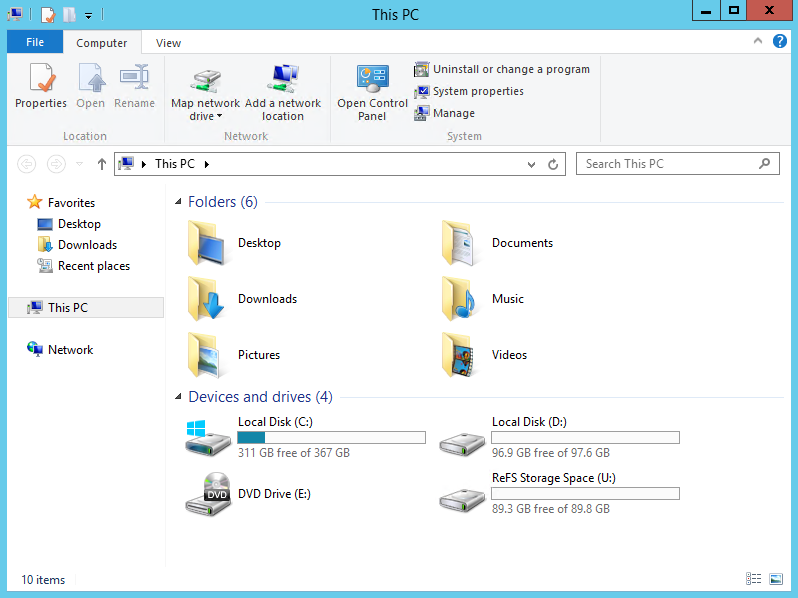
Finally, you’re ready to use your Storage Pool:
Read related articles
How to configure a Distributed File System (DFS) Namespace
Locating shared folders to access specific documents is a common problem in business environments. System administrators have to decide how
Configuring Volume Shadow Copies (VSS) on Windows Server 2012 R2
Volume Shadows Copies (also known as Volume Snapshot Service or VSS) is a technology developed by Microsoft to take restorable
Configuring NTFS quotas to set storage limits for users
Storage quotas help administrators to manage shared volumes. Windows Server 2012 // R2 supports a simple way to enforce quotas,