
 Italiano
 Español
FreeNAS, among its many sharing options, offers a complete support to iSCSI. We’ve already seen how to create an iSCSI target on Windows Server 2012 and 2012 R2, with FreeNAS you can set up an iSCSI target even faster, just a bunch of clicks and you’ll be ready.
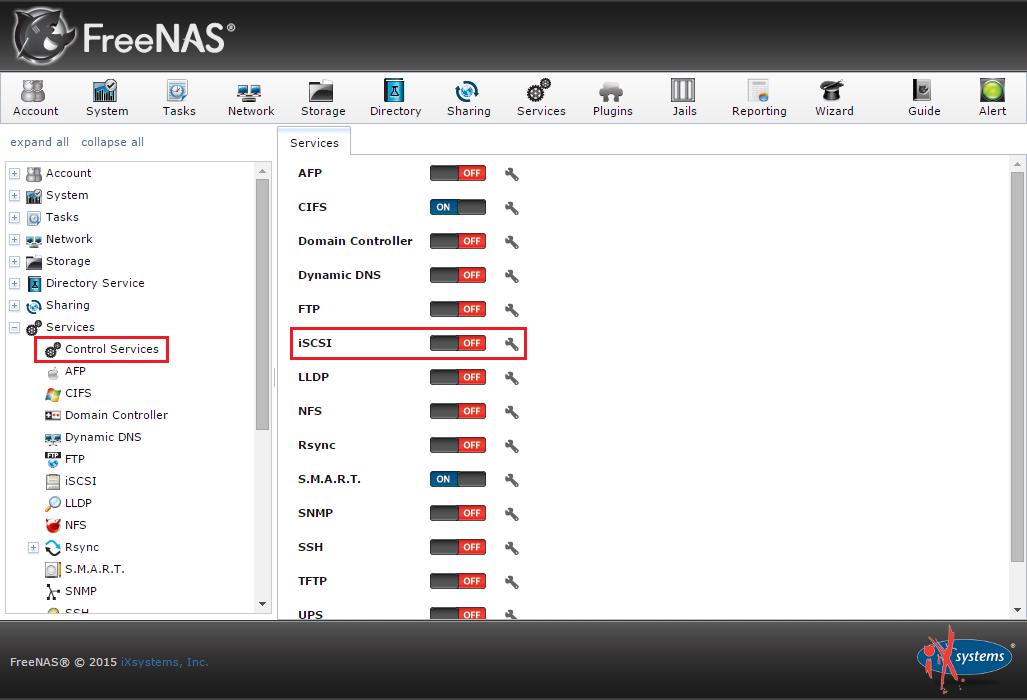
The first step is to enable the iSCSI service. Open the Control Services tab under the menu Services and launch the iSCSI service:
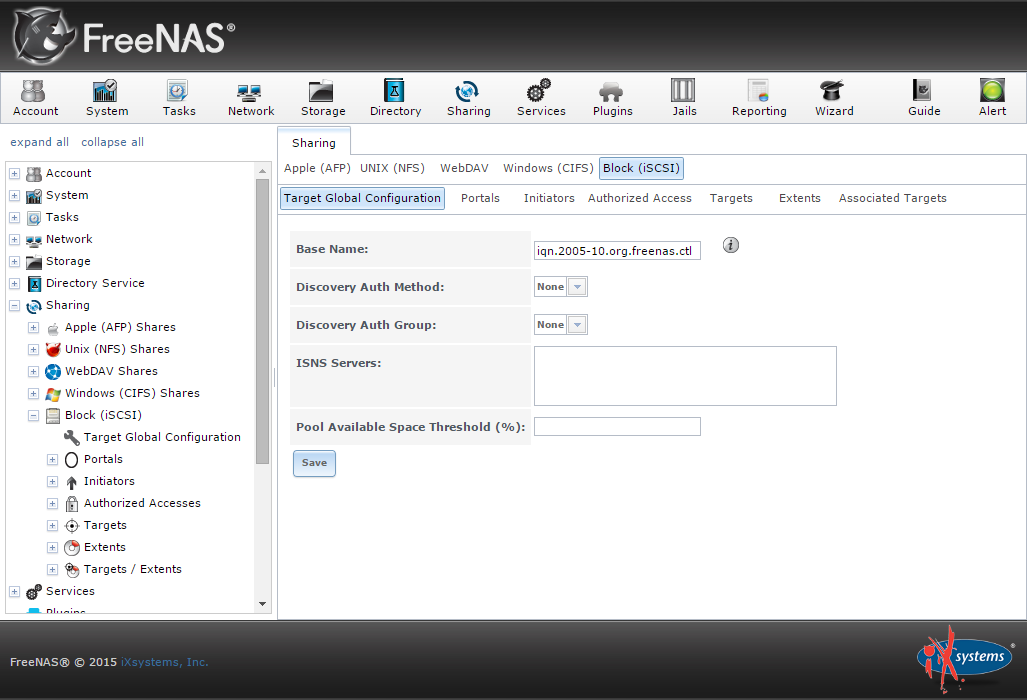
Navigate to the Block (iSCSI) menu:
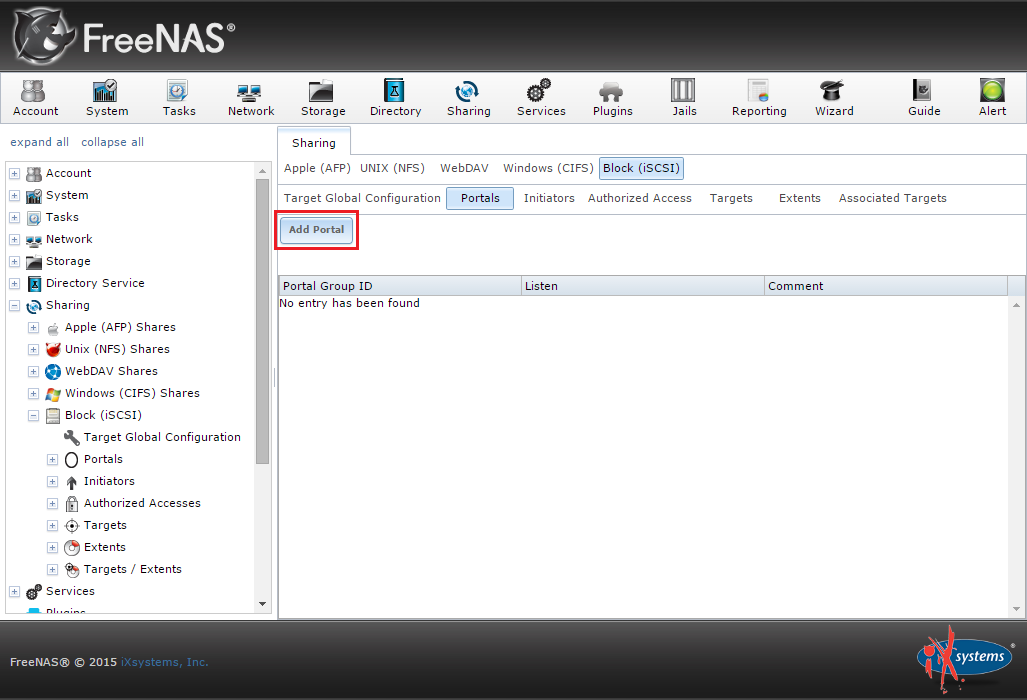
Under the Portals tab click Add Portal:
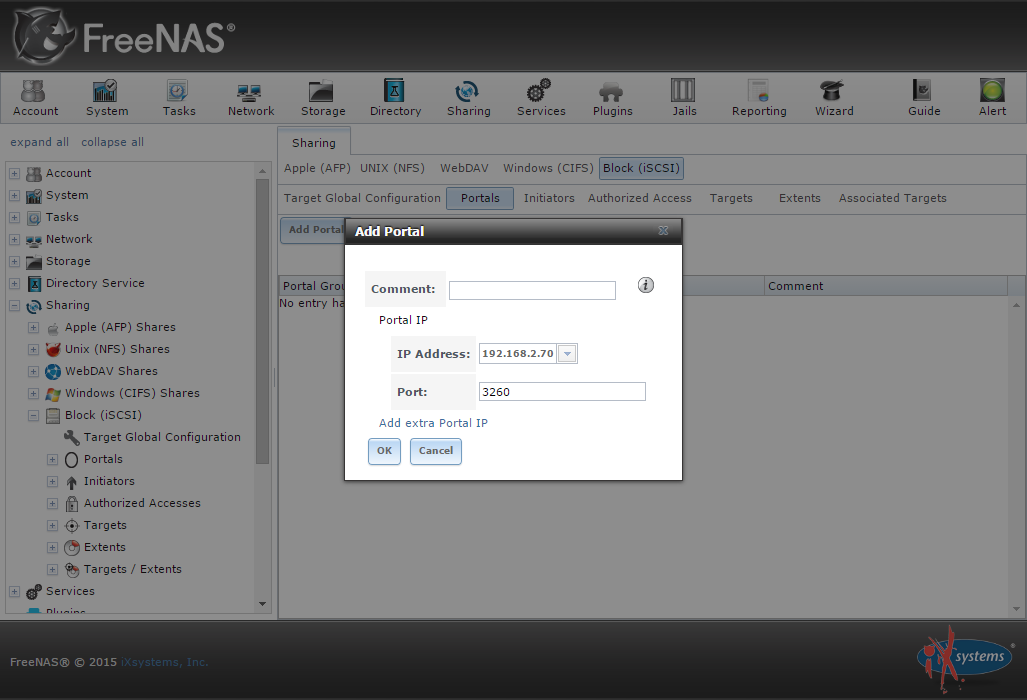
You’ll be able to configure a network interface (with its IP address) as the Portal:
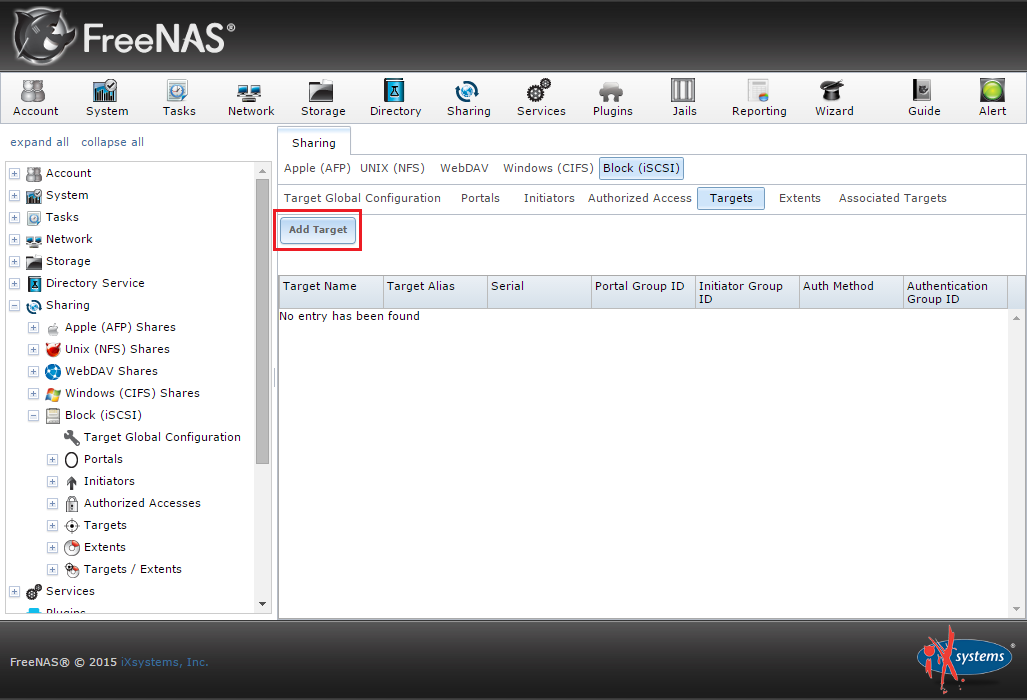
Go to the Target tab and click Add Target:
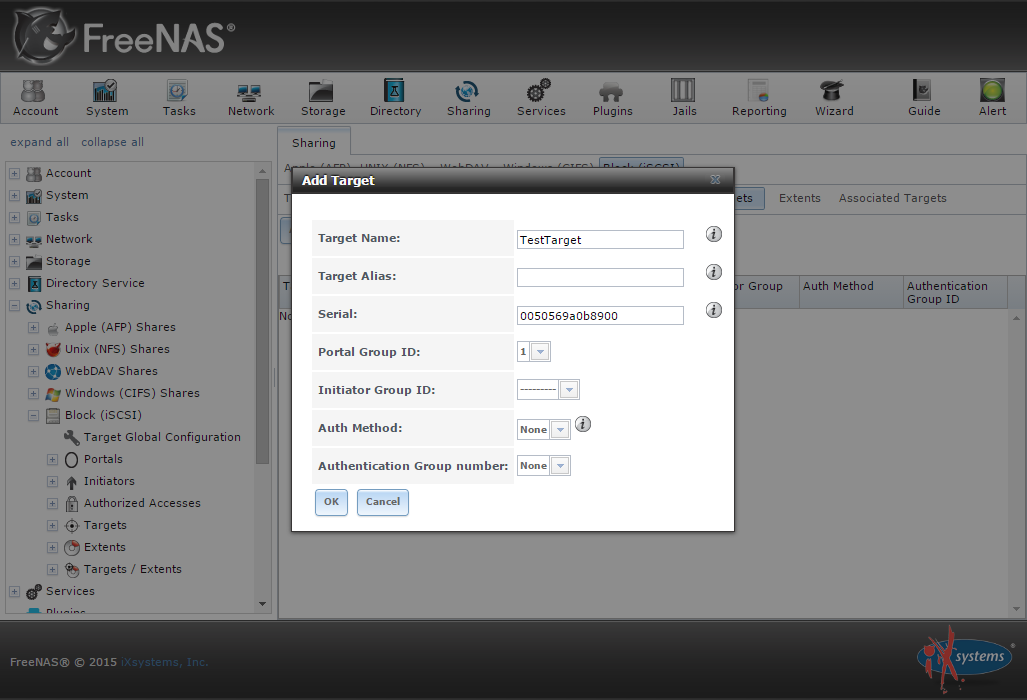
Give it a name and select the Portal Group ID (in our example there’s only an ID available):
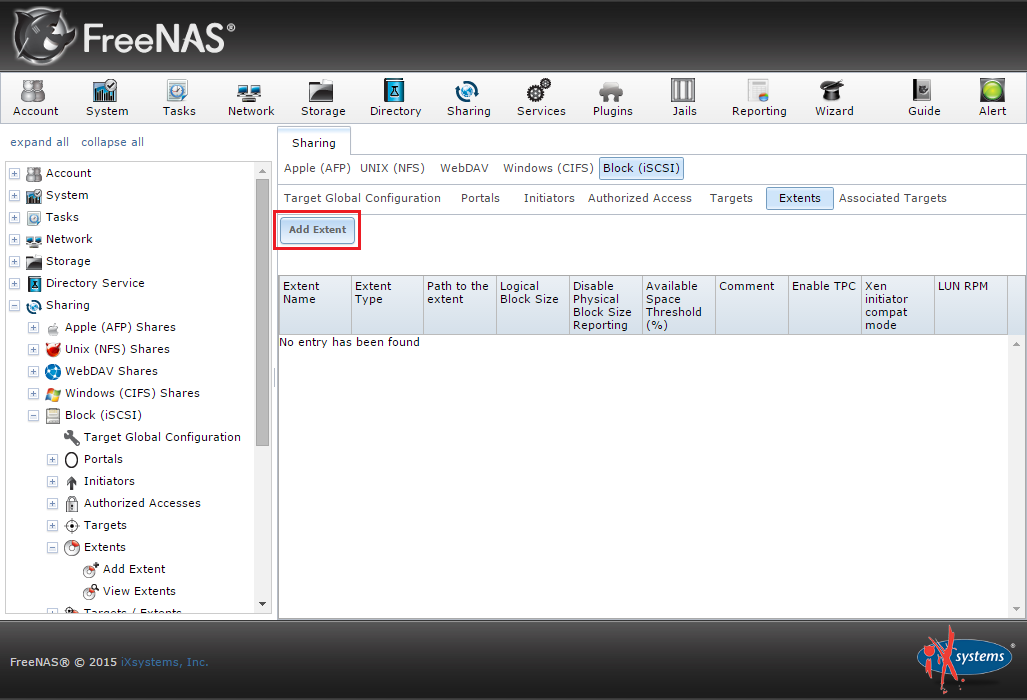
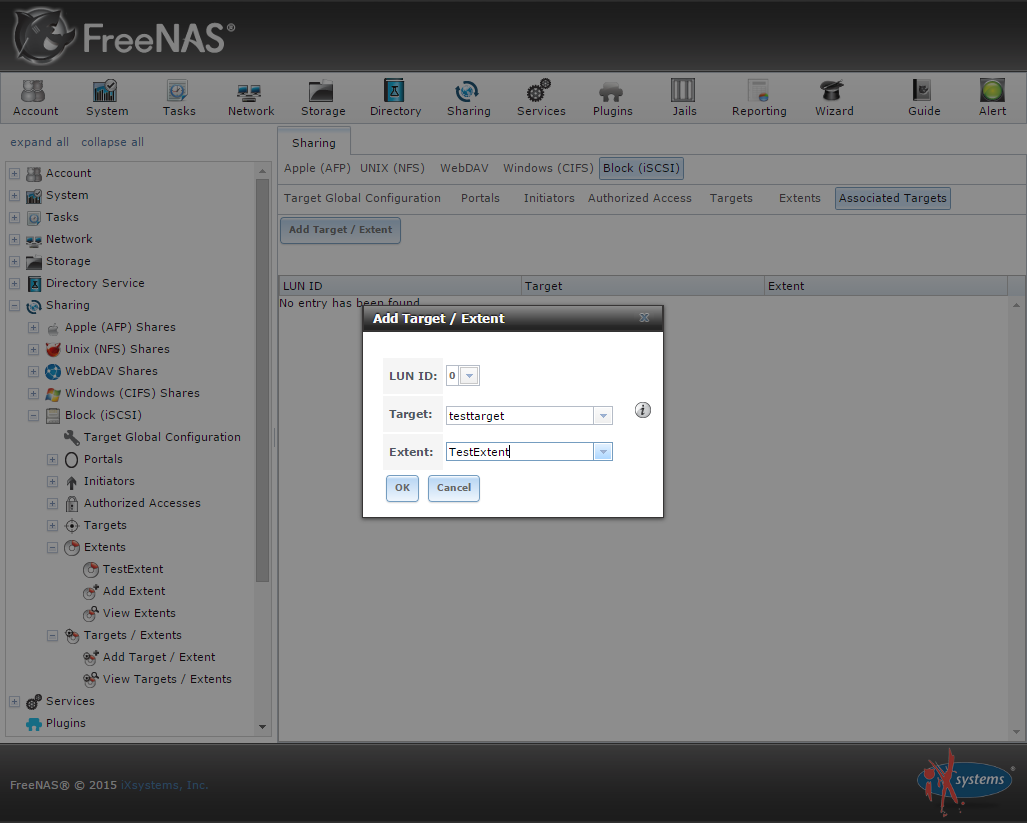
An Extent is a storage unit shared through iSCSI. You can use a physical device or a file as Extent. In our example we configured a file (so a virtual storage unit) deployed in our RaidZ volume. We chose a maximum size of 2GB:

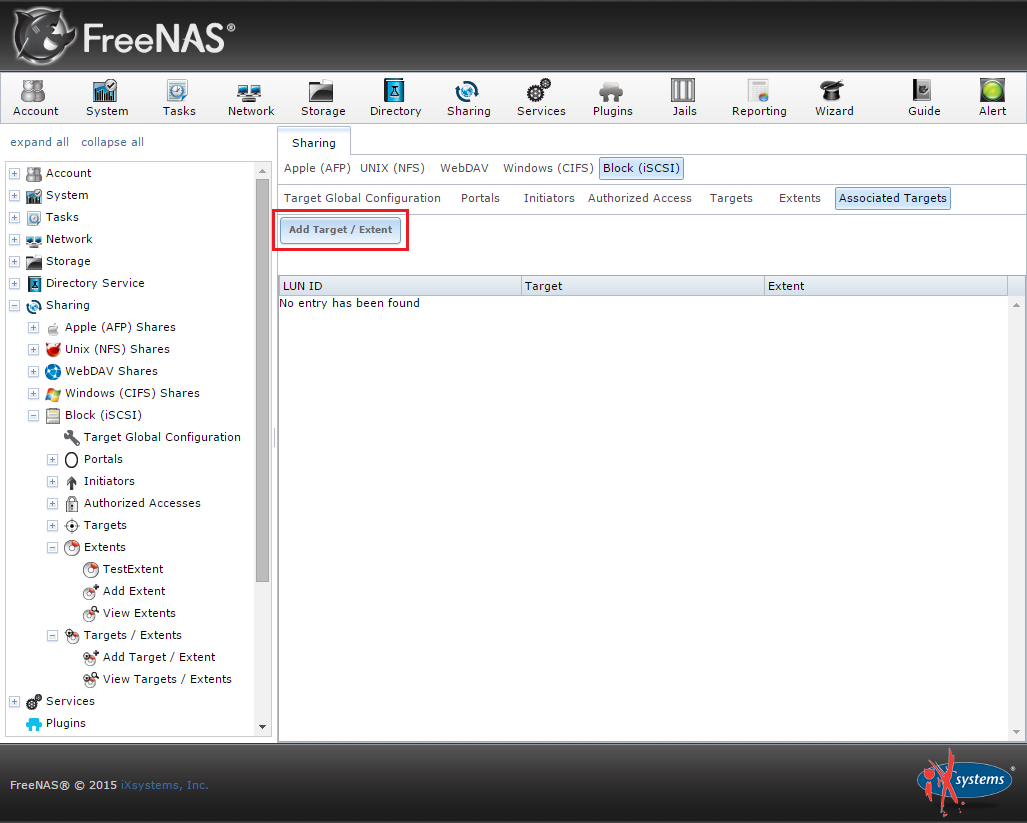
The Extent must be associated to a Target, a quite easy step:
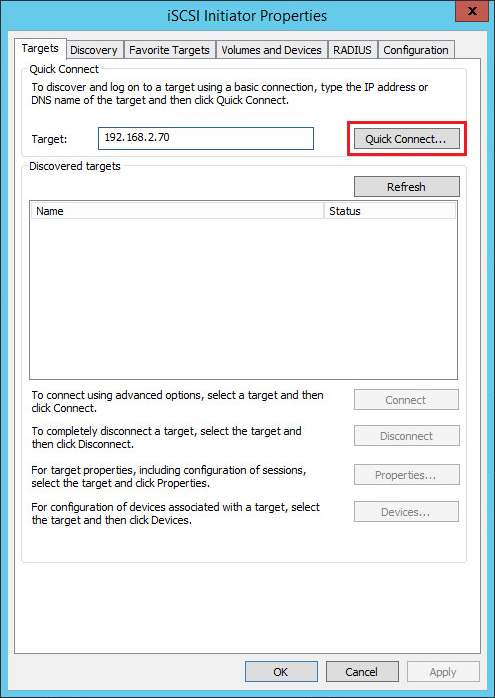
Configuration completed! You can now connect your Windows PC/server to the iSCSI target. Open the iSCSI Initiator from the Control Panel. Specify the IP address used during the Portal configuration and click Quick Connect:

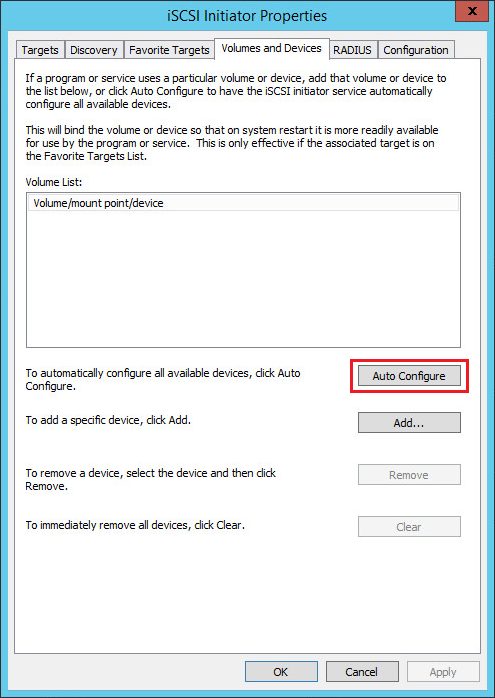
Go to the Volume and Devices tab and click Auto Configure:
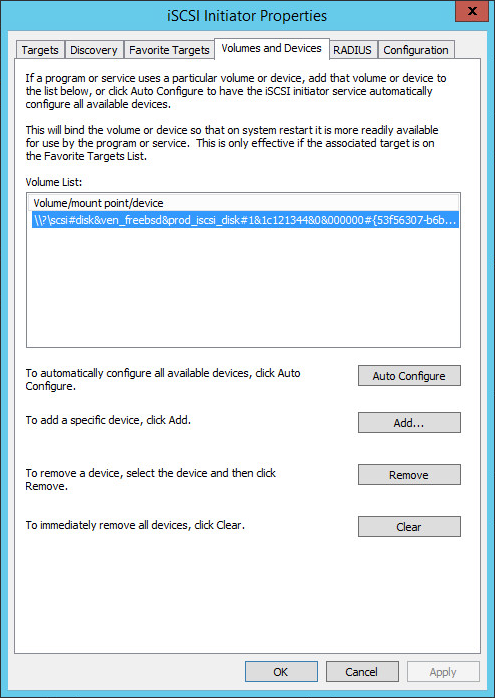
The new volume will appear:
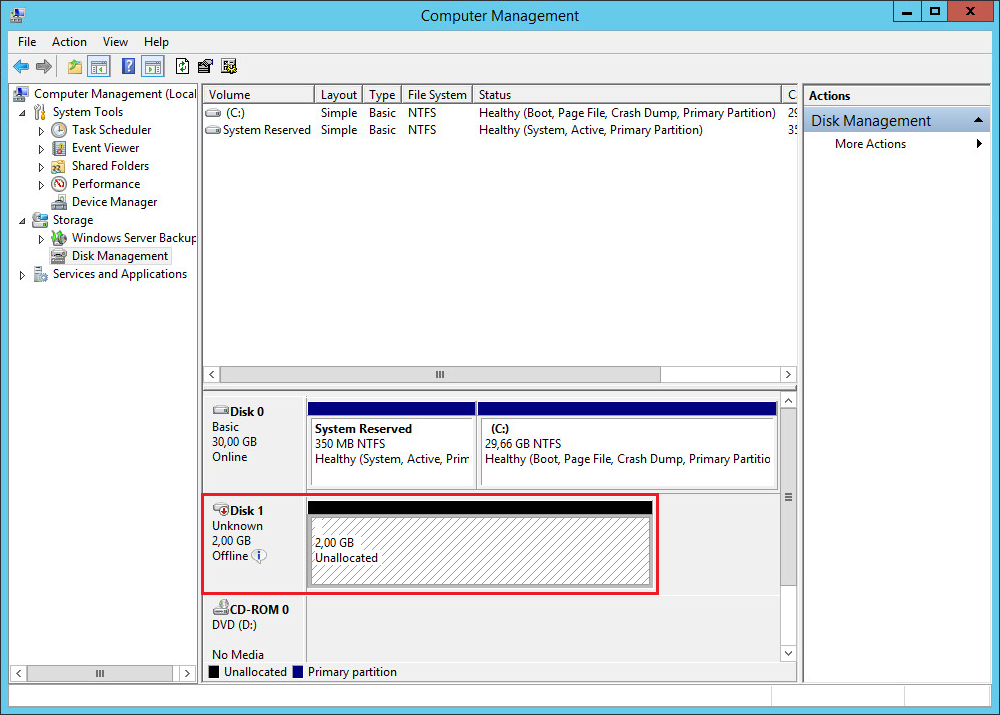
You’re ready to use the new iSCSI volume:
Read related articles
How to configure a Distributed File System (DFS) Namespace
Locating shared folders to access specific documents is a common problem in business environments. System administrators have to decide how
Configuring Volume Shadow Copies (VSS) on Windows Server 2012 R2
Volume Shadows Copies (also known as Volume Snapshot Service or VSS) is a technology developed by Microsoft to take restorable
Configuring NTFS quotas to set storage limits for users
Storage quotas help administrators to manage shared volumes. Windows Server 2012 // R2 supports a simple way to enforce quotas,