Work Folders is a quite interesting feature introduced by Microsoft with Windows Server 2012 R2. In a nutshell, Work Folders is a synchronization service for folders that works in a similar fashion of Dropbox, but in your own network/servers. You can access the synced data from Windows PCs or from mobile devices, an interesting opportunity for your company.
The nice part of this tool is that it’s really simple to deploy. In this tutorial we’ll see how to set up the server side of Work Folders and create a simple Sync Share.
In the next days we’ll publish a guide about connecting your Windows machine and/or your device to a Sync Share.
Step one: Install the Work Folders role
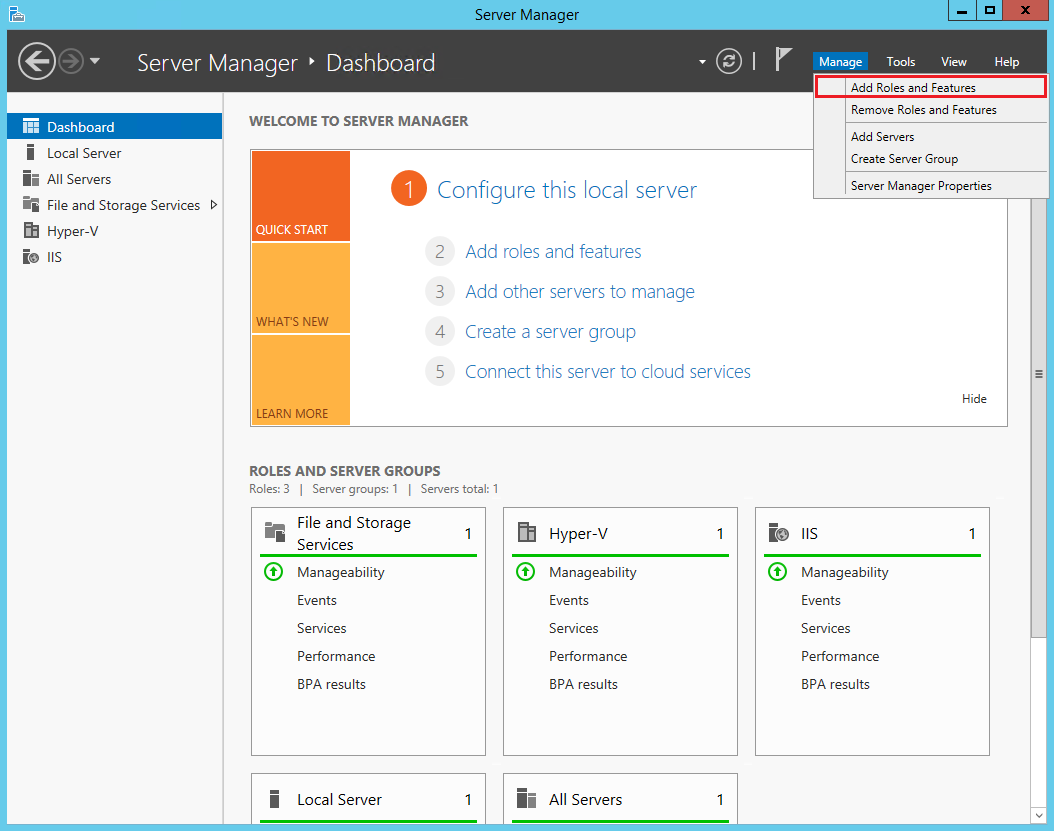
Launch the Server Manager and click on Add Roles and Features under the Manage menu:
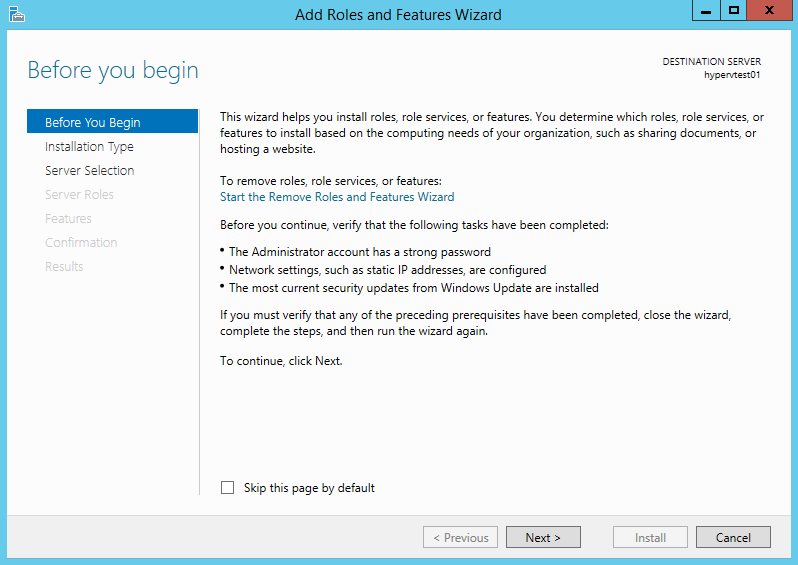
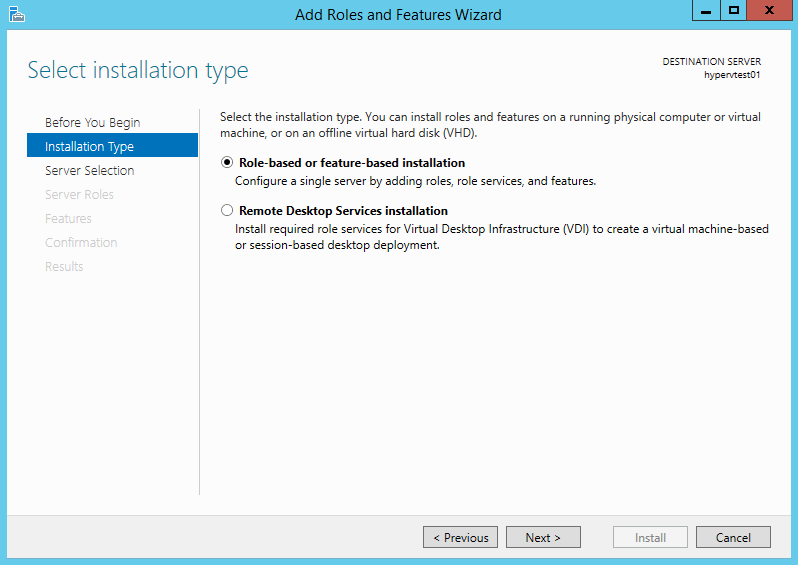
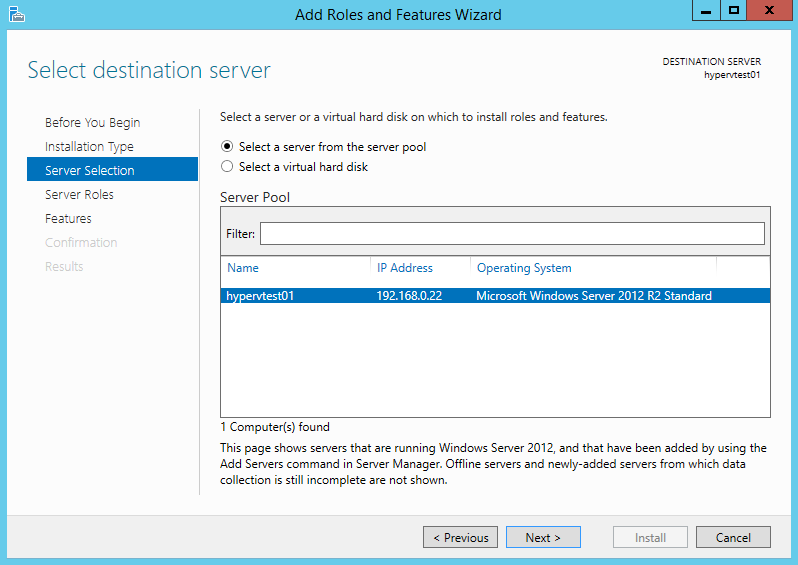
Follow the indications of the Wizard and go on:
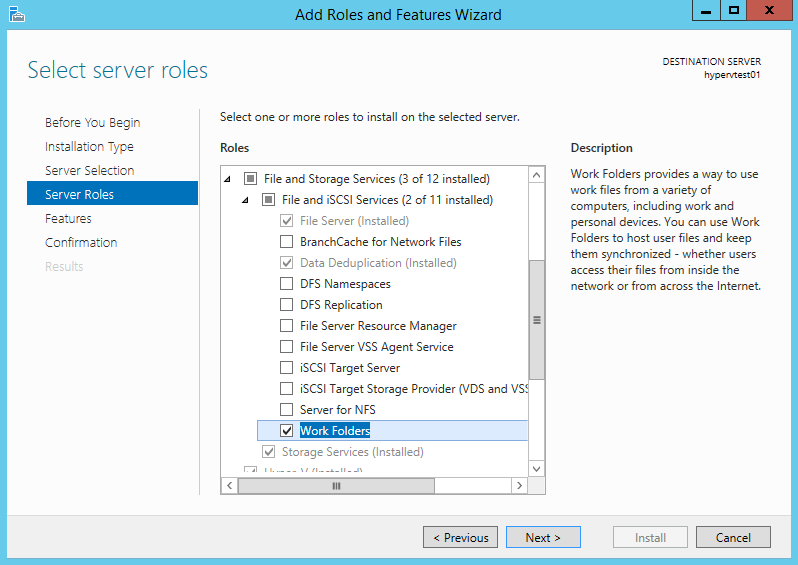
Select the Work Folders role:
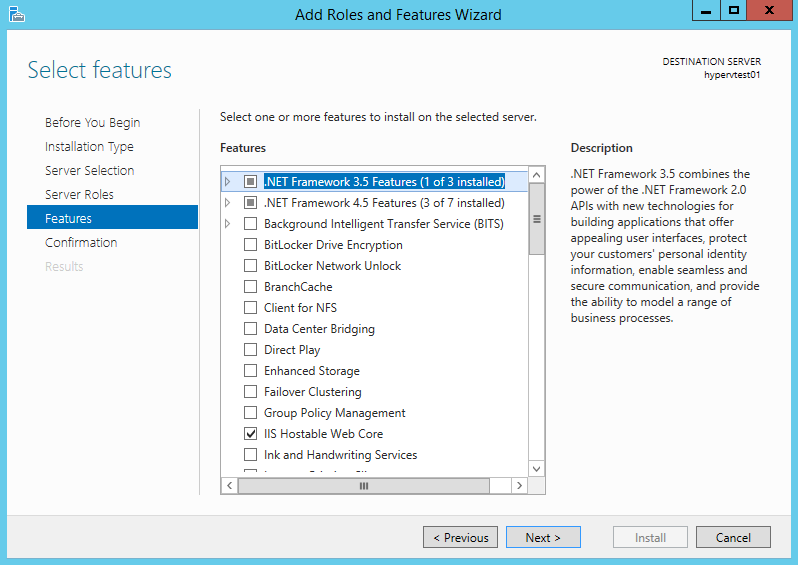
Ignore the Features step and go on:
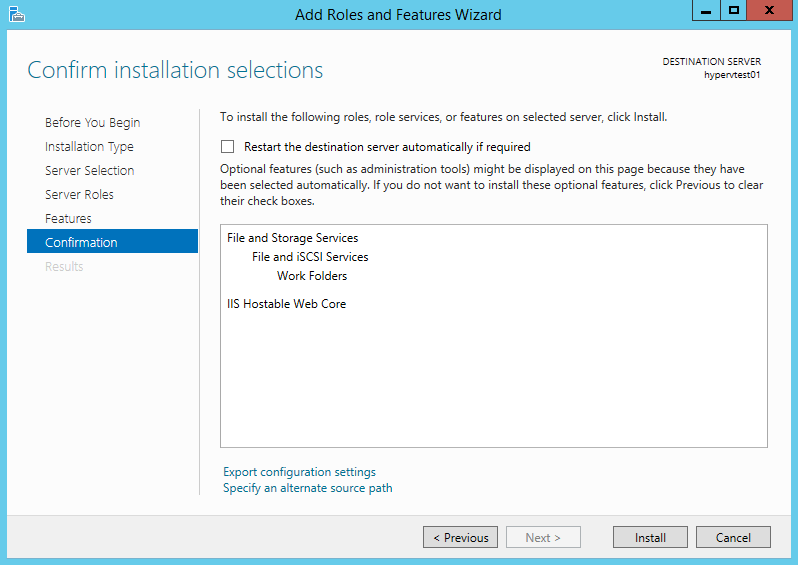
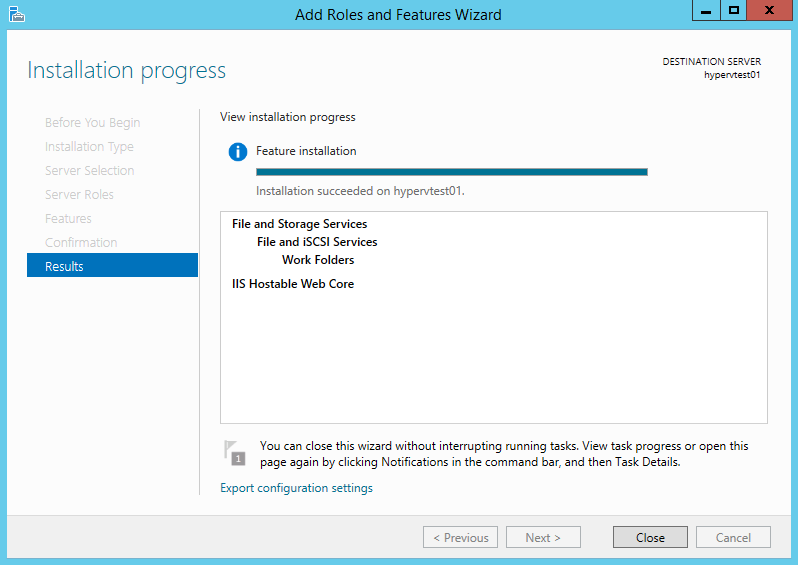
Confirm and the installation will begin:
Step two: Create the Sync Share
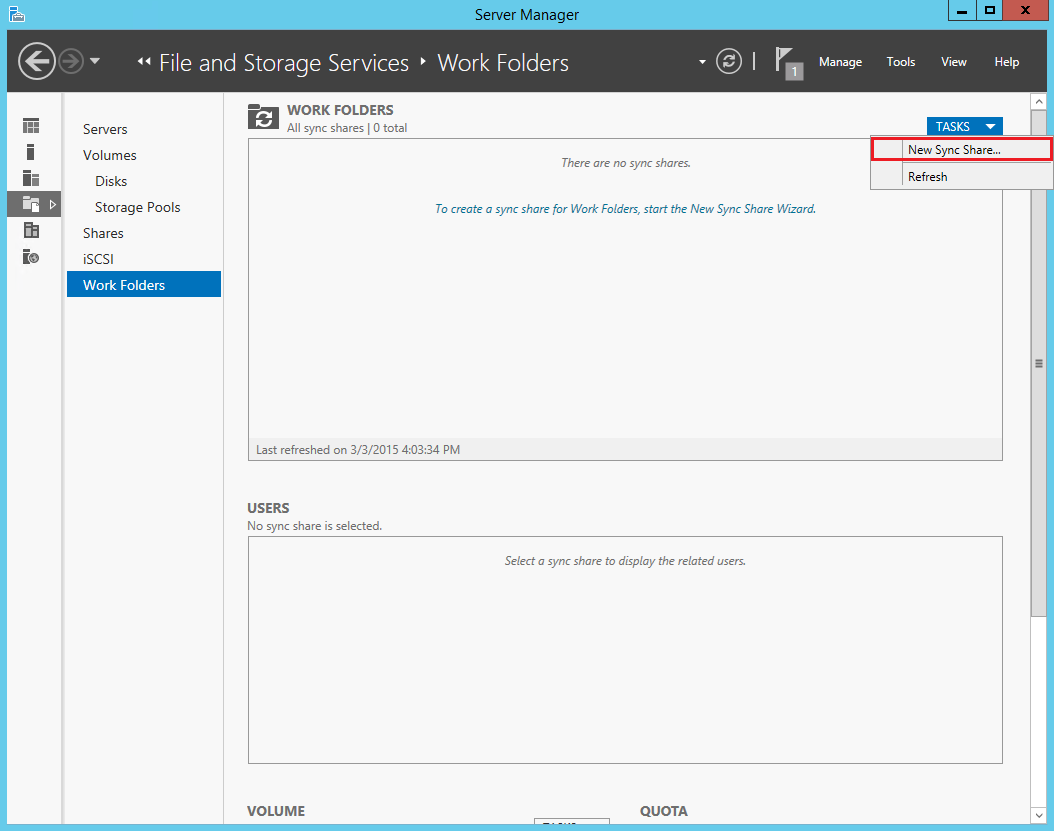
It’s time to create the Sync Share. Go to the File and Storage Services area of the Server Manager and click on TASKS. Select New Sync Share:
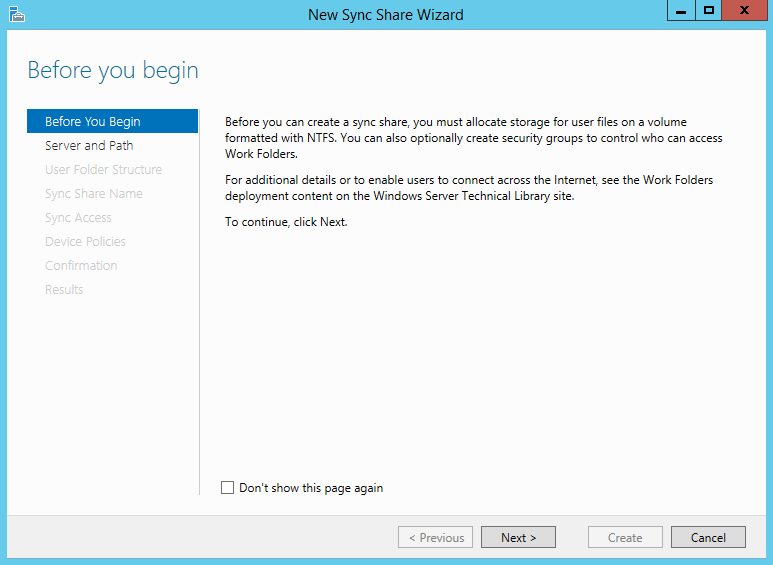
Click on Next:
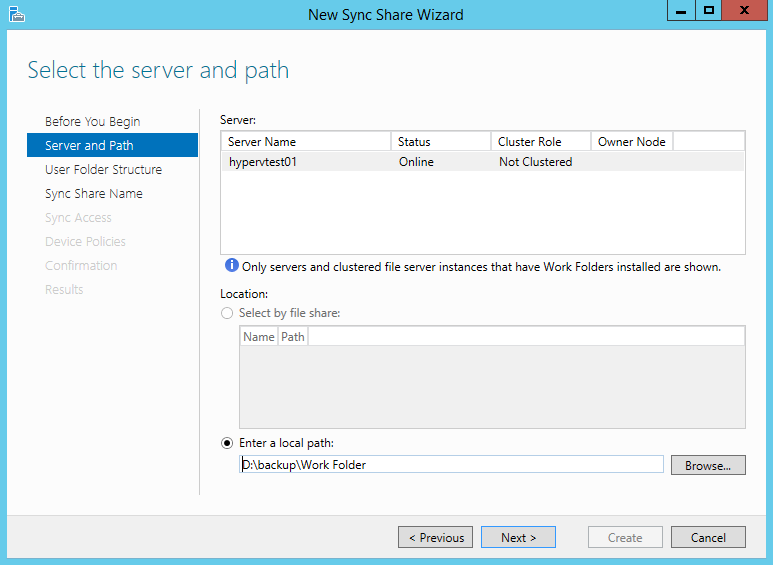
Specify the local path – must be NTFS – where the data will be synced:
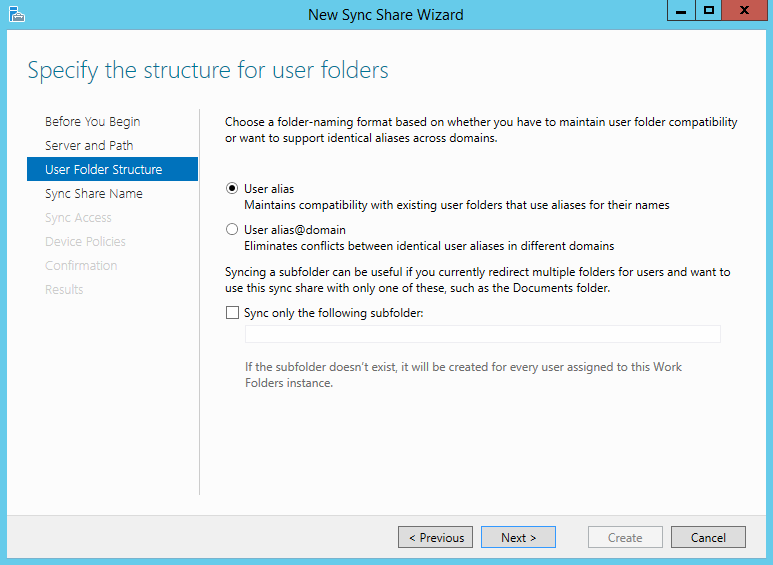
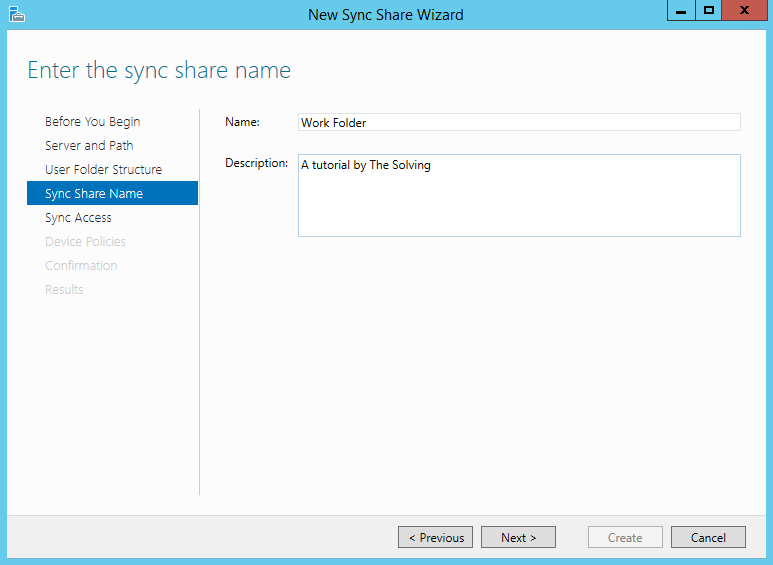
Define folder structure and name of the Sync Share:
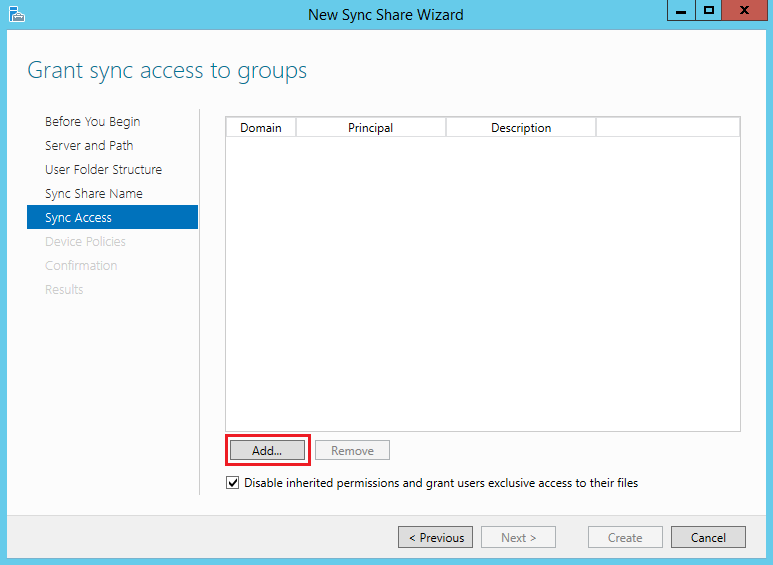
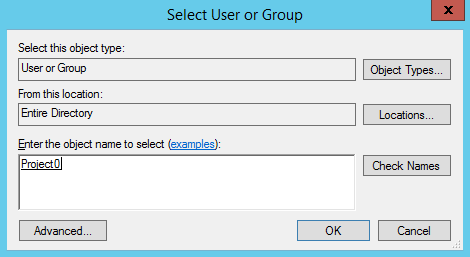
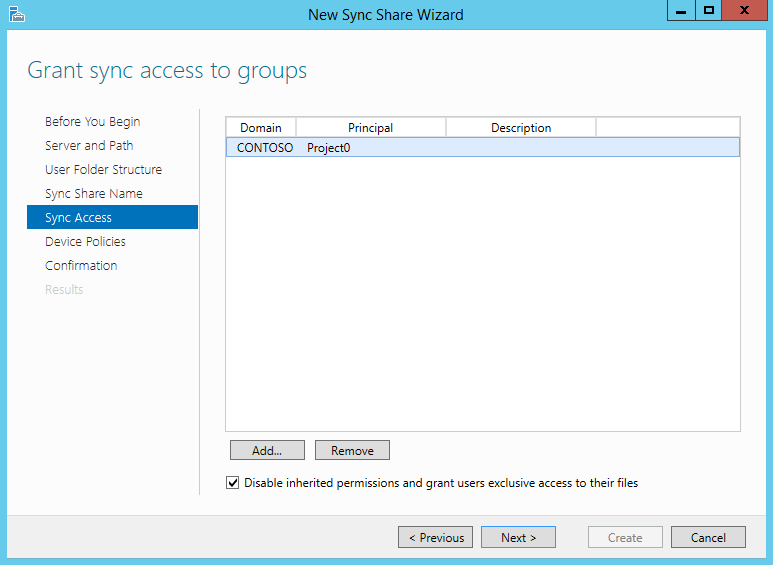
It’s time to select the users or the groups who will be able to access the Sync Share:
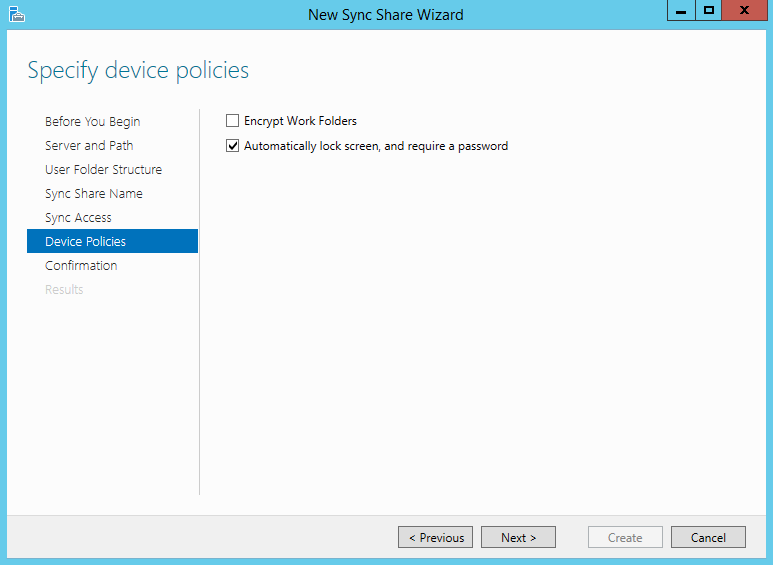
You can also encrypt the data if you desire:
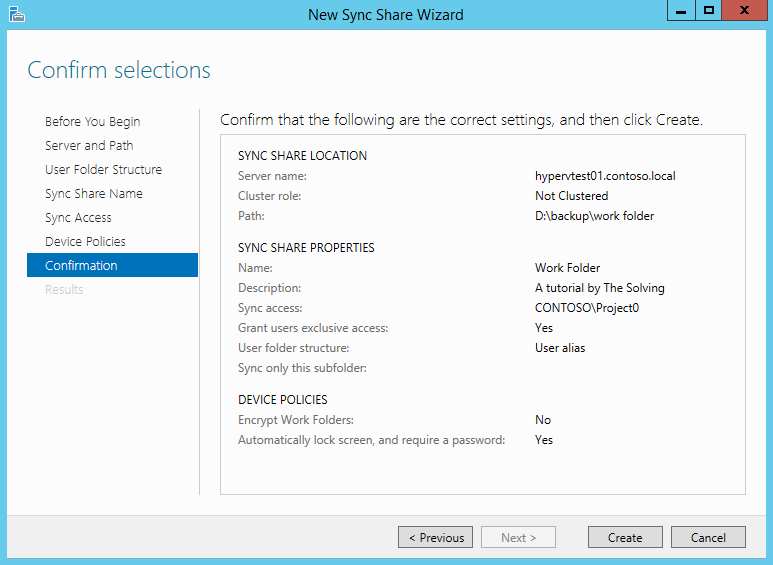
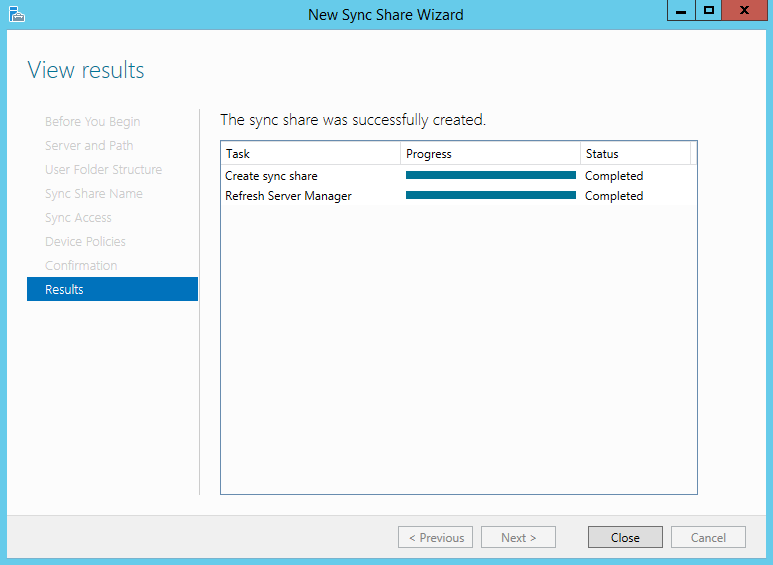
Click on Create and your first Sync Share will be ready for use:
Read related articles
How to configure a Distributed File System (DFS) Namespace
Locating shared folders to access specific documents is a common problem in business environments. System administrators have to decide how
Configuring Volume Shadow Copies (VSS) on Windows Server 2012 R2
Volume Shadows Copies (also known as Volume Snapshot Service or VSS) is a technology developed by Microsoft to take restorable
Configuring NTFS quotas to set storage limits for users
Storage quotas help administrators to manage shared volumes. Windows Server 2012 // R2 supports a simple way to enforce quotas,

 Italiano
 Español
