
 Italiano
 Español
It is possible to use nested virtualization to run VMware ESXi as a Virtual Machine in Hyper-V. To some, this may be a viable option if you are unable to acquire any new hardware, or if you simply want to test new VMware products on your Windows 10 desktop.
Although this process is not officially supported by VMware or Microsoft, it is possible to get an ESXi environment stood up using Hyper-V. There are a number of prerequisites to adhere to as well as an understanding that following this process may not give a smooth end-to-end user experience.
Before we start we MUST prep the ISO and inject Hyper-V compatible Network drivers. If you do not do this the process will fail and you will be unable to connect to your ESXi server.
VMware PowerCLI is a requirement here. Please see our related post for how to install PowerCLI.
Preparing the ESXi Hypervisor image
- Download an ESXi customizer tool from http://vibsdepot.v-front.de/tools/ESXi-Customizer-PS-v2.5.1.ps1 and save to your local machine (e.g to C:\ESXi).
- Open PowerShell and type Set-ExecutionPolicy -Scope Process -ExecutionPolicy Bypass select [Y] Yes to enable. This will allow you to execute downloaded scripts:

- Ensure you are in the same directory as the script that has just been downloaded (e.g C:\ESXi).
- Now type .\ESXi-Customizer-PS-v2.5.1.ps1 -v60 -vft -load net-tulip (Net Tulip are Hyper-V compatible network drivers).
- This process will take several minutes to complete:
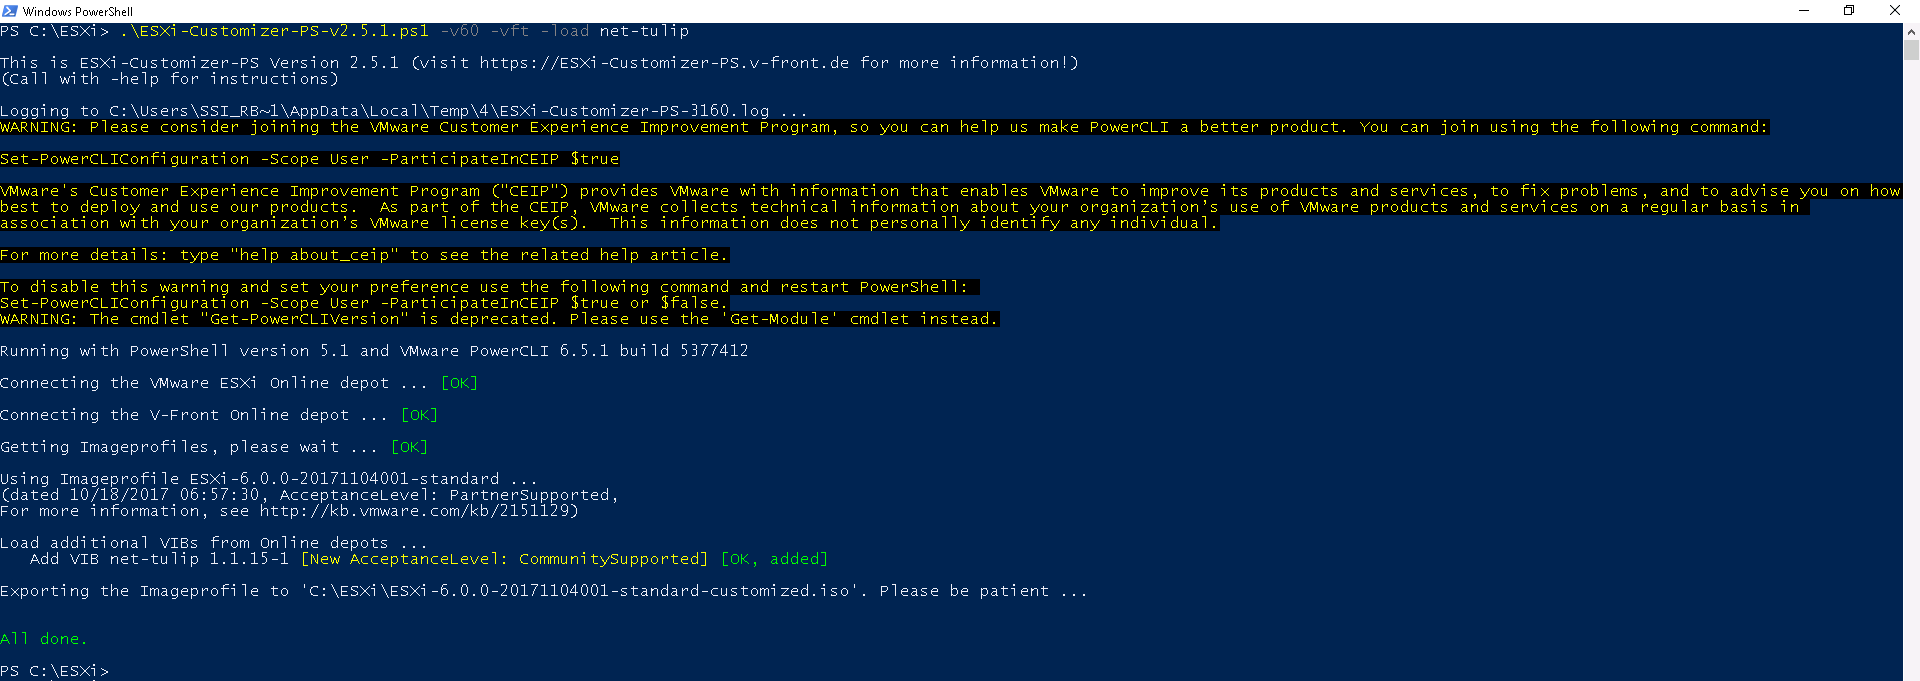
- Now if you go to your folder (e.g C:\ESXi) you will see your customized ISO Image. This is the image you will need to use to build your ESXi server in Hyper-V:

Alternative way to prepare the ESXi Hypervisor image
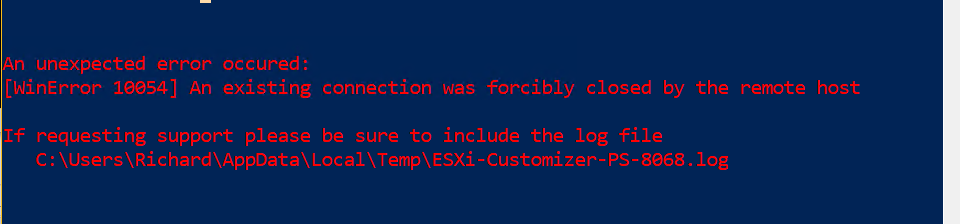
Please Note – At the time of writing we experienced issues with the ESXi Online Customizer application. We were getting errors creating the customized ISO suggesting issues with the VMware online repositories – this could be a temporary issue, but here is an alternative way to manually inject the net-tulip drivers:
- The method DOES NOT work on Windows 10. This was completed on a Windows 7 Laptop
- Download and install the legacy ESXi Customizer application
- Download ESXi Hypervisor from MyVmware – I chose version 5.1 as I had it available locally
- Download the Net-tulip drivers and extract to your computer
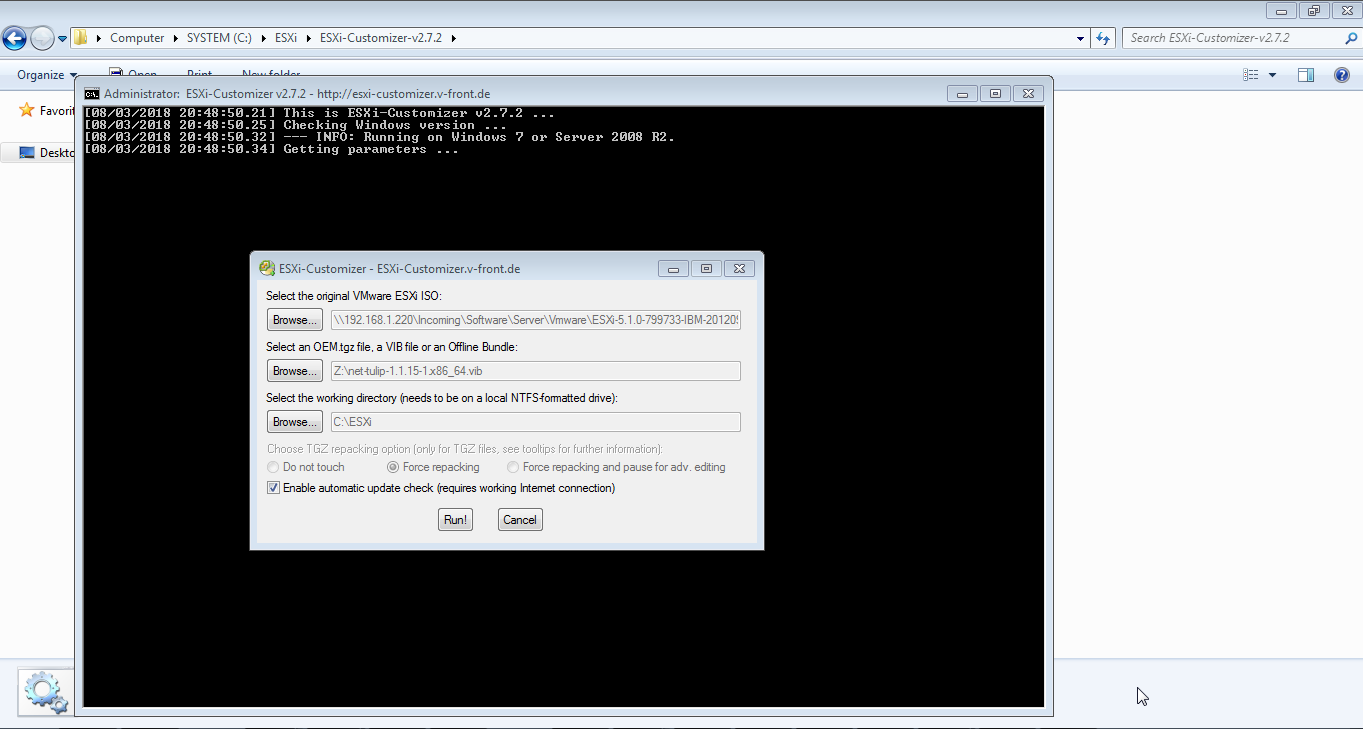
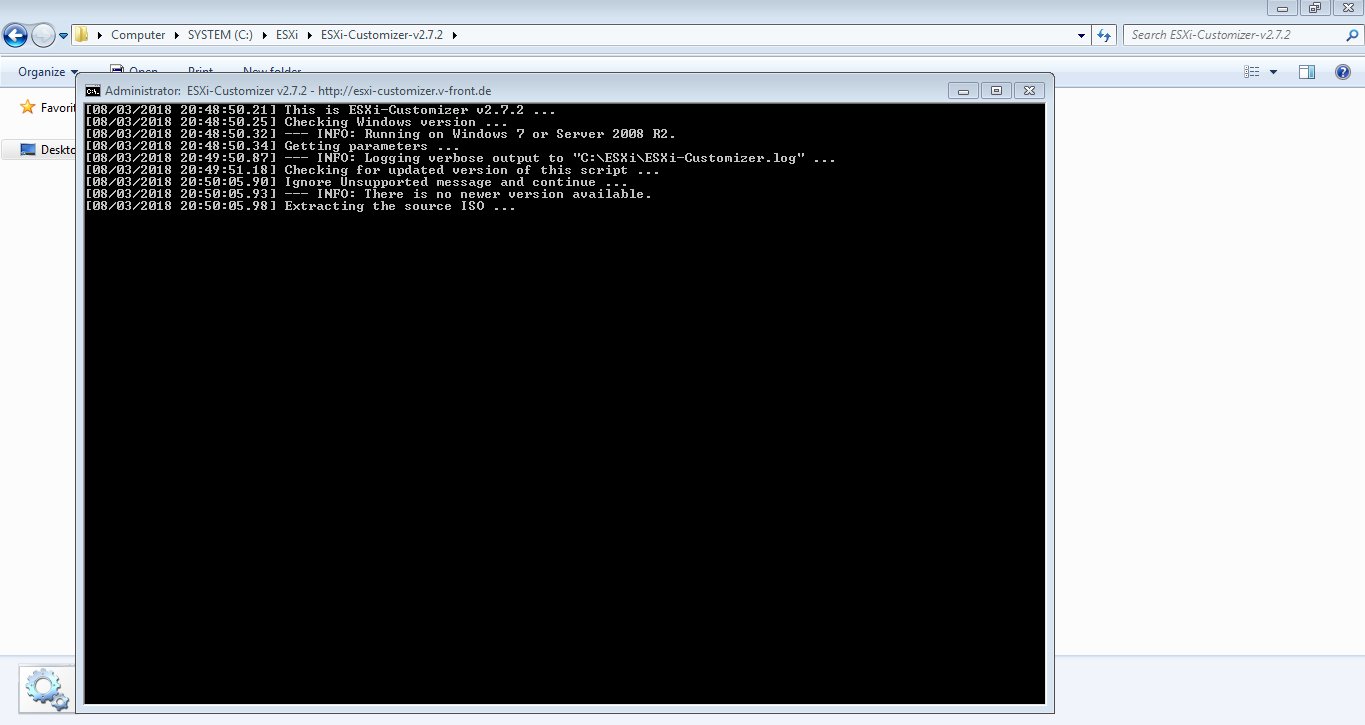
- Run the ESXi-Customizer.cmd (as Administrator):

- Select the ESXi Hypervisor, Select the Net-Tulip .vib file, and set working directory – then click run:
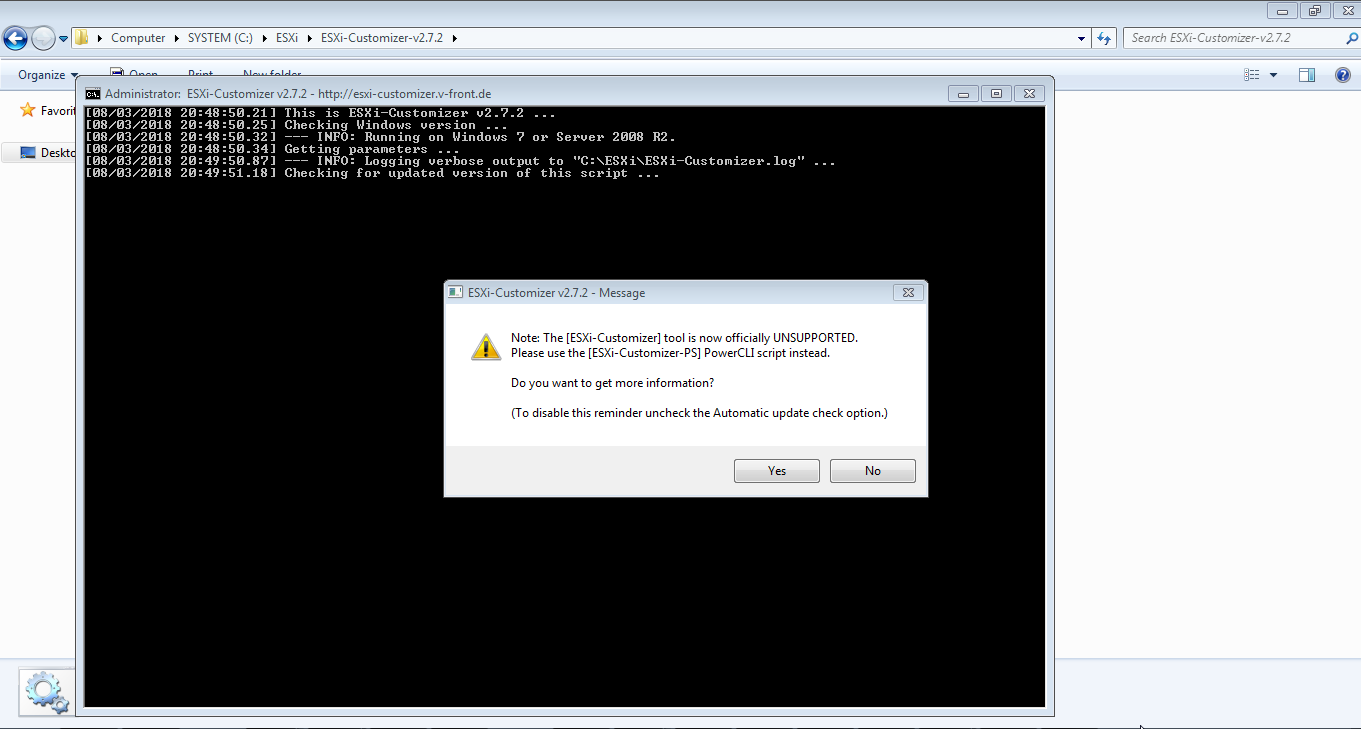
- Ignore the warning message – click NO:
- After a few minutes the custom ISO will be created:

Installing ESXi on Hyper-V
- Ensure you have the Hyper-V feature enabled on your Windows 10 or Windows Server product. If not, Hyper-V can be added using the Turn Windows Features on or off from the control Panel:

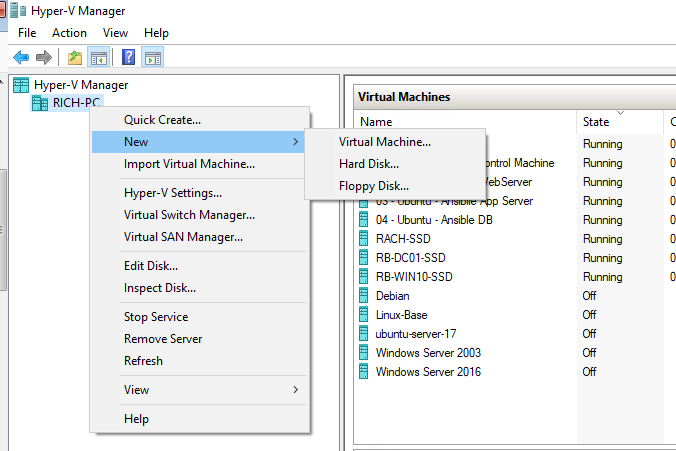
- Launch Hyper-V Manager, right click and select new > Virtual machine:
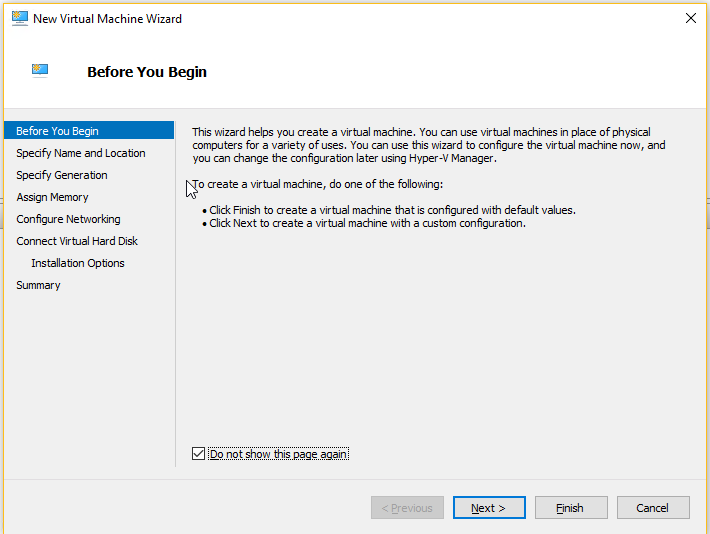
- Click next on the Before you begin screen:
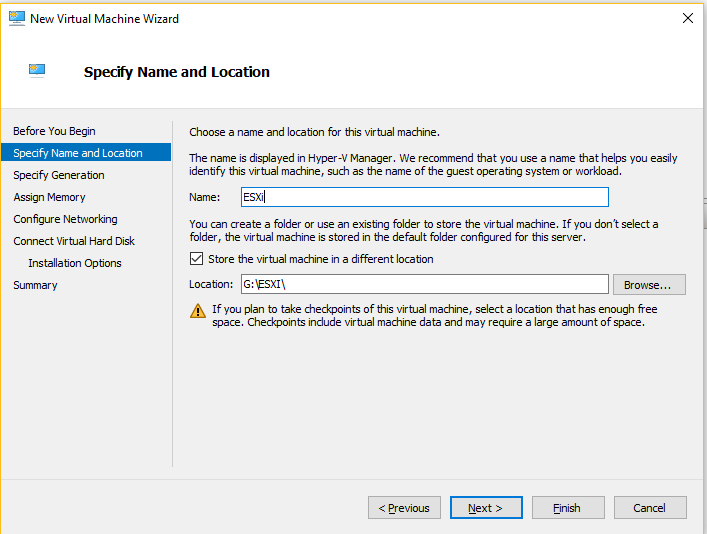
- Enter a name for your VM and choose a location to store the VM:
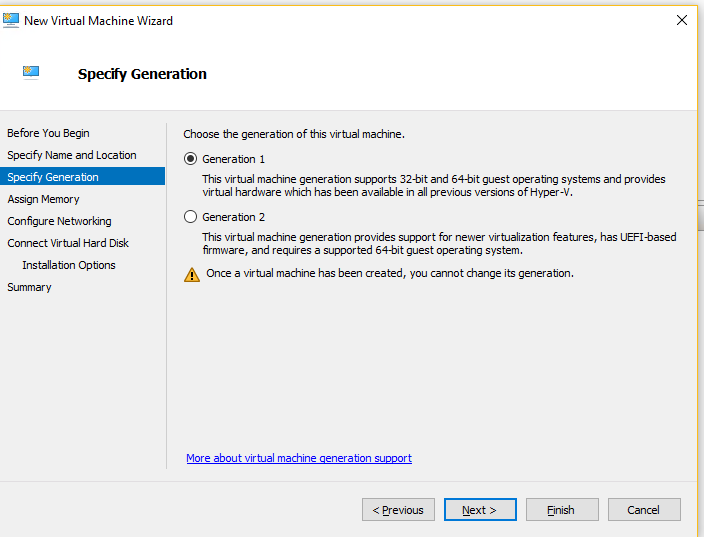
- You must now Select Generation 1 for type of Virtual Machine generation:
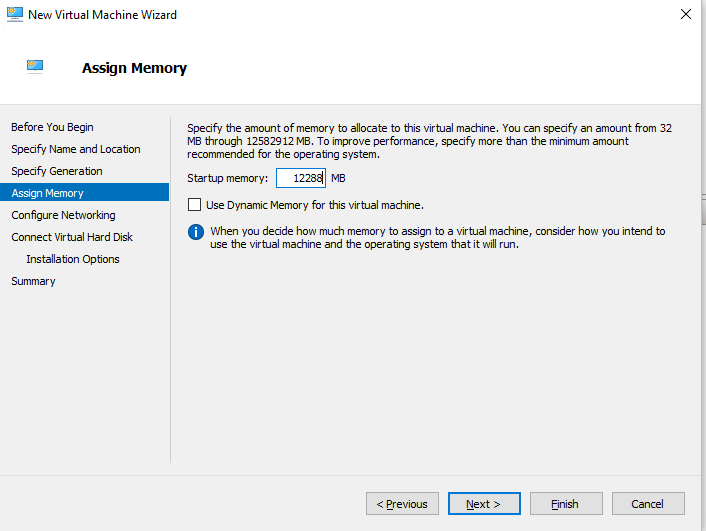
- Enter the amount of RAM you wish to use. Ensure Dynamic Memory usage is unticked:
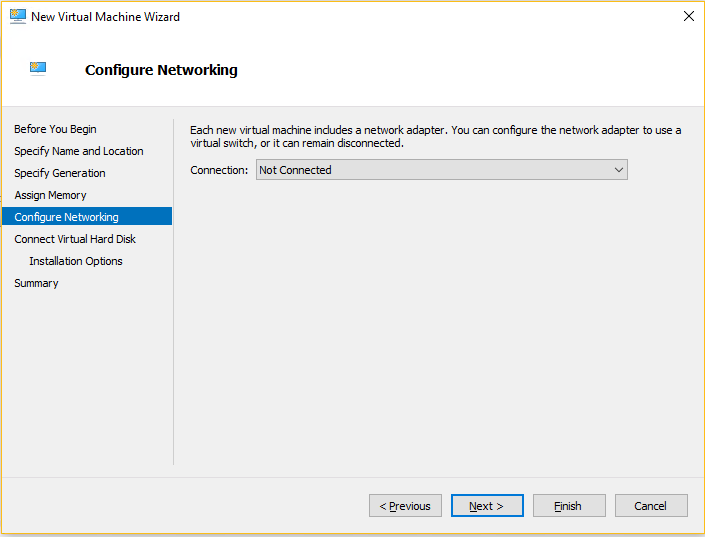
- Ensure that there is no connection selected on the Configure Networking Screen – we will come back to this later:
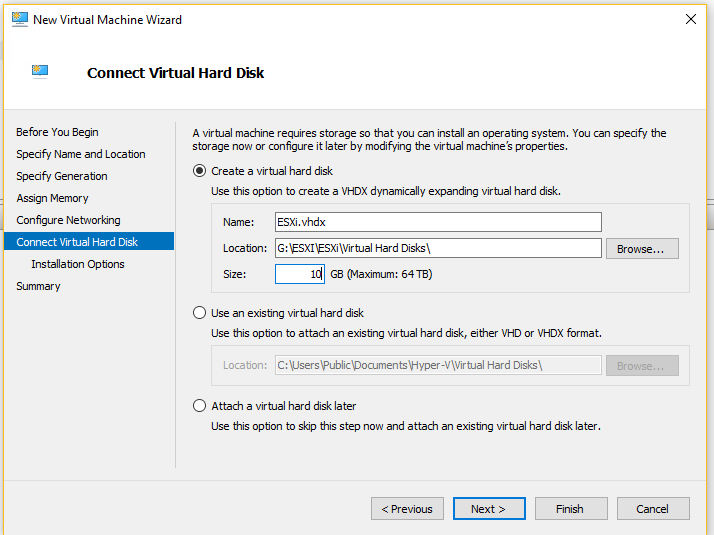
- Enter the size of the VM and the name of the vhdx files. 10GB is plenty:
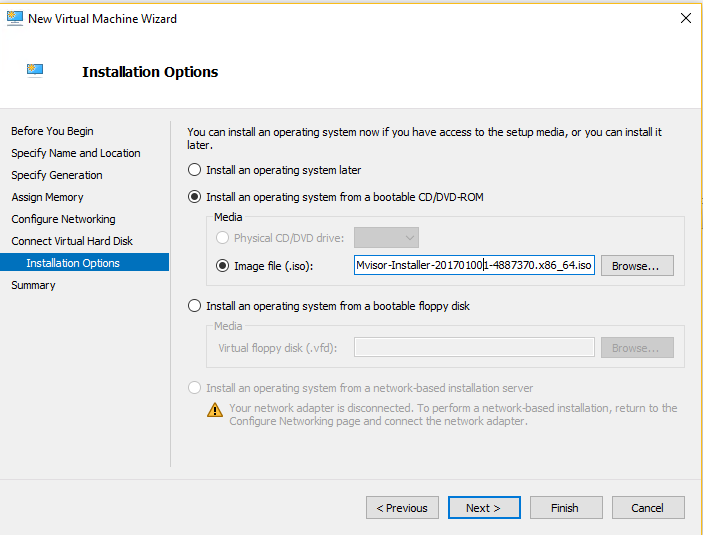
- Next, select Intall an operating system from a bootable CD/DVD-ROM and select the VMware ESXi Hypervisor ISO image we created earlier:
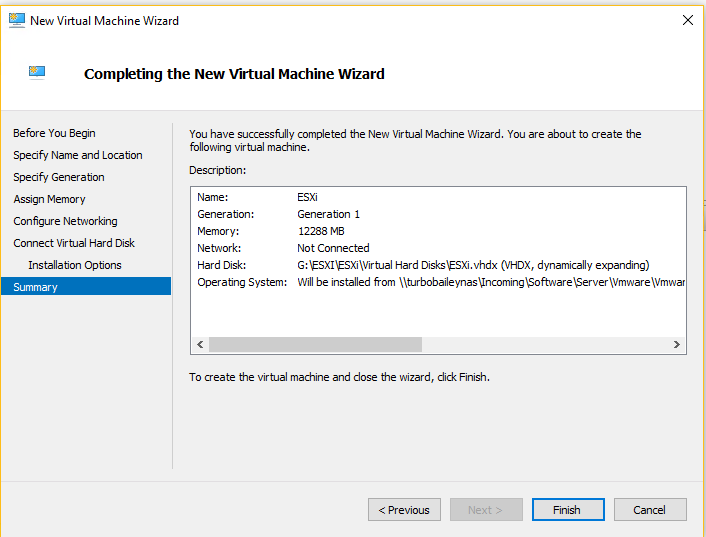
- On the summary page, check all your settings are correct then select finish:
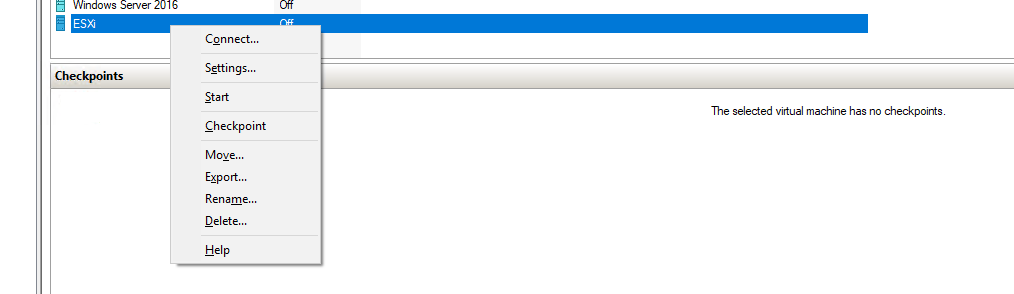
- Before you start the VM, right click and chose Settings:
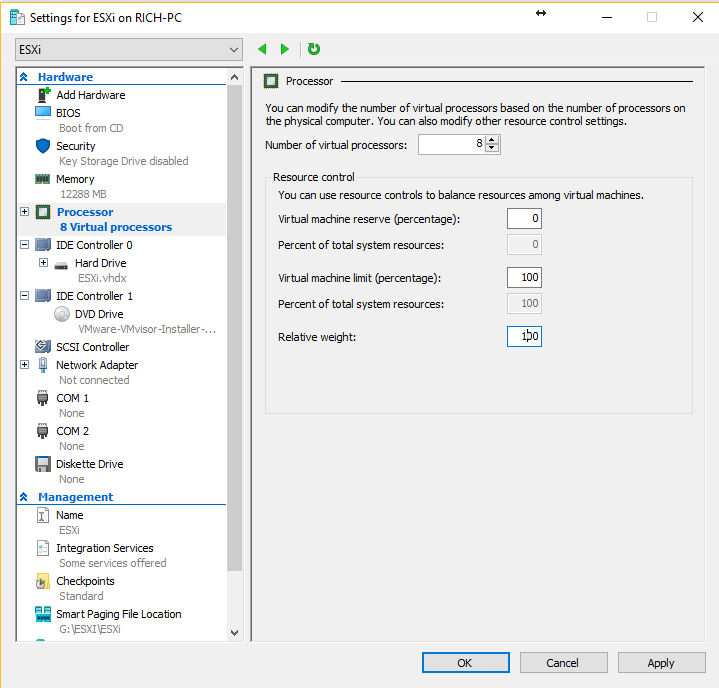
- Allocate the vCPU count applicable to your system:
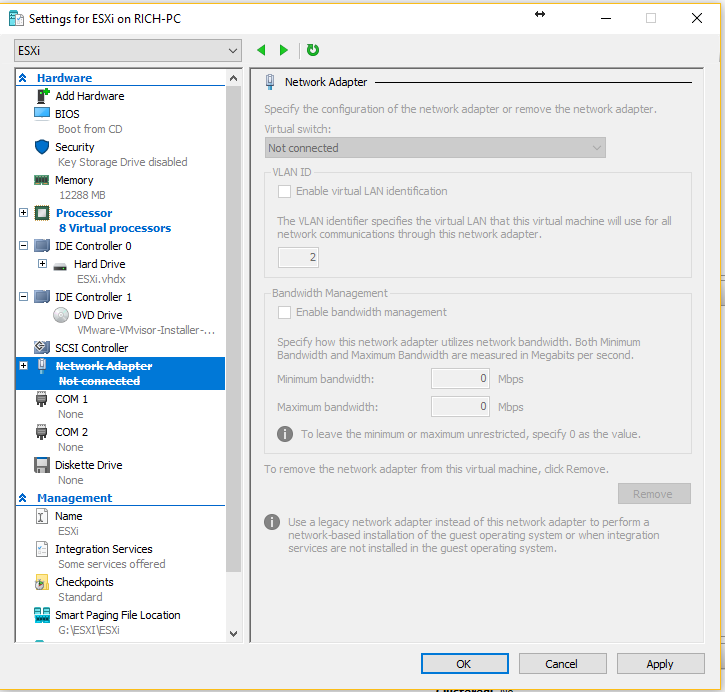
- Remove any pre-existing Network interface(s):
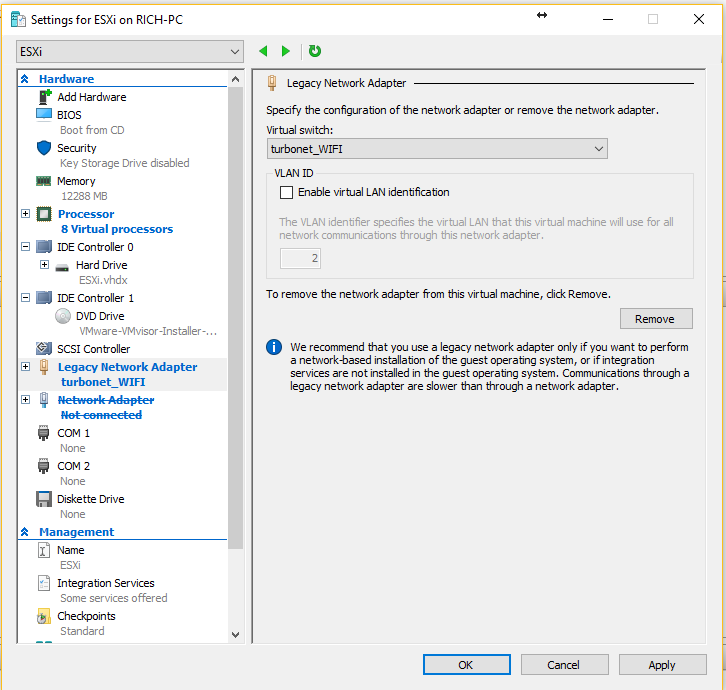
- Click add hardware and select Legacy Network Adapter then Add – This will pick up the NET-TULIP driver injected into the ISO at the beginning:

- Ensure the Legacy Network Adapter is connected to your physical network. Press OK to apply changes:
- Next we need to prep Windows to allow nested VMs. This is done in PowerShell. There is an opensource script on GitHub which does the hard work for you.
- Navigate to https://github.com/MicrosoftDocs/Virtualization-Documentation/blob/master/hyperv-tools/Nested/Enable-NestedVm.ps1 and download the Enabled-NestedVM.ps1 PowerShell script. Save it to the same location as your VM.
- Open PowerShell (must be run as Administrator) and navigate to the location you saved the Enabled-NestedVM.ps1 (e.g G:\ESXi\)
- Type Set-ExecutionPolicy -scope Process -ExecutionPolicy Bypass
- This will allow you to run downloaded PowerShell scripts on your system.
- Select [Y] Yes to enable the feature.
- Now type .\Enabled-NestedVM.ps1 -vmname “YOUR VM NAME”:
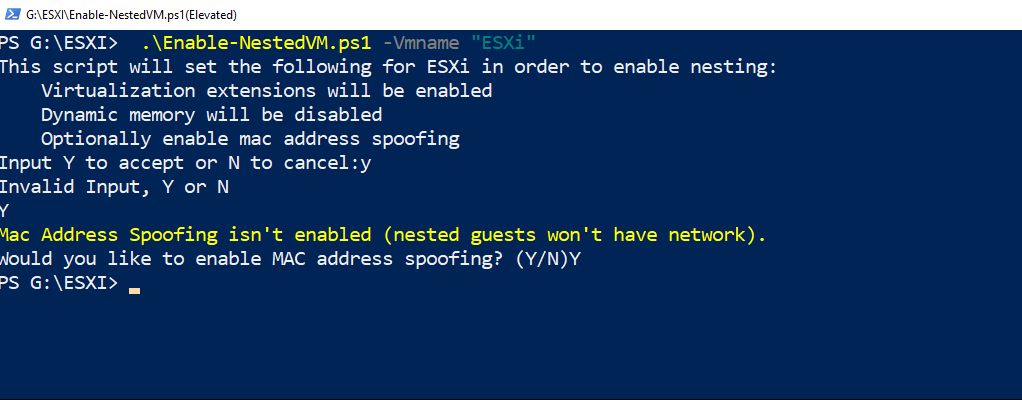
- Answer [Y] when prompted to run an enable MAC Spoofing.
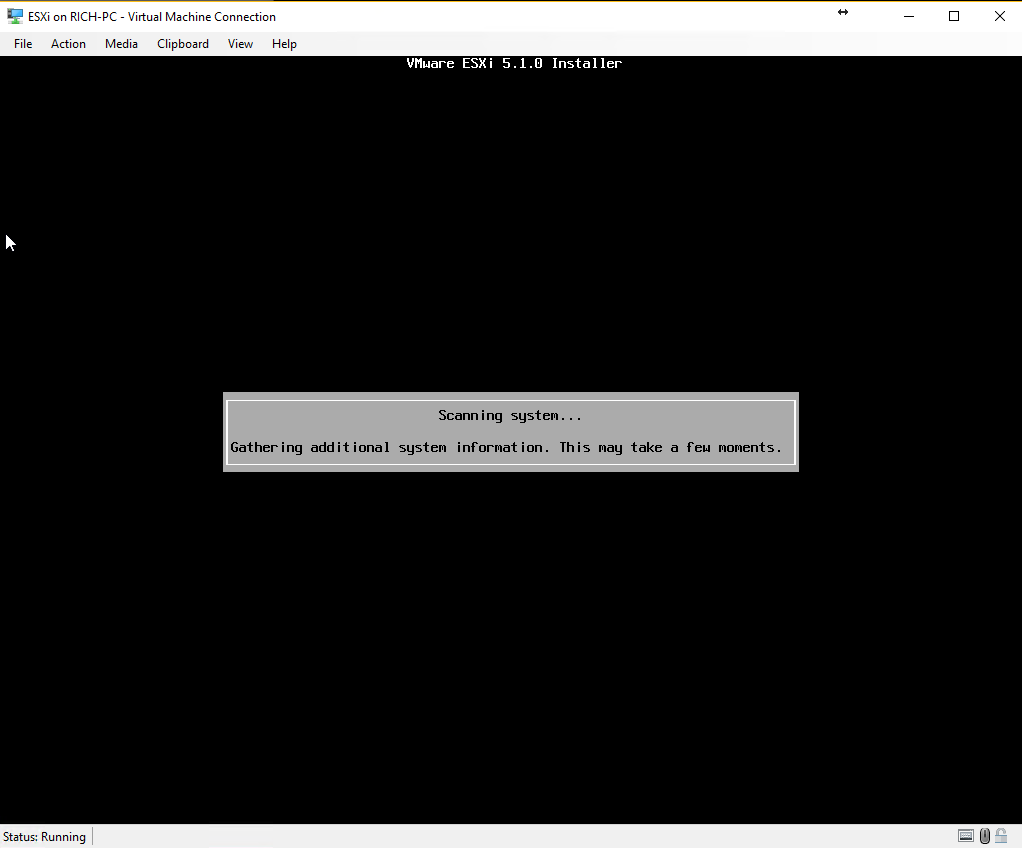
- Now you can power on your VM.
- It will boot into the ESXi Installer – Press TAB immediatey to edit the boot options.
- Type ignoreHeadless=TRUE (Note this is case sensitive):

- Follow the onscreen commands to install ESXi. You will need to select the location of the installer files:
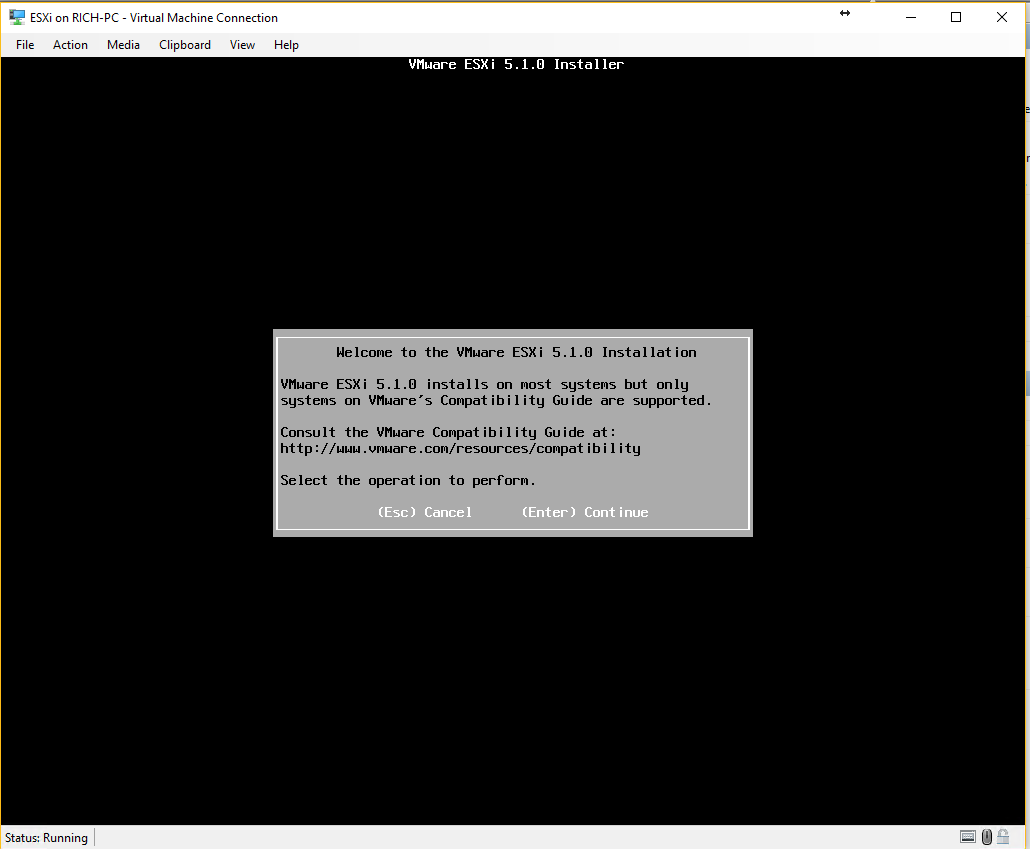
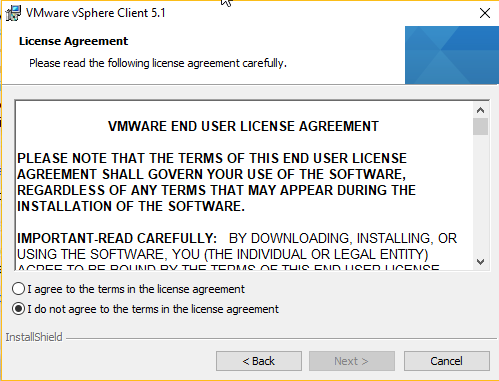
- Press Enter to continue and accept the licence agreement:
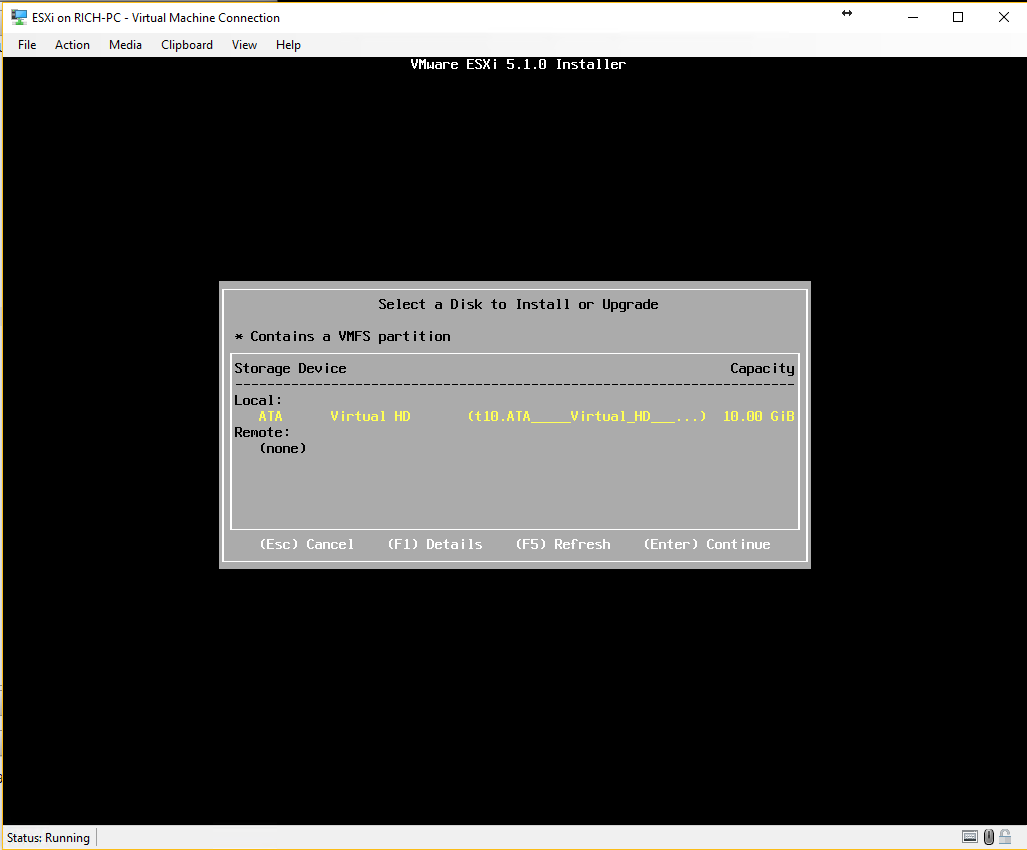
- Next select the 10GB partition created earlier:
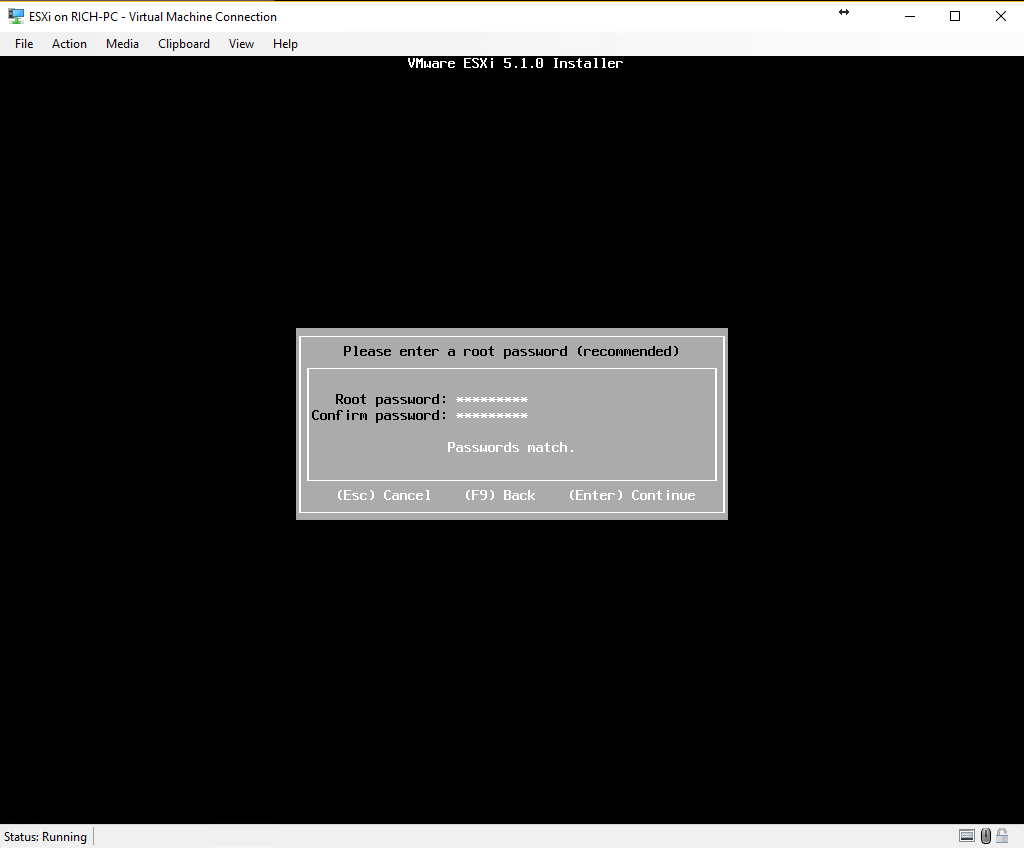
- Enter the Keyboard layout settings and set the root password:
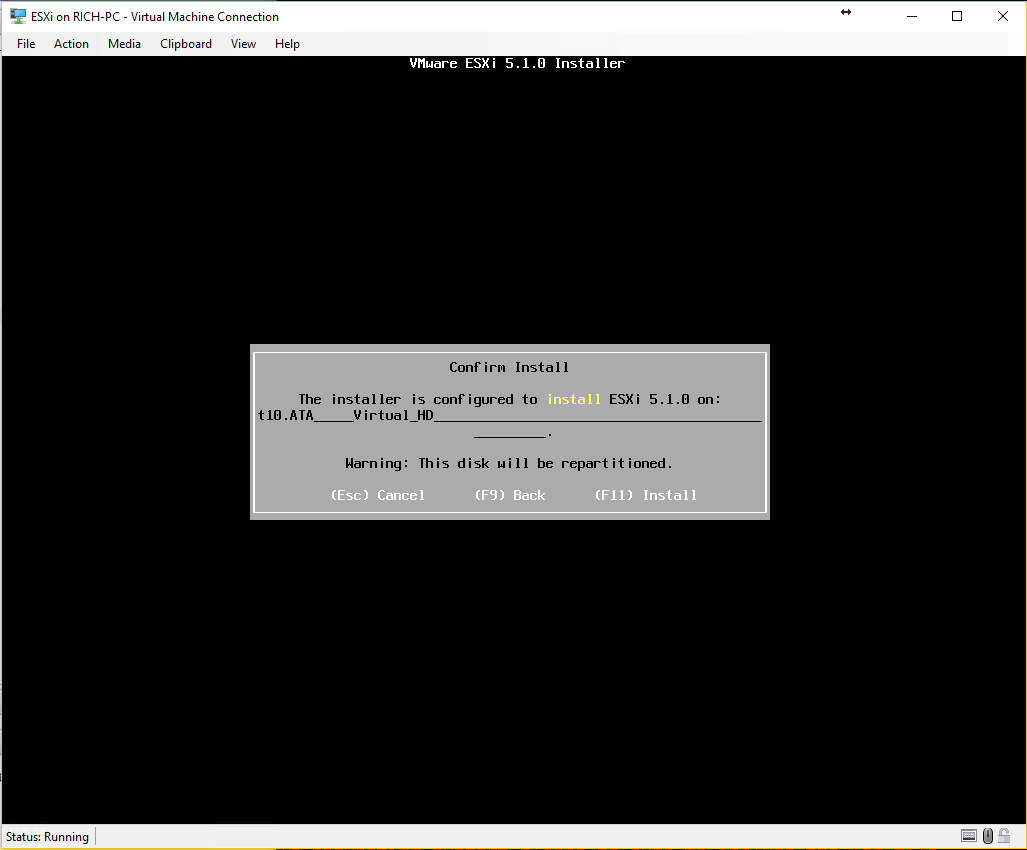
- Then press F11 to start the installation process – Install will take a few minutes:
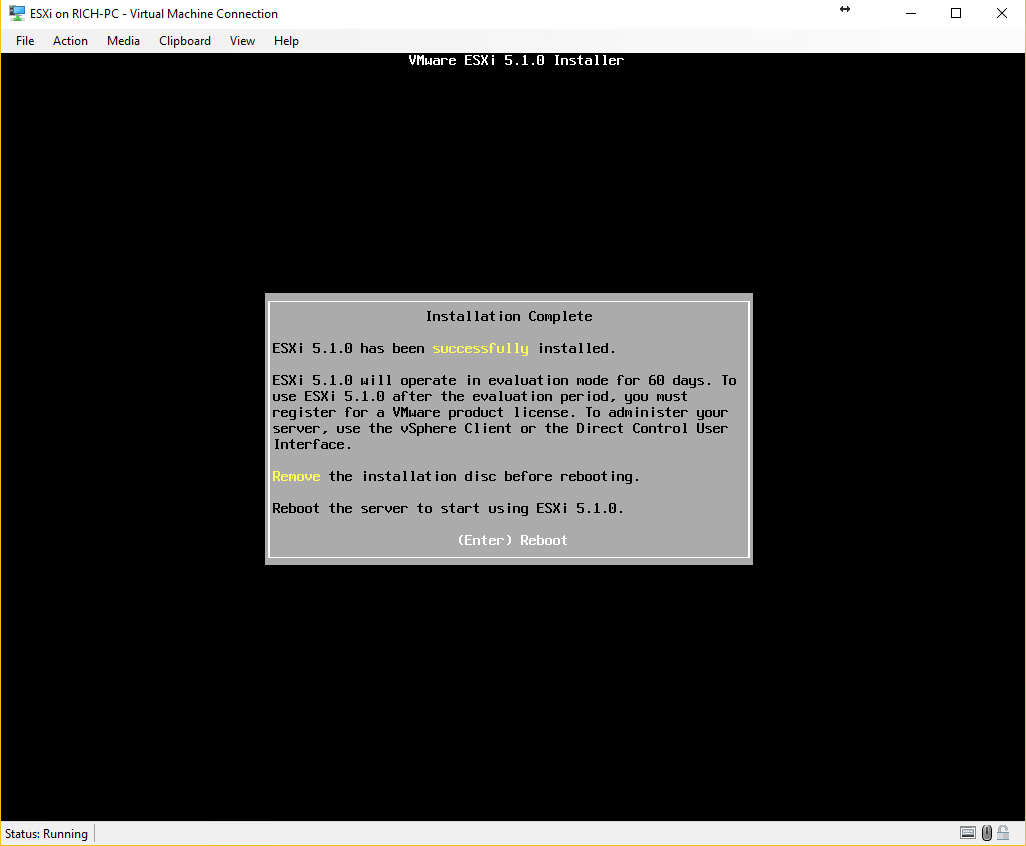
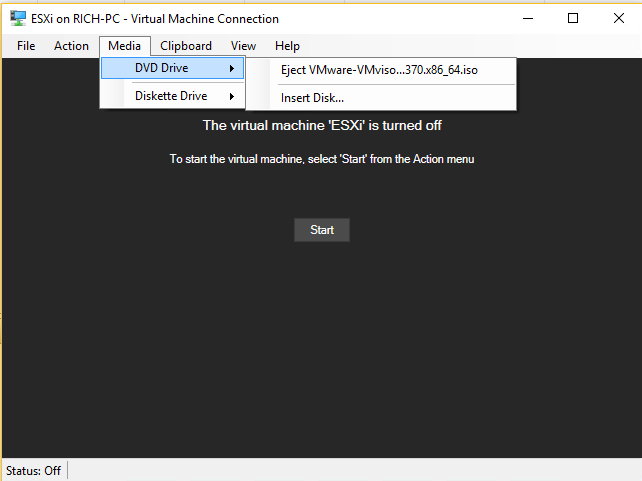
- Disconnect the Virtual CD-DVDROM Drive and reboot the server:
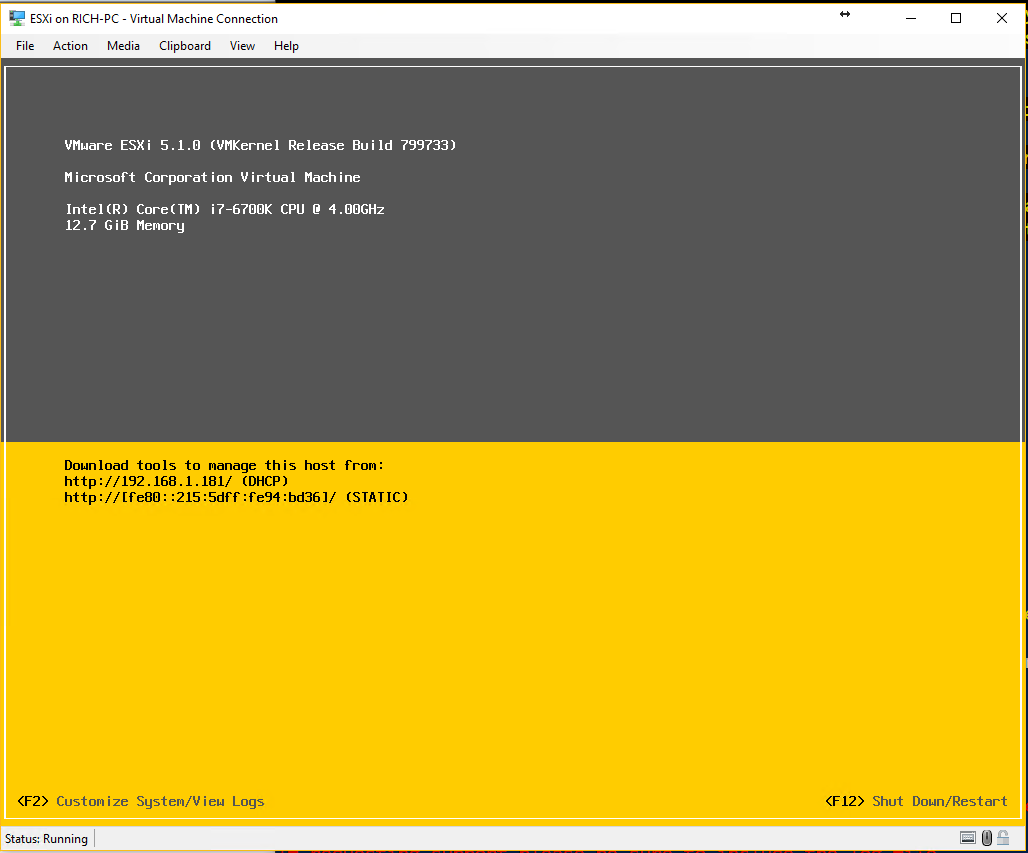
- The ESXi Server will now boot (This will take a few minutes).
- Once VMware has loaded you will see the ESXi shell and you should see an IP address. If you see this the installation and legacy network configuration was successful:
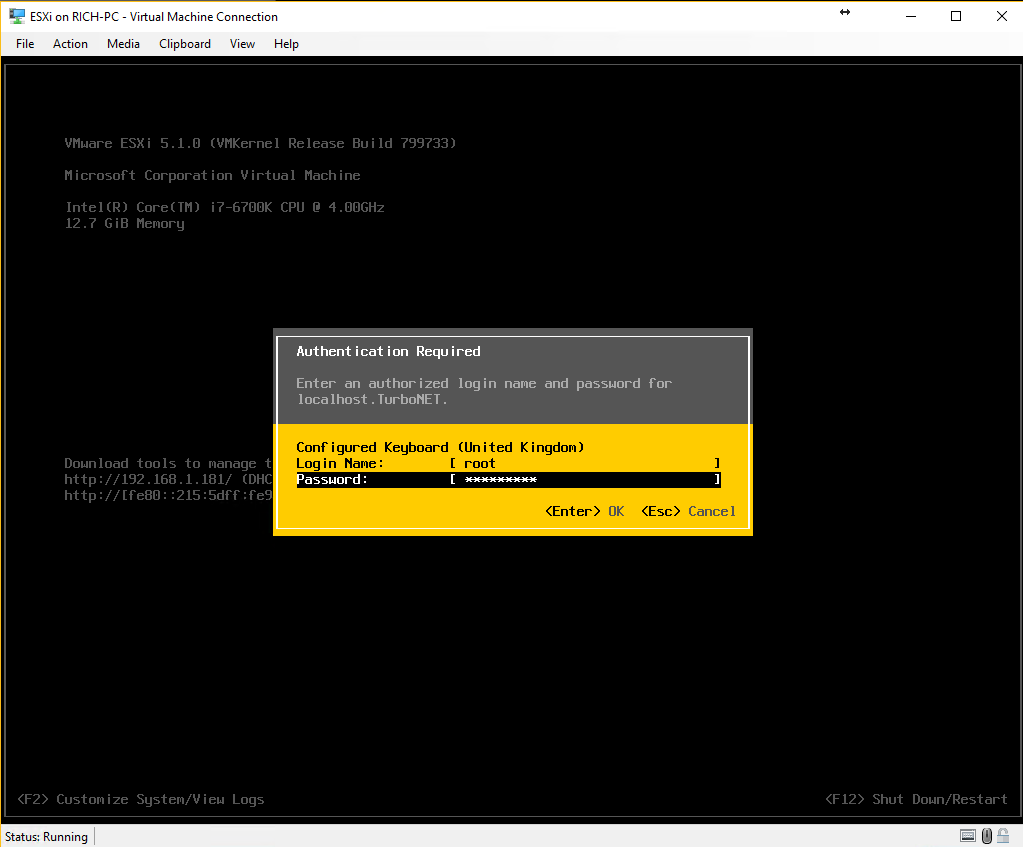
- Press F2 and Log in as ROOT:
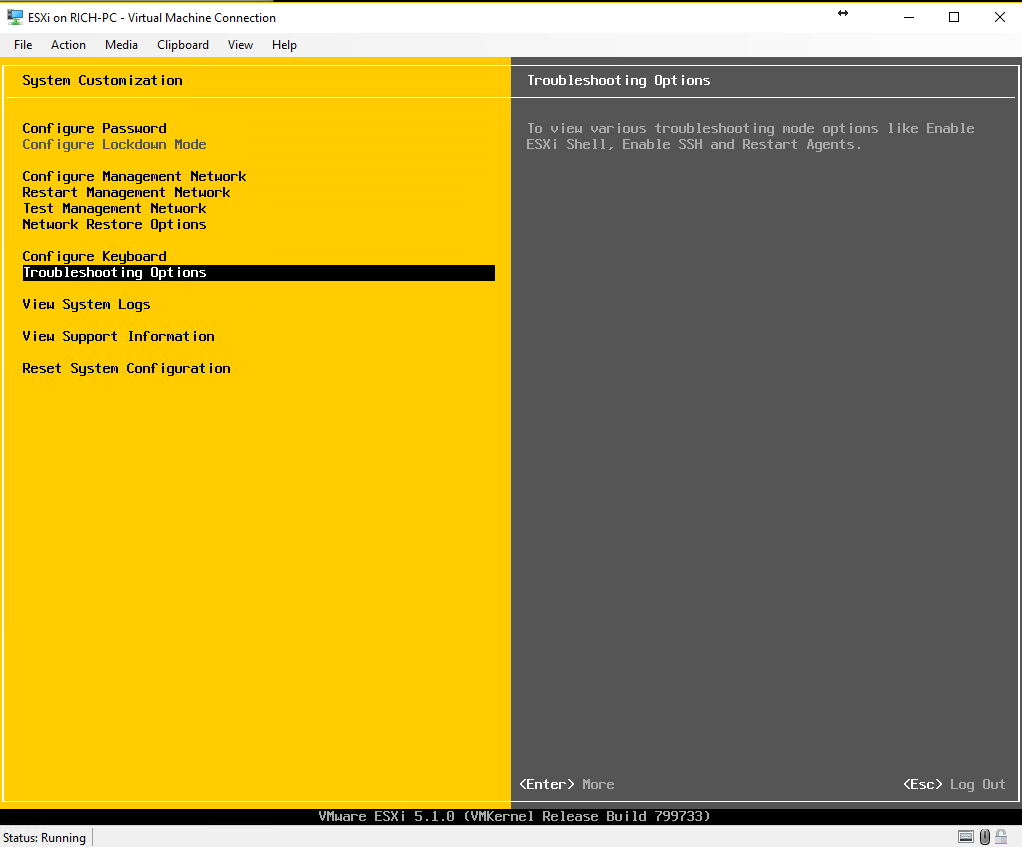
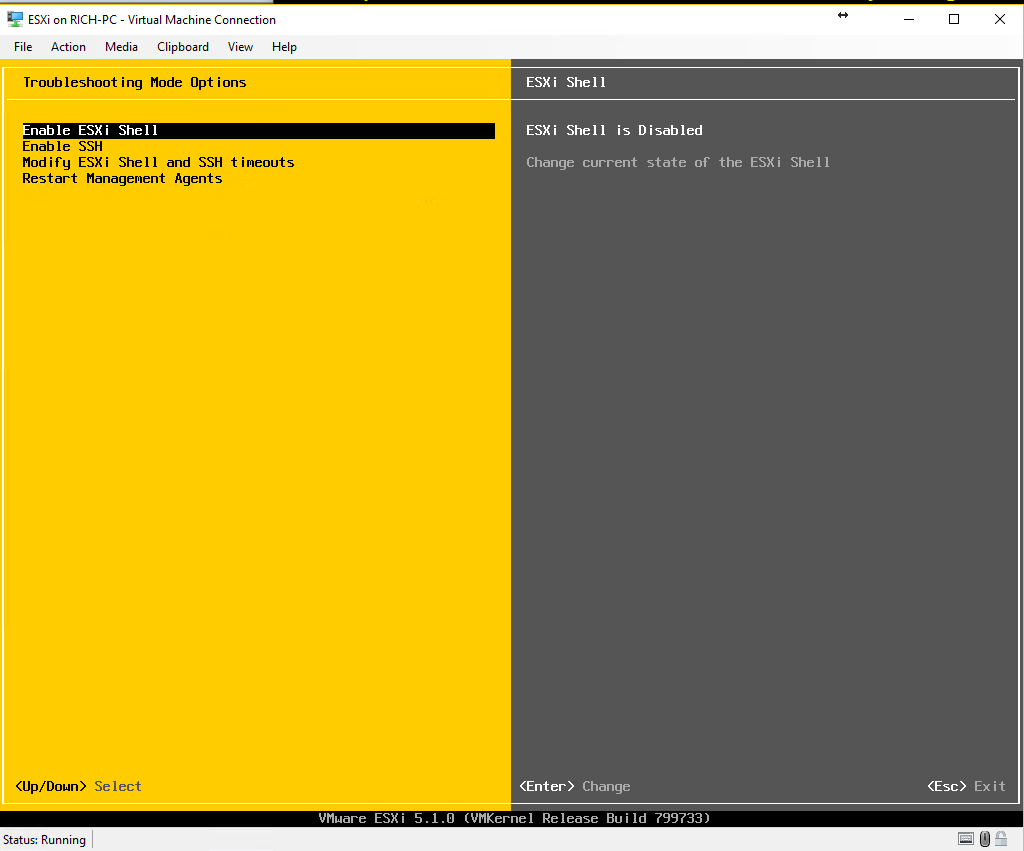
- Now we must make the boot option chosen earlier for “ignoreHeadless=TRUE” permanent. To do this we need to enable the ESXi Shell. Navigate to Troubleshooting options and then Enable ESXi shell:
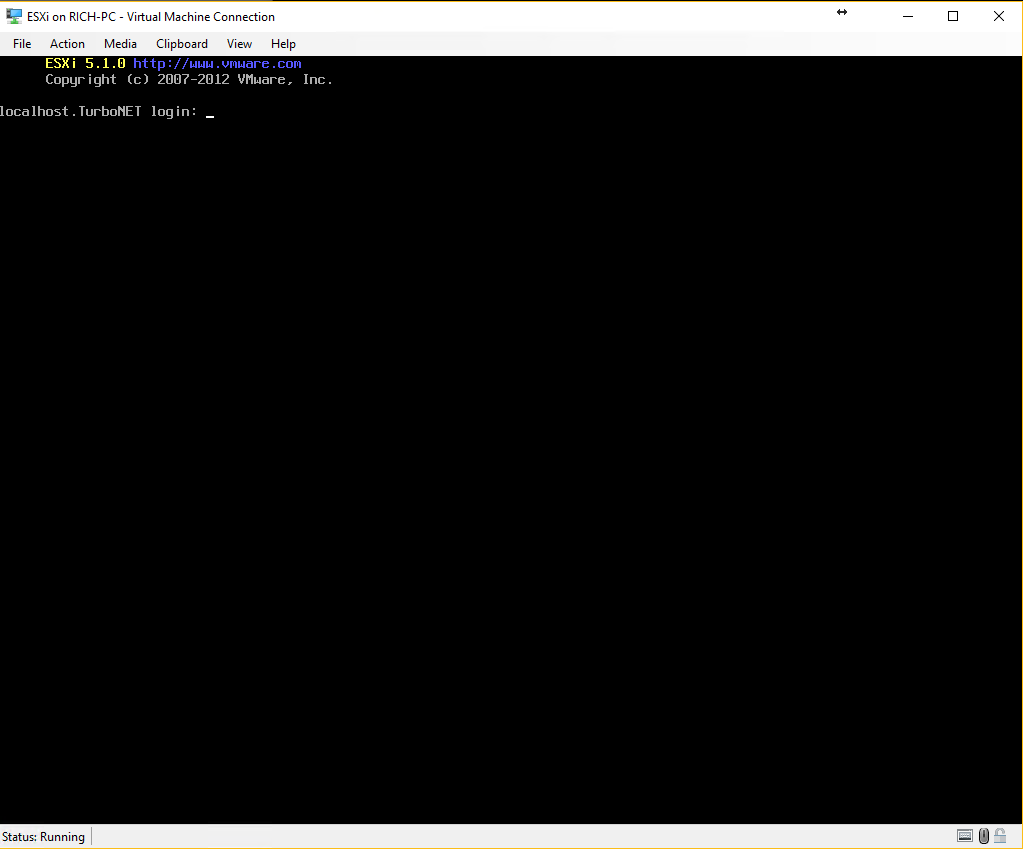
- Now press ALT F1 to enter the ESXi Shell.
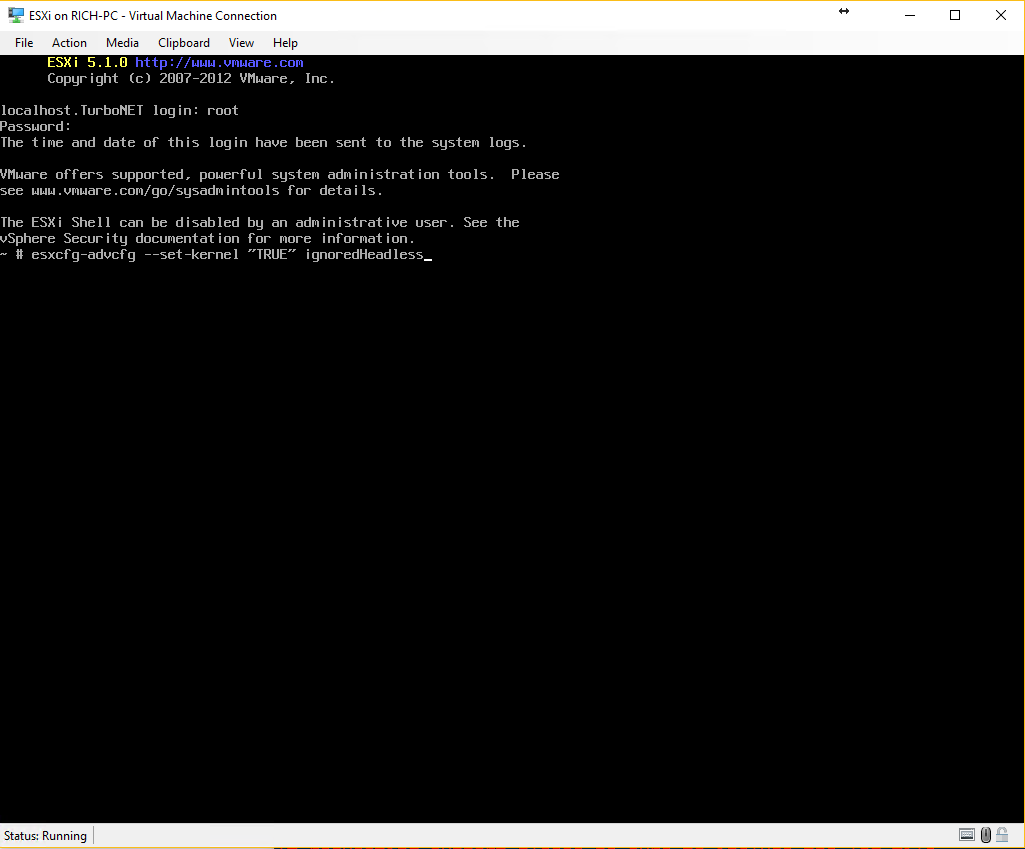
- Log in with the root credentials.
- Type esxcfg-advcfg –set-kernel “TRUE” ignoredHeadless:
- Then reboot the server.
- ESXi will now boot without any manual intervention.
- Next it is advisable to disable the ESXi Shell for security purposes:

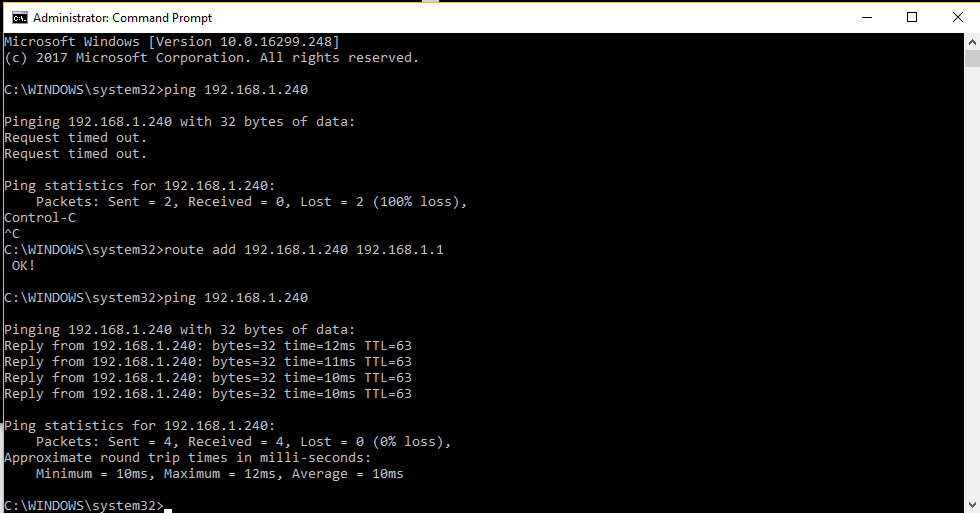
- Next you can attempt to connect to the IP address of your newly created ESXi Host. You will most likely NOT be able to ping the ESXi server despite it having a Net-Tulip IP address.
- Open Command Prompt (as administrator) and add a static route to your ESXi IP. Type route add -p 192.168.1.240 192.168.1.1 (Substitute for your details).
- Now Ping your ESXi Host again and if will reply:
- Next Open your web browser and connect to the IP of your ESXi host.
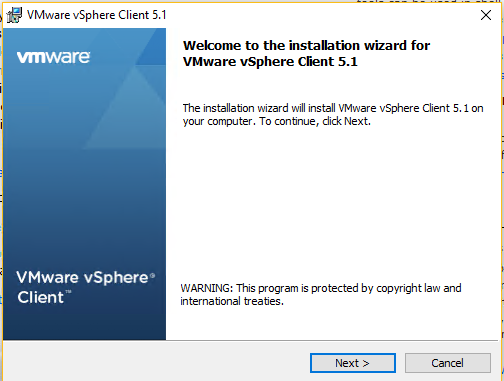
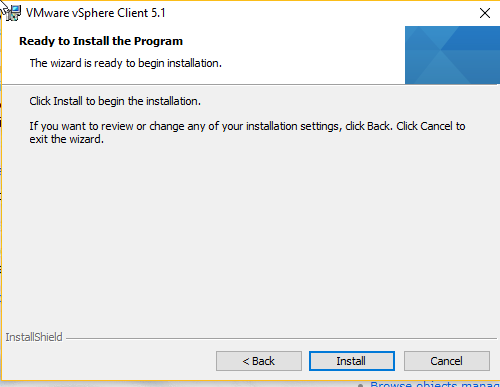
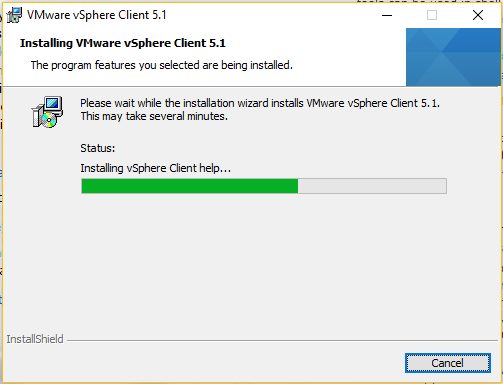
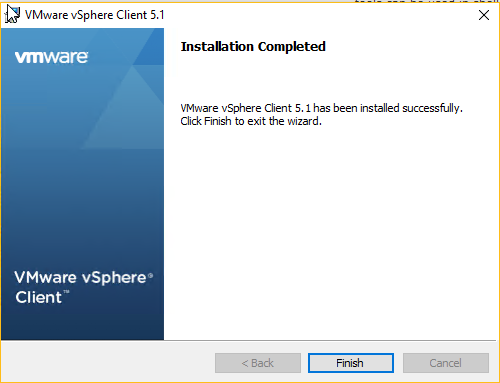
- Download the vSphere Client and install:
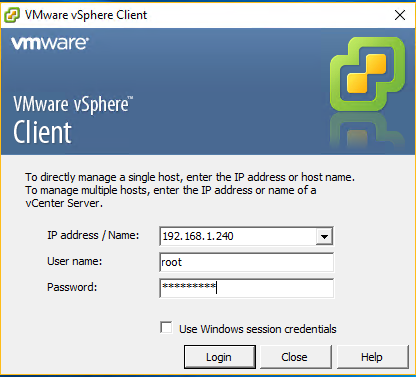
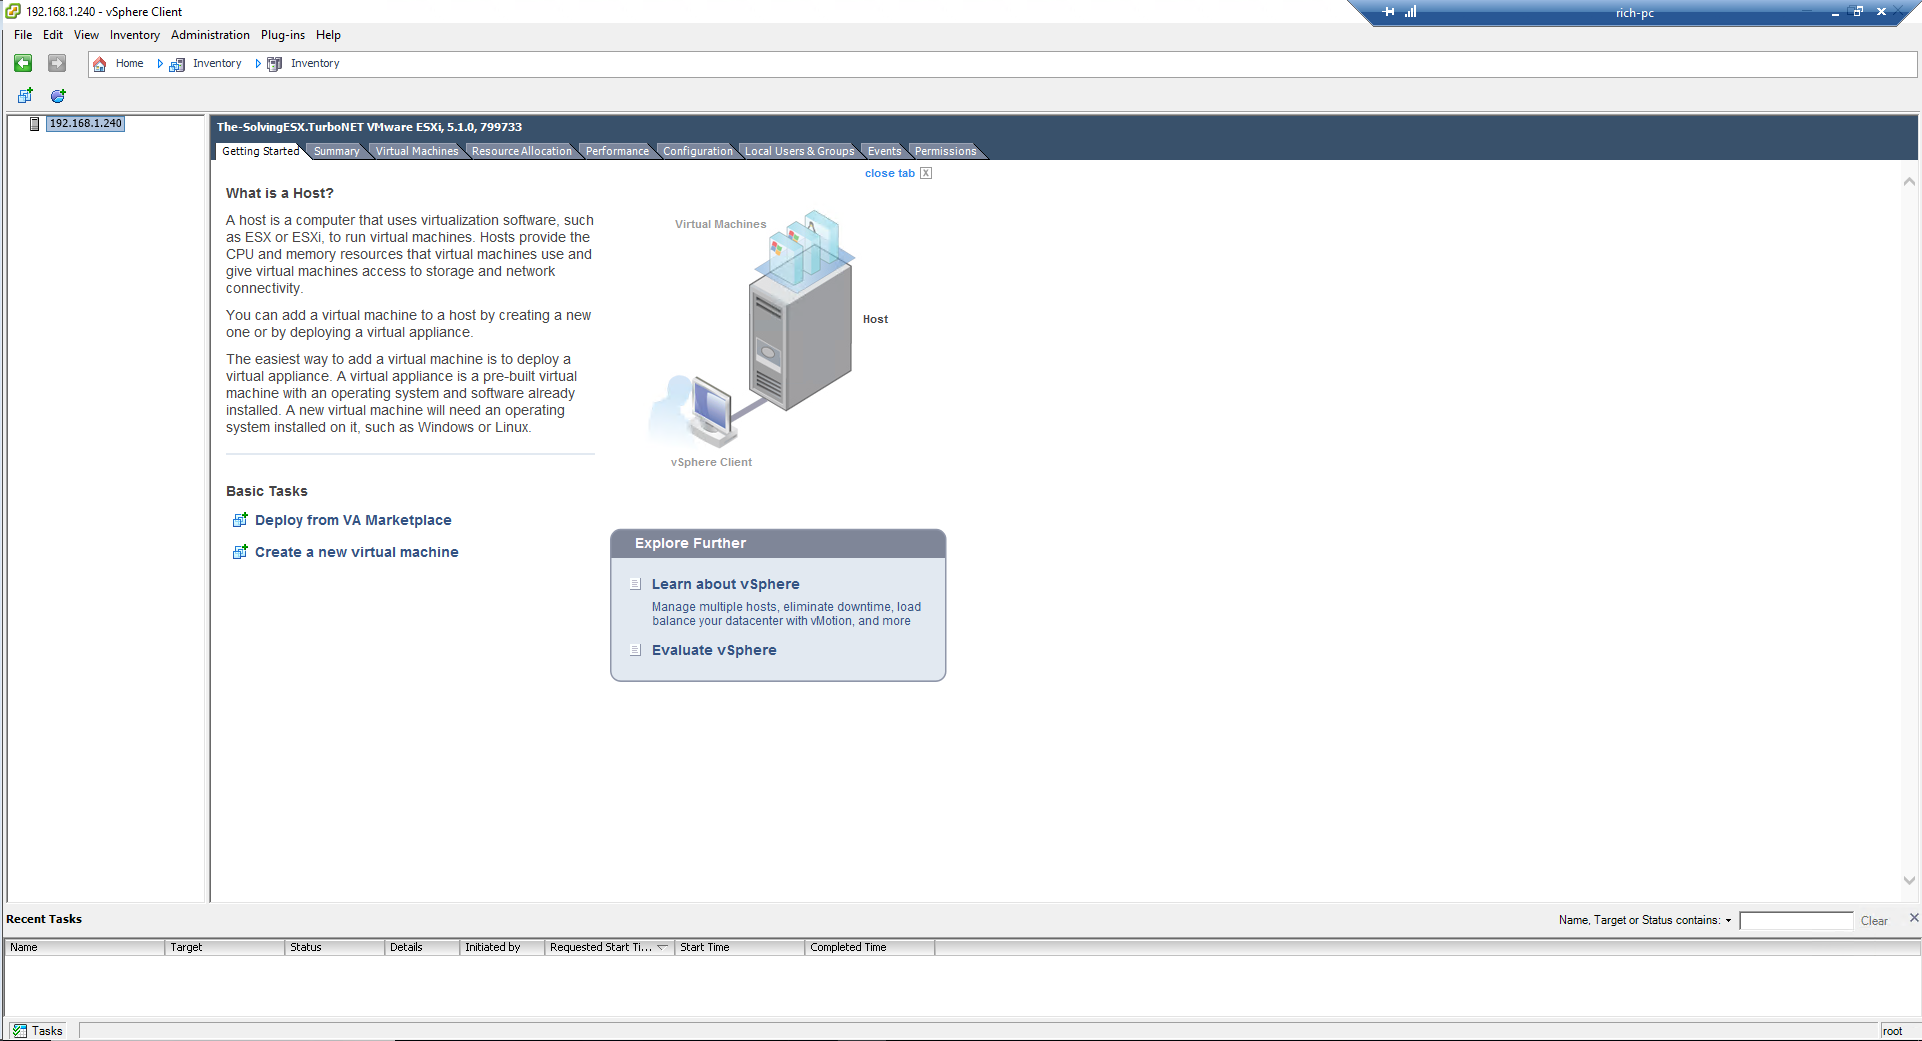
- Open vSphere client and connect to your Esxi server using the root credentials created earlier: The configuration is complete:
Read related articles
How to install and configure VMware PowerCLI version 10
VMware PowerCLI is a collection of Windows Powershell modules which are used to manage and maintain a VMware virtual environment.
How to set up a Hyper-V failover cluster
Hyper-V can enable high-availability using Windows Server Failover Cluster Manager. This allows you to create a virtual infrastructure which is
How to create a VM Template with Hyper-V
Microsoft Hyper-V lacks the capability to create and manage templates and this can be troublesome for IT specialists requiring to