How to: perform a System Image Backup on Windows 8.1

A System Image Backup is a backup of a complete system – physical or virtual – that can be restored in case of disaster.
Microsoft introduced native image backup functionalities in Windows starting from Vista.
In Windows 8.1 and 10, it’s tricky to find how to configure it. So we prepared this tutorial to help you.
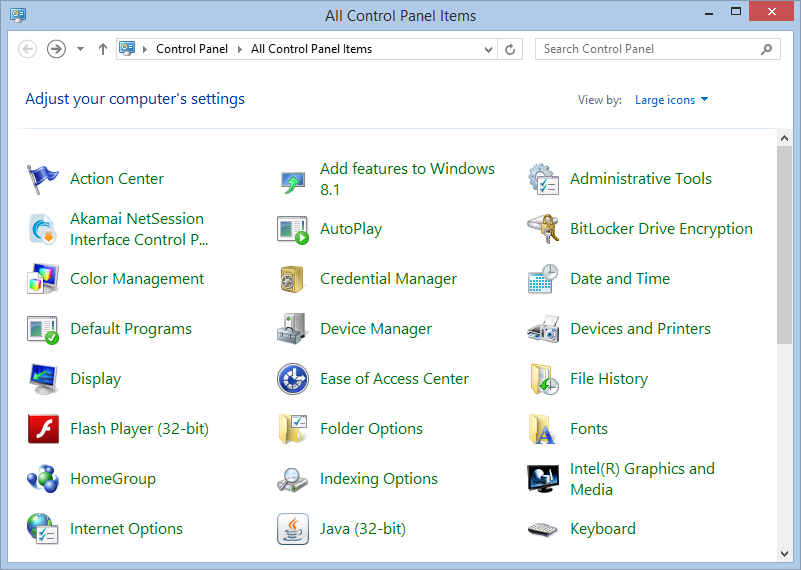
Open the Windows Control Panel and click on File History:
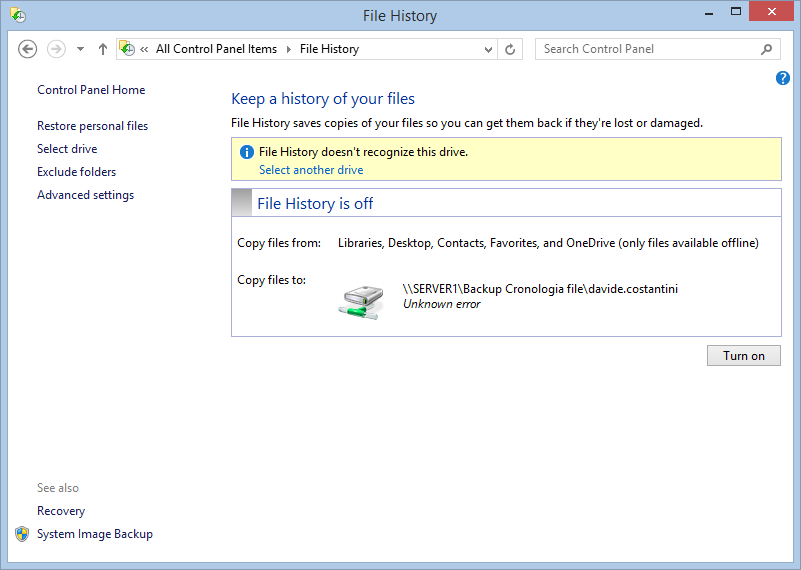
On the lower left corner you will find the button System Image Backup:
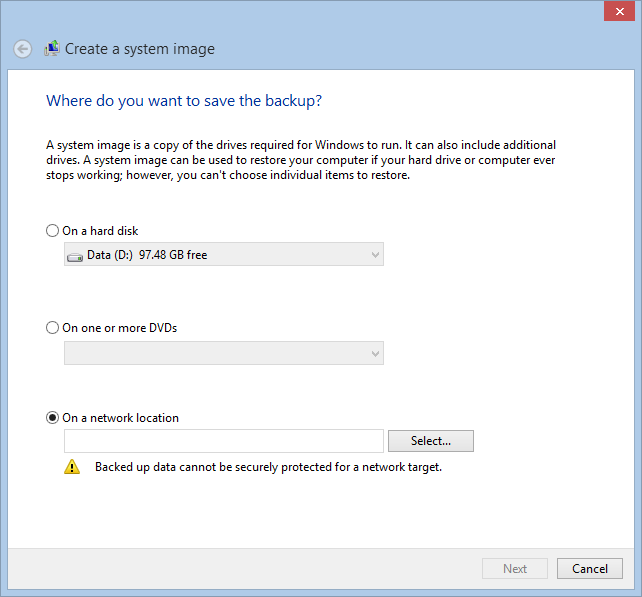
Select the destination of your backup. We chose a network location:
Specify the path and the access credentials:
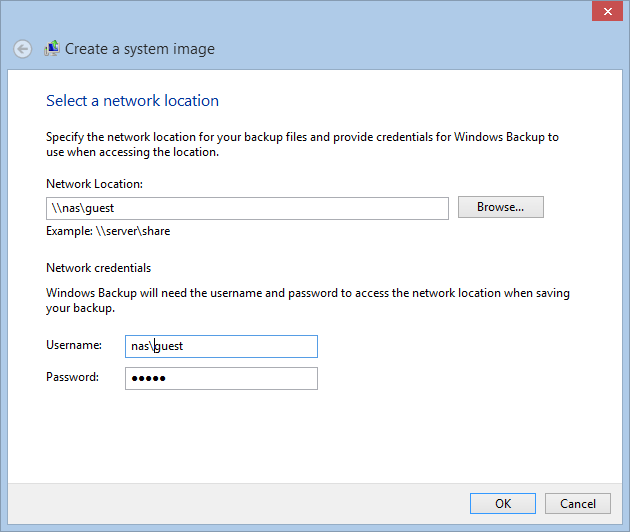
The selected path will appear in the related field:

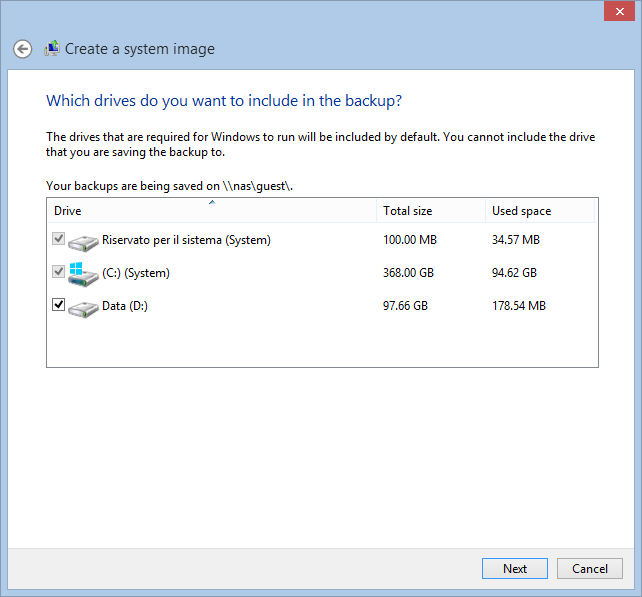
Now it’s time to choose the drives you want to back up. The system drive cannot be unchecked:
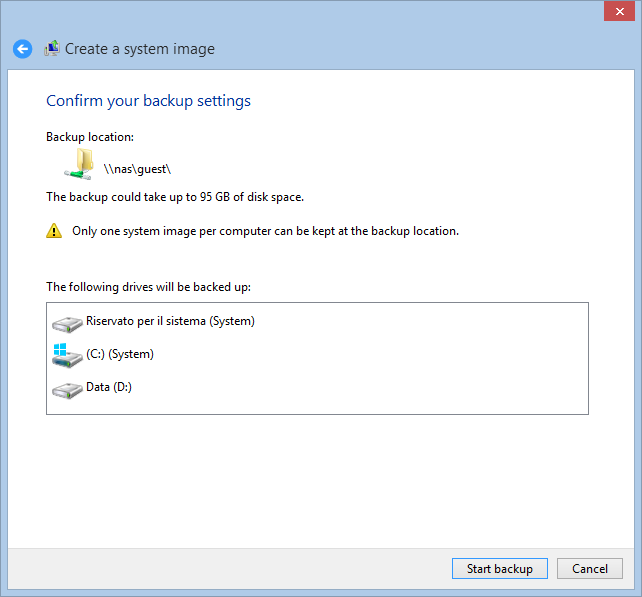
Press Start backup to perform your first System Image Backup. Windows is smart enough to check the destination available space and alert you in case of problems:
Related article:
How to restore a Windows System Image Backup


Comments